
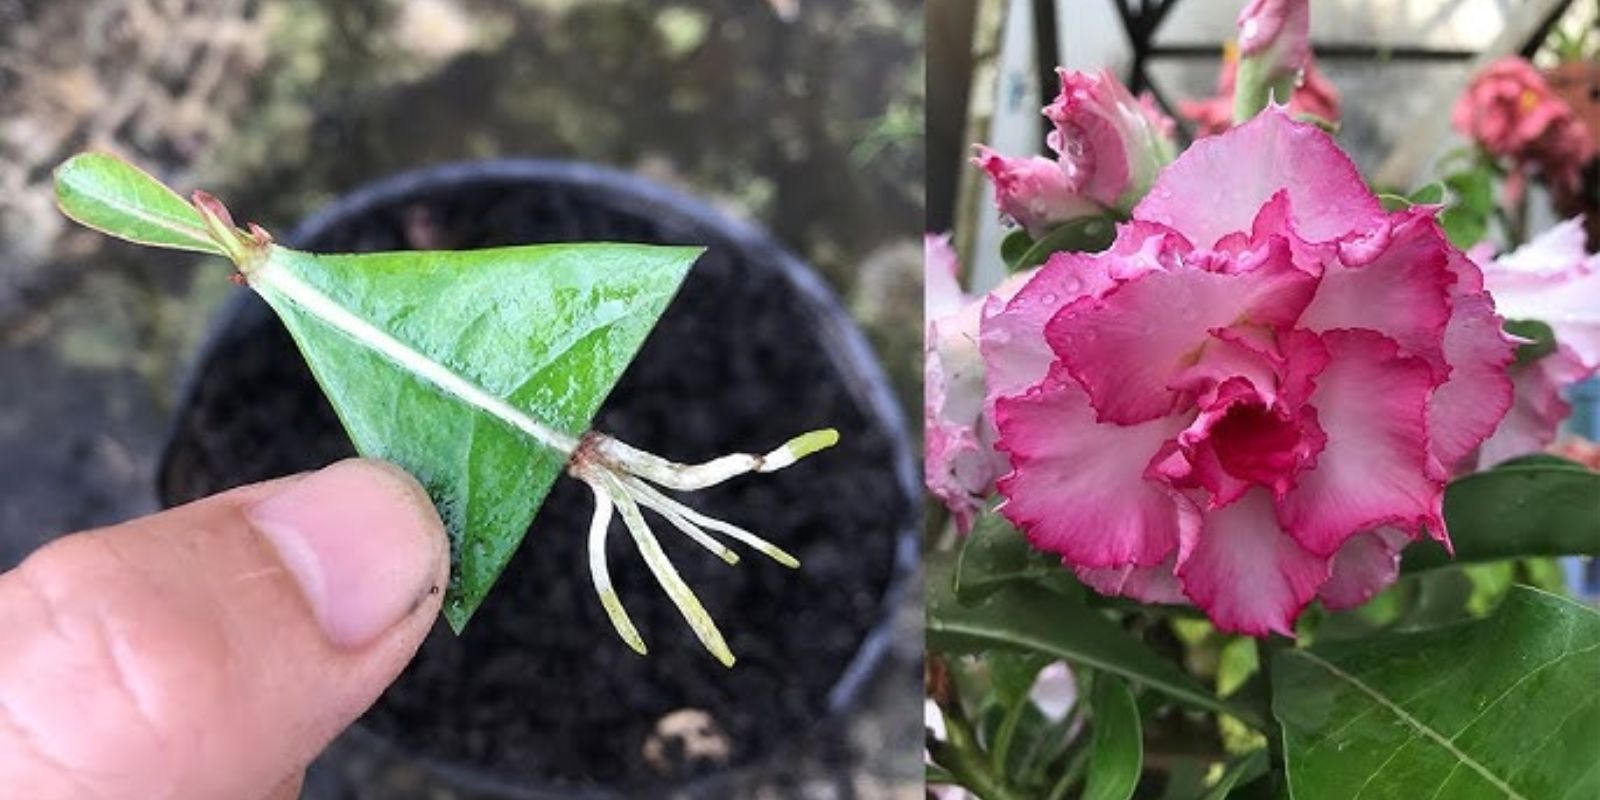
Plumeria, known for its fragrant and vibrant flowers, is a beloved tropical plant that can enhance any garden or indoor space. While many gardeners appreciate its beauty, fewer know how easy it can be to propagate this stunning plant. In this article, we will explore a unique method to propagate Plumeria that yields impressive results. You’ll be amazed at how simple it is to multiply your plants and create a lush, colorful environment.
Understanding Plumeria
Plumeria is a genus of flowering plants in the Apocynaceae family, native to tropical and subtropical regions of the Americas. The flowers are often used in making leis in Hawaii and are cherished for their delightful fragrance. They come in a variety of colors, including white, yellow, pink, and red, making them a popular choice for gardens.
Why Propagate Plumeria?
- Cost-Effective: Buying established Plumeria plants can be expensive. Propagating them allows you to create more plants for free.
- Customized Varieties: If you have a specific color or variety of Plumeria that you love, propagating from cuttings allows you to replicate that exact plant.
- Gardening Fun: The process of propagating plants can be enjoyable and satisfying, offering a great sense of accomplishment when you see your new plants thrive.
The Unique Propagation Method
This propagation method focuses on using stem cuttings, allowing gardeners to bypass more complicated techniques such as seed germination or air layering. Here’s a step-by-step guide to successfully propagate Plumeria using this simple method.
Step 1: Selecting the Right Cutting
The first step in propagating Plumeria is to choose a healthy stem for your cutting. Look for the following characteristics:
- Health: Select a stem that is free from diseases, pests, and physical damage.
- Length: A cutting of about 10-12 inches is ideal. This length provides enough material for rooting while ensuring it remains manageable.
- Nodes: Make sure your cutting has at least a couple of nodes, which are the joints where leaves grow. Nodes are essential for new growth.
Step 2: Preparing the Cutting
Once you have selected your cutting, it’s time to prepare it for planting:
- Trim the Cutting: Using sharp, clean pruning shears, make a clean cut at a 45-degree angle just below a node. This angle increases the surface area for rooting.
- Let It Callous: Place the cutting in a shaded area and allow it to dry for 2-3 days. This drying process helps form a callous over the cut end, which is crucial for preventing rot once it’s planted.
Step 3: Choosing the Right Soil
Plumeria prefers well-draining soil to prevent root rot. Here’s how to prepare the right mix:
- Potting Mix: Use a commercial cactus or succulent mix, as these blends typically have the right balance of drainage and moisture retention.
- Enhance Drainage: If desired, you can mix in perlite or coarse sand to improve drainage further.
Step 4: Planting the Cutting
Now that you have your calloused cutting and prepared soil, it’s time to plant:
- Planting Depth: Make a hole in the soil with your finger or a stick, and gently insert the calloused end of the cutting about 2-3 inches deep. Ensure that the cutting is standing upright.
- Soil Firming: Lightly press the soil around the cutting to secure it in place.
Step 5: Watering and Caring for the Cutting
After planting your Plumeria cutting, it’s essential to provide the right care:
- Initial Watering: Water the soil lightly to settle it around the cutting. Avoid soaking, as excess moisture can lead to rot.
- Lighting Conditions: Place the pot in a warm, sunny location. Plumeria thrives in bright light but should be protected from harsh afternoon sun until established.
Step 6: Monitoring Growth
Patience is key when propagating Plumeria:
- Watch for New Growth: In a few weeks, you should start seeing new leaves or shoots emerge. This is a sign that your cutting is taking root.
- Watering Routine: Allow the top inch of soil to dry out before watering again. Plumeria prefers drier conditions, especially in the initial stages of growth.
Step 7: Transplanting
Once your Plumeria cutting has established roots and shows healthy growth, it may be time to transplant:
- Choose a Larger Pot: If your cutting has outgrown its initial pot, transfer it to a larger one filled with fresh potting mix.
- Garden Bed Option: Alternatively, you can plant your Plumeria in a sunny garden bed once the risk of frost has passed and the plant is strong enough.
Tips for Successful Propagation
- Humidity: If you’re in a particularly dry environment, consider using a humidity dome or covering the pot with plastic to maintain moisture.
- Fertilization: After a few months, you can start feeding your Plumeria with a balanced, water-soluble fertilizer to encourage growth.
- Pest Control: Keep an eye out for pests like aphids or mealybugs, which can damage your new plants. Use insecticidal soap if necessary.
Conclusion
Propagating Plumeria using stem cuttings is a rewarding and straightforward process that allows you to expand your garden or share this beautiful plant with friends and family. By following these steps, you can enjoy the process of watching your cuttings grow into thriving, flowering plants. Whether you’re an experienced gardener or a beginner, this propagation method can be an exciting addition to your gardening journey.
So, gather your materials, choose a healthy cutting, and start your Plumeria propagation adventure today! Share your success and beautiful blooms with fellow gardeners using hashtags like #PlumeriaPropagation #GardenGoals #PlantLovers #FlowerPower. Happy gardening!