
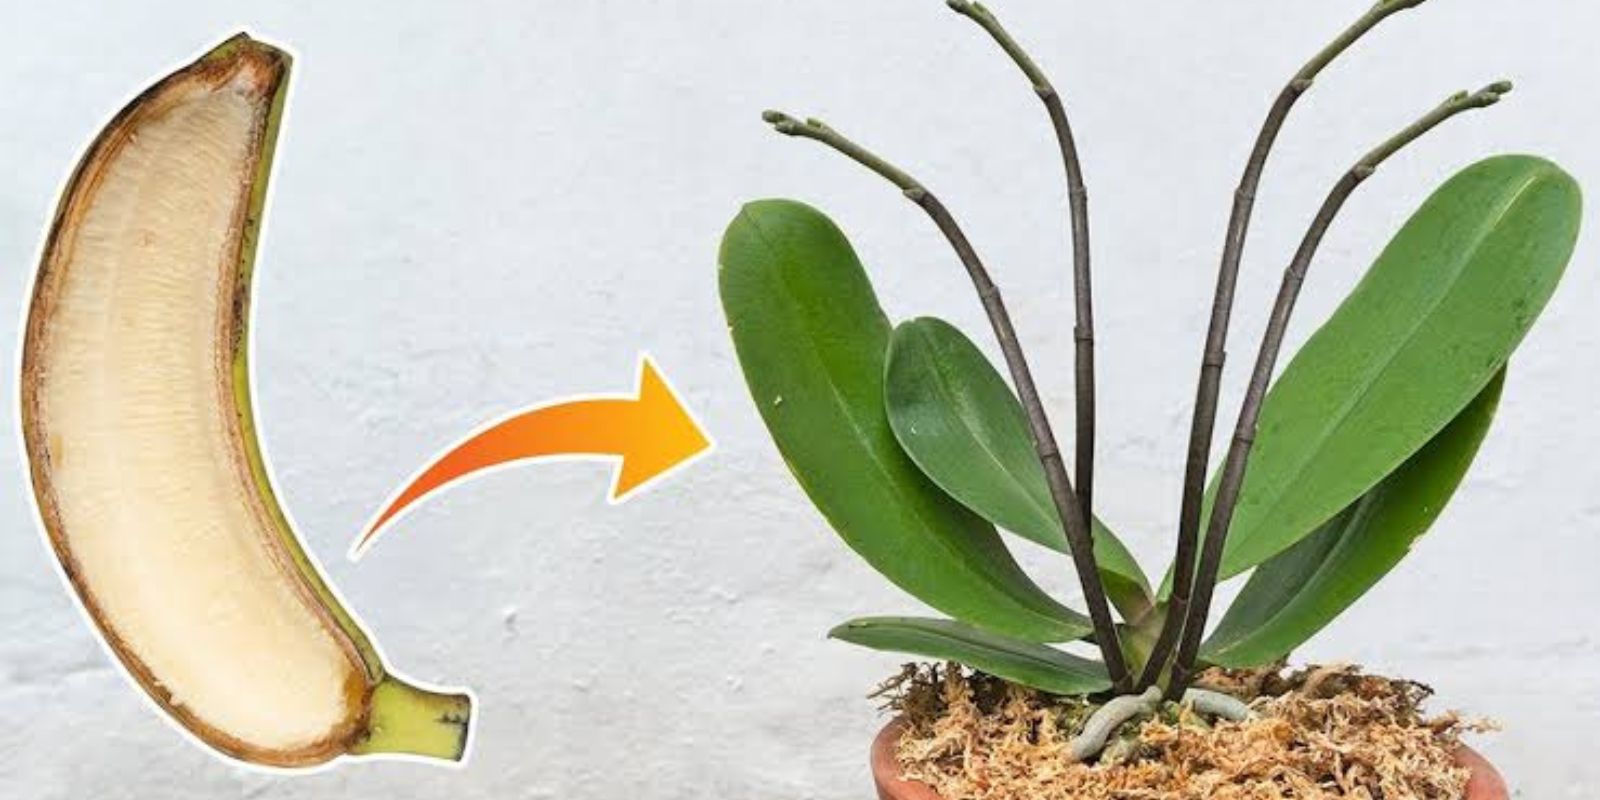
Orchids are among the most coveted plants in the world, admired for their elegant beauty and intricate blooms. Many gardeners, from beginners to experts, often find themselves captivated by the idea of propagating these stunning flowers. While there are various methods for orchid propagation, few are as simple and cost-effective as using a banana peel. Yes, you read that correctly! A humble banana peel, often discarded as waste, can serve as an unexpected yet incredibly effective tool in helping you propagate orchids.
In this article, we’ll explore how to propagate orchids using a banana peel, the science behind it, and why this technique works so well. We’ll also guide you step by step on how to execute this simple process and encourage you to try it yourself. If you’ve been looking for an easy way to grow more orchids, this might just be the solution you’ve been waiting for!
Why Use a Banana Peel for Orchid Propagation?
Before we dive into the steps, let’s first explore why a banana peel is such a powerful tool for orchid propagation.
Banana peels are rich in potassium, phosphorus, and several essential trace elements like magnesium, which are important for plant growth. Potassium, in particular, promotes strong root development and overall plant health. These nutrients are often the key to stimulating new growth, especially when dealing with a plant like an orchid, which tends to be a bit more delicate than other houseplants.
In addition to being a natural fertilizer, banana peels also provide organic matter that improves the overall health of the soil or medium in which your orchid is growing. The peel breaks down slowly, releasing nutrients over time and improving the microbial life in the soil, creating a perfect environment for your orchid to thrive.
By using banana peels, you not only help propagate new orchids but also recycle an otherwise wasted item in an environmentally friendly way. It’s an eco-conscious and sustainable approach to gardening that helps you get more out of your plants and everyday waste!
Steps for Propagating an Orchid Using a Banana Peel
Now that you know why banana peels are a great choice, let’s move on to the step-by-step guide for propagating your orchid with this simple technique.
1. Gather Your Materials
The first step in this process is to gather all the necessary materials. Fortunately, you won’t need anything expensive or complex!
Materials Needed:
- A ripe banana peel
- A healthy orchid plant (Phalaenopsis, Cattleya, or similar types)
- A clean, sharp knife or scissors
- Potting mix (such as orchid mix or bark)
- A small pot (if you’re transplanting the orchid)
- A plastic bag or plastic wrap (optional)
- Water
2. Prepare the Banana Peel
The next step is to prepare the banana peel. After eating the banana, you’re left with the peel—this is the part we’ll use for propagating your orchid. You’ll want to cut the peel into small pieces, about 2 to 3 inches in size. The smaller, the better, as these small pieces will easily decompose into the soil, making the nutrients more readily available to the plant.
Tip: Be sure to wash the banana peel thoroughly before use to remove any dirt or pesticide residue, especially if it’s not an organic banana.
3. Choose the Right Location for Your Orchid
Orchids thrive in bright, indirect light, so choose a spot where your plant can receive plenty of light without being exposed to direct sunlight. Too much sunlight can cause the leaves to burn, while too little light can stunt growth. Ensure that the temperature in the room stays consistent between 65°F and 75°F (18°C to 24°C).
Orchids prefer to grow in a well-draining potting mix, typically a mix of bark, perlite, or sphagnum moss. If you’re propagating an orchid in a pot, make sure the pot has proper drainage holes.
4. Place the Banana Peel Pieces Near the Orchid’s Root
Once you have your banana peel pieces prepared, gently place them around the base of the orchid’s roots or on top of the potting medium. If the orchid is already in a pot, you can either sprinkle the pieces directly on top of the soil or tuck them gently into the medium. You don’t need to bury them deep—just place them near the root system so the nutrients can start to break down and be absorbed by the plant.
The banana peel pieces will gradually release their nutrients into the soil over time, stimulating the plant’s root growth and overall health. Since orchids tend to have delicate roots, this slow-release process is perfect for feeding them without overwhelming them with too much at once.
5. Maintain Proper Care for Your Orchid
At this point, all you need to do is maintain your usual care routine for your orchid. Be sure to water it regularly, but avoid overwatering. Orchids prefer to dry out between waterings, so only water when the potting mix feels dry to the touch.
You may want to use a plastic bag or plastic wrap to create a mini-greenhouse effect if your orchid is in a pot and the air is dry. This will help maintain the humidity around the plant, which is essential for orchids to thrive. However, make sure to allow some airflow to avoid mold growth.
6. Wait for New Growth to Appear
Over time, you’ll start to see the banana peel pieces breaking down and releasing nutrients into the soil. New growth will begin to emerge, both in terms of roots and shoots. If you’re lucky, your orchid may even send out a new flower spike or side shoot, indicating that it is thriving and has the energy to produce more blooms.
Patience is key when propagating orchids, and it may take several weeks or even months before you see any substantial new growth. However, rest assured that the banana peel technique will give your orchid the nutrients it needs to thrive.
Tips for Successful Orchid Propagation
While propagating orchids using banana peels is simple, there are a few tips that will help you get the best results:
- Use Organic Banana Peels: If possible, use organic bananas for propagation. Conventional bananas often contain pesticides that can negatively impact plant health.
- Be Patient: Orchids are slow growers, so don’t expect instant results. Give your plant time to establish new roots and shoots.
- Monitor Humidity: Orchids love humidity, so keep the environment around them moist, but not soggy.
- Avoid Overfeeding: While banana peels provide valuable nutrients, don’t overdo it. Too much organic material can lead to root rot or other issues.
Benefits of Using Banana Peels for Orchid Propagation
There are several reasons why this simple propagation method is so effective:
- Natural Fertilizer: Banana peels are a natural, sustainable source of nutrients that help orchids grow without the need for chemical fertilizers.
- Eco-Friendly: Instead of tossing banana peels in the trash, you’re giving them a second life and reducing waste.
- Cost-Effective: This technique is practically free! You don’t need to buy any special rooting hormone or complex supplies—just a banana peel and some patience.
- Simple Process: Propagating orchids can sometimes be intimidating, but using a banana peel makes the process simple and beginner-friendly.
Conclusion
Using a banana peel to propagate orchids is a fantastic gardening hack that combines simplicity with sustainability. Not only do you get the satisfaction of growing more orchids, but you also create an eco-friendly garden by reusing kitchen waste. Give this technique a try, and watch as your orchids thrive with the help of a humble banana peel!
So, the next time you enjoy a banana, don’t throw away the peel! Instead, use it to enhance your garden and start propagating beautiful orchids that will bloom for years to come.