
Tomatoes are one of the most rewarding crops for any gardener, whether you’re a beginner or an expert. The joy of picking fresh, juicy tomatoes from your garden is unmatched. But did you know that the secret to an abundant tomato harvest lies in a simple transplanting technique? This method ensures stronger roots, healthier plants, and a bumper crop of delicious tomatoes. Let’s dive into the detailed steps and tips to make your tomato plants thrive!
Why Proper Transplanting Matters
Tomato plants are unique in their ability to grow roots along their buried stems. This trait makes them more adaptable and capable of developing a strong root system if transplanted correctly. A robust root system not only improves nutrient absorption but also ensures the plant can support a larger yield.
Step-by-Step Guide to Transplanting Tomatoes for Maximum Yield
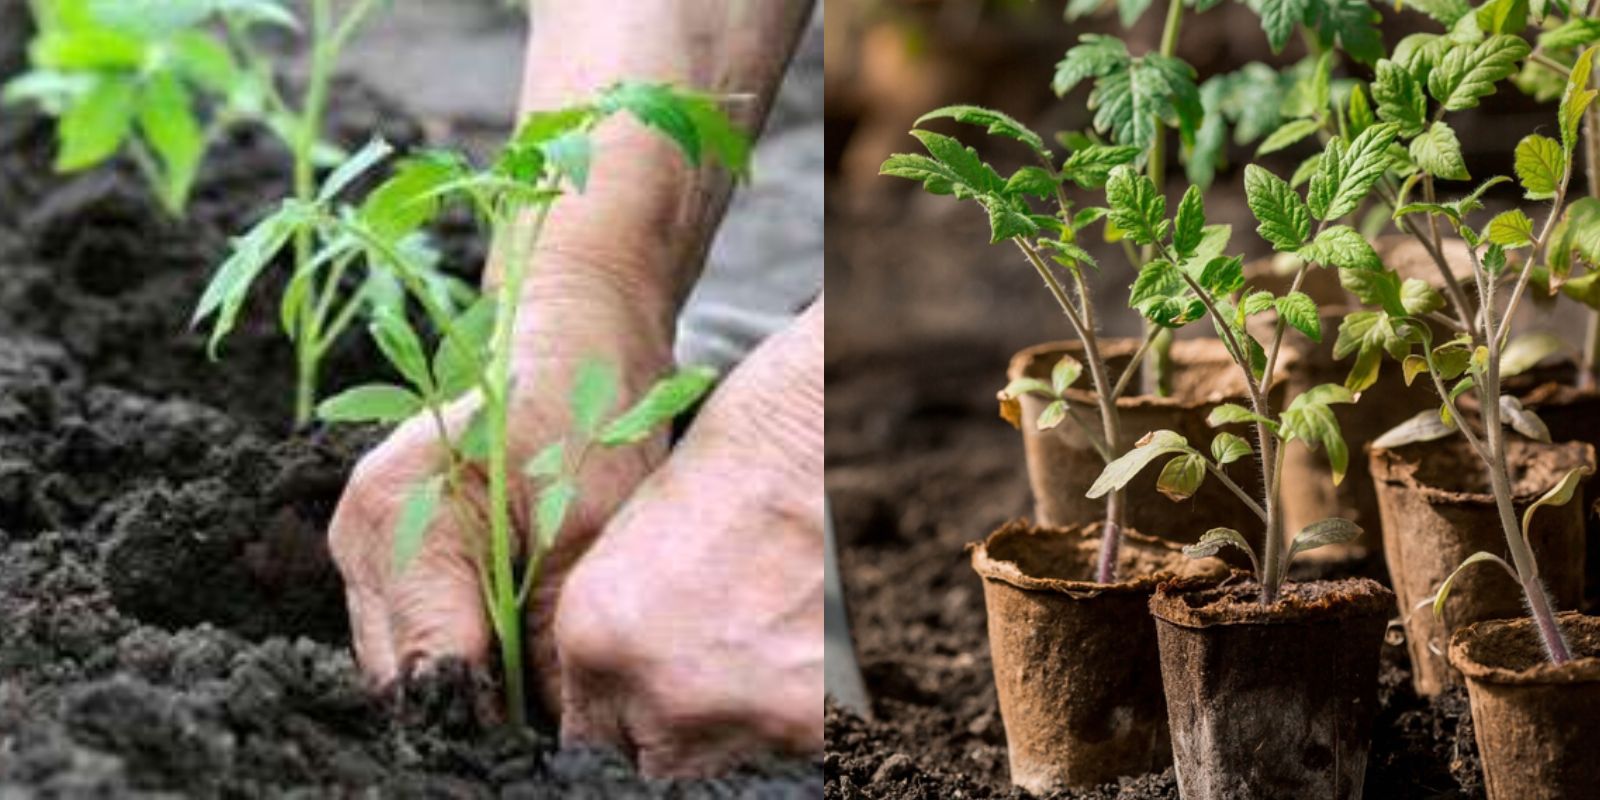
1. Choose the Right Seedlings
Start with healthy seedlings, whether you’ve grown them from seed or purchased them from a nursery. Look for plants with:
- Bright green leaves.
- A sturdy, thick stem.
- No signs of pests or diseases.
Avoid leggy or yellowing seedlings, as they are more likely to struggle after transplanting.
2. Prepare Your Planting Site
Tomatoes thrive in full sunlight, so select a location that receives at least 6-8 hours of direct sun daily.
- Soil: Use loose, well-draining soil enriched with organic compost or aged manure. Tomatoes prefer slightly acidic soil with a pH between 6.0 and 6.8.
- Spacing: Allow at least 18-24 inches between plants to ensure good air circulation and prevent overcrowding.
3. Dig Deep Planting Holes
Unlike many plants, tomatoes benefit from deep planting. Dig a hole deep enough to bury two-thirds of the plant, leaving only the top cluster of leaves above the soil. This encourages the stem to develop additional roots, leading to a stronger plant.
4. Enrich the Planting Hole
To give your plants a head start, add a few amendments to the bottom of the planting hole:
- Bone Meal: A natural source of phosphorus, which promotes root development.
- Eggshells: Crushed eggshells provide calcium to prevent blossom-end rot.
- Compost: Organic compost ensures a steady release of nutrients.
Mix these lightly with the soil at the bottom of the hole before placing the seedling.
5. Remove Lower Leaves
Carefully pinch off the lower leaves of the seedling to prevent them from being buried. This minimizes the risk of fungal infections and allows the stem to grow roots more efficiently.
6. Plant at an Angle (Optional)
For tall or leggy seedlings, you can plant them at an angle, laying the stem horizontally in the hole and bending the top upright. Cover the stem with soil, leaving the top leaves exposed. This method increases root surface area even further.
7. Water Thoroughly
After planting, water the seedlings deeply to settle the soil around the roots and reduce transplant shock. Ensure the soil remains consistently moist but not waterlogged in the following weeks.
8. Mulch to Retain Moisture
Add a layer of organic mulch, such as straw, shredded leaves, or grass clippings, around the base of the plant. Mulch helps:
- Retain soil moisture.
- Regulate soil temperature.
- Reduce weed growth.
Keep mulch a few inches away from the stem to prevent rot.
9. Provide Support Early
Tomato plants can become heavy with fruit, so it’s essential to support them early on. Use stakes, cages, or trellises to keep the plant upright and prevent branches from breaking.
10. Regular Feeding and Pruning
- Fertilize: Use a balanced, organic fertilizer every 2-3 weeks to ensure your plants receive essential nutrients.
- Prune: Remove suckers (small shoots growing between the main stem and branches) to direct energy toward fruit production.
11. Monitor for Pests and Diseases
Common tomato pests include aphids, whiteflies, and hornworms. Inspect your plants regularly and use natural remedies like neem oil or insecticidal soap if necessary.
12. Harvest at the Right Time
Tomatoes are ready to harvest when they’re firm and fully colored. Picking them at the right time ensures the best flavor and encourages the plant to produce more fruit.
Pro Tips for a Bigger Harvest
- Rotate Crops: Avoid planting tomatoes in the same spot year after year to reduce soil-borne diseases.
- Companion Planting: Grow basil, marigolds, or nasturtiums nearby to deter pests and improve flavor.
- Deep Watering: Water deeply but less frequently to encourage deep root growth.
Common Mistakes to Avoid
- Overcrowding: Insufficient spacing can lead to poor airflow and increased disease risk.
- Overwatering: Too much water can cause root rot and split fruits.
- Neglecting Pruning: Letting suckers grow unchecked can result in a tangled, less productive plant.
Why This Method Works
By burying a significant portion of the stem and enriching the soil with nutrients, you’re creating an environment where the tomato plant can thrive. The result is a larger, healthier root system capable of supporting abundant fruiting.
Conclusion
Growing an enormous tomato harvest doesn’t require magic—just the right techniques and a bit of care. With this transplanting method, you’ll soon be enjoying an abundance of homegrown tomatoes that are bursting with flavor.
What are your favorite tomato-growing tips? Share your experiences in the comments below and inspire others to grow their best garden yet! 🌟🍅
Hashtags
#TomatoHarvest #GardeningTips #GrowYourOwnFood #TomatoLovers #HomeGardening #OrganicGardening #GardenHacks #UrbanFarming #GardeningCommunity #PlantCareSecrets