
Orchids are often considered one of the most elegant and delicate flowers. Known for their unique structure and vibrant colors, they are beloved by plant enthusiasts and gardeners alike. However, they also have a reputation for being difficult to grow and maintain. Many people struggle with getting their orchids to bloom regularly or grow as robustly as other houseplants.
But what if there were a simple, surprising method that could change everything about how you grow orchids? Something as easy as using a spoon to trigger their growth and ensure they bloom continuously? Yes, you read that right—an everyday kitchen utensil can work wonders in helping your orchid thrive. In this article, we will explore the step-by-step process behind this technique and why it’s so effective, as well as tips for optimal orchid care.
Why Orchids Need Special Care
Orchids are epiphytes, meaning they grow on other plants rather than in traditional soil. In nature, they cling to trees and absorb moisture and nutrients from the air. This unique growth habit means that orchids require a specific kind of care, especially when grown indoors. They need the right combination of light, water, humidity, and nutrients to flourish. Without these conditions, orchids often struggle to bloom and may even wither away.
But don’t worry, even if you’ve had trouble with orchids in the past, this spoon technique could be the answer to your problems. This method mimics their natural environment, helping your orchid establish itself more quickly and promoting continuous blooms.
The Spoon Technique: Step-by-Step
Step 1: Choose a Healthy Branch
The first step to growing your orchid successfully is choosing the right place for it to grow. While orchids can grow in pots, this method works best when attaching the orchid to a branch. This mimics their natural growing environment, where they would attach themselves to tree trunks in tropical rainforests.
Find a strong, healthy branch that is stable enough to support the weight of the orchid as it grows. Make sure it’s free from pests or diseases, as these could affect the health of your orchid.
Step 2: Make a Small Cut in the Branch
Once you’ve chosen the branch, make a small, shallow cut where you want to place the orchid. This will help the orchid attach itself to the branch more securely. Be careful not to make the cut too deep, as you don’t want to damage the branch.
The idea is to create a space for the orchid’s roots to attach and grow. Orchids are not parasitic, so they won’t harm the branch; instead, they will use it for support as they absorb moisture and nutrients from their surroundings.
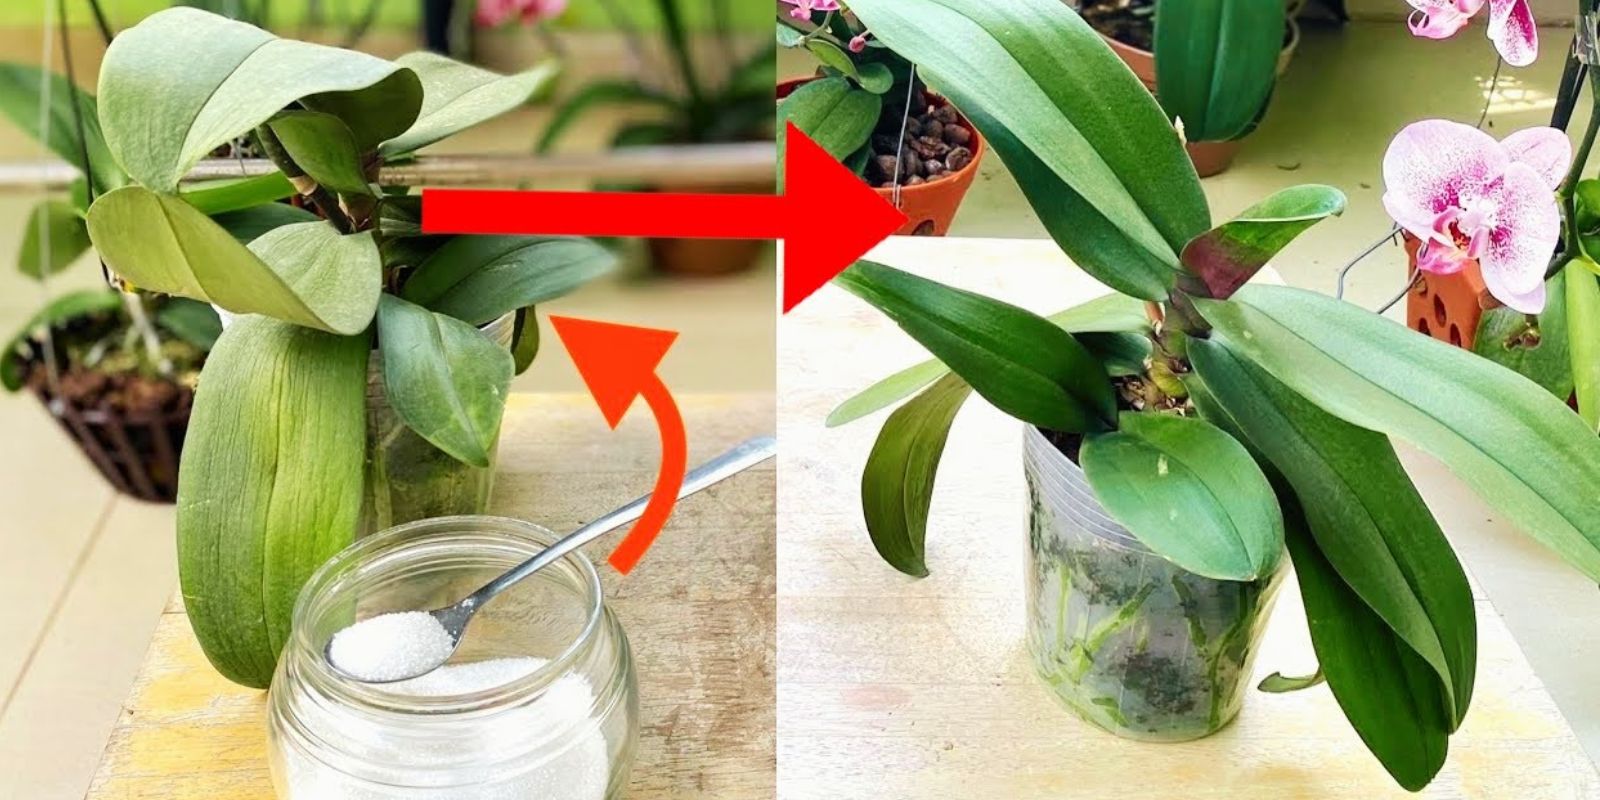
Step 3: Scoop Out Growing Medium with a Spoon
Now comes the key part of the technique—the spoon! Orchids require a specific kind of growing medium to thrive. This usually consists of moss, bark, or a specialized orchid mix that allows the roots to breathe while retaining enough moisture.
Take a spoon and gently scoop out some of this medium. Place it on the cut you made in the branch. The spoon helps you control the amount of medium you’re placing and ensures you don’t overpack the area, which could suffocate the orchid’s roots.
Step 4: Secure the Orchid with the Spoon
Next, place your orchid on top of the growing medium. Use the spoon to gently press the orchid’s roots into the medium, securing it in place. You want the roots to be in contact with the medium and the branch, but be careful not to press too hard. The roots need some space to expand and grow.
At this stage, you can also use soft ties or twine to secure the orchid to the branch if needed. This will help keep the orchid in place until its roots naturally attach themselves to the branch.
Step 5: Water and Care for Your Orchid
After you’ve secured your orchid to the branch, it’s time to water it. Orchids don’t need as much water as some other houseplants, but they do require regular watering to keep their roots moist. Use a spray bottle to mist the orchid and the growing medium, simulating the humidity they would experience in the wild.
Be sure to place your orchid in a spot where it will receive indirect sunlight. Orchids don’t like direct sunlight, as it can burn their leaves, but they still need bright light to grow and bloom. If you’re growing your orchid indoors, a north- or east-facing window is usually the best choice.
Why Does This Technique Work?
The spoon technique works because it mimics the natural environment of orchids. In the wild, orchids attach themselves to tree trunks and absorb moisture from the air. By using a branch and the right growing medium, you are recreating this environment at home.
The spoon plays an important role in this process because it allows you to control the amount of growing medium you’re using. Orchids need a balance of air and moisture around their roots to thrive, and overpacking the growing medium can lead to problems like root rot. By using a spoon to place just the right amount of medium, you’re giving your orchid the perfect conditions for growth.
This method also promotes continuous blooming. Orchids often struggle to bloom regularly in indoor conditions because they don’t receive enough nutrients or moisture. But by attaching them to a branch and misting them regularly, you’re providing them with a steady supply of the nutrients and moisture they need to keep blooming.
Additional Tips for Orchid Care
While the spoon technique can work wonders for your orchid, it’s important to remember that orchids still need ongoing care to thrive. Here are some additional tips to help your orchid bloom for years to come:
1. Use the Right Fertilizer
Orchids benefit from a balanced fertilizer that provides them with the nutrients they need to grow and bloom. Look for a fertilizer specifically designed for orchids and follow the instructions on the package. Be careful not to over-fertilize, as this can lead to nutrient burn.
2. Prune Dead Flowers
Once your orchid’s flowers start to fade, it’s important to prune them to encourage new blooms. Use sterilized pruning shears to cut off the spent flowers, leaving a small section of the stem intact. This will encourage the orchid to produce new flowers in the same spot.
3. Maintain Humidity
Orchids thrive in humid environments, so it’s important to keep the air around them moist. You can do this by misting the orchid regularly or placing a tray of water near the plant. If your home is particularly dry, consider using a humidifier to create the ideal conditions for your orchid.
4. Repot When Necessary
Orchids need to be repotted every 1-2 years to prevent their roots from becoming overcrowded. When repotting, use a specialized orchid mix and choose a pot with plenty of drainage holes. Be sure to handle the roots gently, as they are delicate and can be easily damaged.
Conclusion
Growing orchids can be a challenge, but with the right techniques, it’s possible to keep your orchid blooming for years. The spoon technique is a simple, effective way to encourage your orchid to grow and bloom continuously. By mimicking the orchid’s natural environment and providing it with the right care, you can enjoy beautiful, vibrant blooms all year round.
Ready to give this method a try? Grab a spoon, follow the steps, and watch your orchid thrive! 🌸✨