
Orchids are a symbol of beauty, elegance, and exotic appeal, often gracing homes and gardens with their delicate flowers and vibrant colors. But despite their beauty, orchids can be tricky to care for. Many orchid owners have experienced the frustrating moment when their beloved plant starts showing signs of decline—yellowing leaves, wilting flowers, or even drooping stems. If you find yourself in this situation, don’t panic. With a little care and attention, you can revive a dying orchid and restore it to its former glory.
In this article, we’ll walk you through a simple yet genius trick that can help you save your orchid. We’ll also provide a step-by-step guide to help you assess the condition of your orchid and ensure it thrives once again.
Why Orchids Die
Before we get into the solution, it’s important to understand why orchids might be dying in the first place. Orchids are particularly sensitive to environmental factors such as light, water, humidity, and temperature. When any of these conditions are not met, it can cause the plant to become stressed or unhealthy. Common causes of orchid decline include:
- Improper watering: Orchids do not like to be overwatered, and standing water can lead to root rot. On the other hand, underwatering can dry out the plant and lead to dehydration.
- Inadequate light: Orchids need bright, indirect light to grow and bloom properly. Too much direct sunlight can burn the leaves, while too little light can stunt growth and prevent flowering.
- Poor humidity: Orchids are tropical plants that thrive in high humidity. If the air in your home is too dry, your orchid might suffer.
- Root rot: Overwatering or poor drainage can cause the orchid’s roots to rot, which is often a major contributor to the plant’s decline.
- Pest infestations: Aphids, mealybugs, and other pests can attack orchids, weakening the plant and causing damage.
Understanding these factors will help you pinpoint the issue and know how to fix it.
Step 1: Assess the Condition of the Orchid
The first thing you need to do is assess the health of your orchid. A dying orchid can show a variety of symptoms, including yellowing or wilting leaves, a drooping stem, and unhealthy-looking roots. By inspecting the plant closely, you can identify the specific areas that need attention.
Here’s how to assess your orchid:
- Roots: Healthy orchid roots should be firm and plump, with a greenish or silvery color. If the roots are brown, mushy, or smell rotten, they are a sign of root rot. Root rot is one of the most common causes of orchid death and must be addressed immediately.
- Leaves: Orchids with healthy leaves will have vibrant green foliage. Yellowing or browning leaves are a sign of stress or poor care. Look for signs of dehydration, pest damage, or fungal infection.
- Flowers: If your orchid has bloomed and the flowers are wilting, this is usually natural. However, if the flowers are shriveled and dying prematurely, it could indicate a problem with the plant’s overall health.
Step 2: Trim Dead or Damaged Parts
Once you’ve assessed the condition of the orchid, it’s time to remove any damaged or dead parts of the plant. This includes cutting away any rotting roots, dried-up leaves, or spent flowers.
To trim the plant properly:
- Use sterile scissors or pruning shears to avoid introducing any bacteria or disease to the plant.
- Remove any rotten or mushy roots by cutting them off. If there’s significant root rot, consider cutting back the plant to the healthy roots.
- Trim yellow or brown leaves, but be careful not to remove too many leaves, as this could stress the plant further.
- If the flowers are wilting, cut them off at the base of the flower spike to encourage new growth.
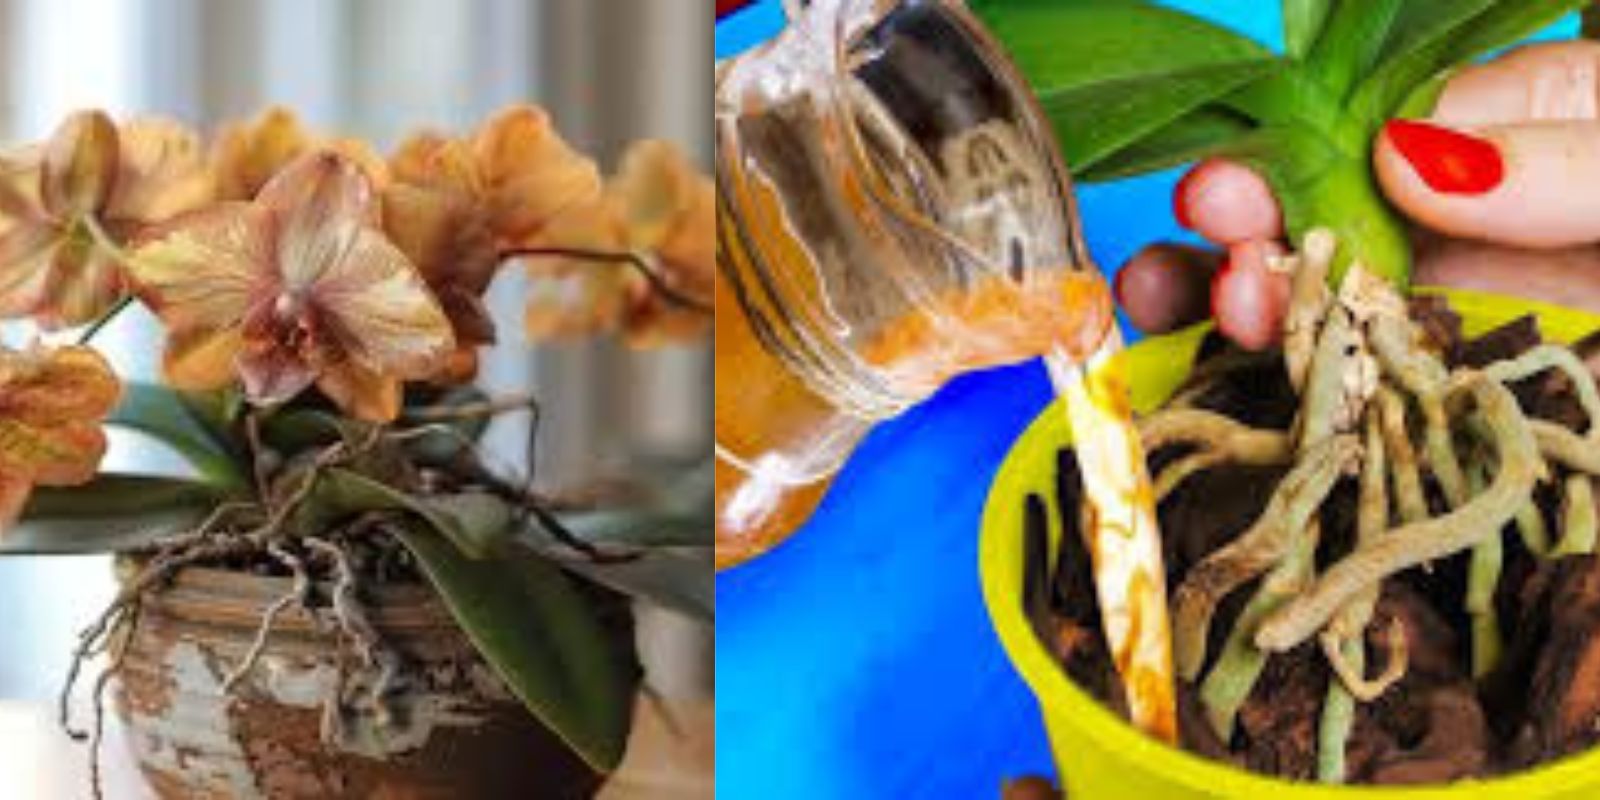
Step 3: Repot the Orchid
After removing any dead or damaged parts, the next step is to repot your orchid. Orchids need to be planted in well-draining soil to prevent root rot and promote healthy growth.
Here’s how to repot your orchid:
- Choose a new pot with drainage holes to ensure proper water flow. Orchids do not like standing water in their pots.
- Use fresh orchid potting mix. Do not reuse the old soil as it may harbor bacteria or pests. Orchid potting mixes are typically made of bark, perlite, and sphagnum moss, which provide the right level of drainage and aeration.
- Gently place the orchid into the new pot and fill it with the fresh potting mix. Ensure the roots are well-positioned and not cramped. You want to give the roots space to grow and breathe.
- Lightly press the soil around the roots, but don’t pack it too tightly. Orchids like their roots to have some air circulation.
Step 4: Watering Adjustments
Watering is one of the most critical aspects of orchid care, and it’s crucial to get it right to save your plant. Orchids do not like to be overwatered, and they don’t want to sit in soggy soil.
Here are some tips for watering your orchid correctly:
- Water sparingly: Orchids prefer to dry out slightly between waterings. Wait until the top layer of the potting mix is dry before watering again.
- Use room temperature water: Cold water can shock the plant, while hot water can burn the roots. Always use water that is at room temperature.
- Water from the bottom: To prevent water from sitting on the leaves, water the orchid from the bottom by placing the pot in a shallow dish of water. Let the water soak up through the drainage holes for about 10–15 minutes. Then, discard any excess water to avoid root rot.
- Avoid over-watering: Orchids do not like to sit in standing water. Make sure the pot drains well after watering.
Step 5: Provide the Right Light
Light is one of the most important factors in orchid care. Orchids require bright, indirect light for healthy growth. Too much direct sunlight can scorch the leaves, while too little light will prevent flowering and growth.
- Place the orchid in a bright, indirect light spot. Near a north or east-facing window is often ideal.
- Avoid direct sunlight: Direct sunlight can burn the leaves and cause damage, so make sure your orchid is protected from the harsh midday sun.
- Rotate the plant regularly to ensure even light distribution on all sides, which will help the plant grow symmetrically.
Step 6: Humidity Boost
Orchids are tropical plants that thrive in humid environments. If the air in your home is too dry, you can increase the humidity around your orchid to keep it healthy.
Here’s how to improve the humidity around your orchid:
- Mist the leaves lightly: Use a spray bottle filled with water to mist the leaves once or twice a day, especially if you live in a dry climate.
- Use a humidity tray: Place a shallow tray filled with pebbles and water under the orchid pot. As the water evaporates, it will increase the humidity around the plant.
- Use a humidifier: If the air in your home is very dry, consider using a humidifier near your orchid to maintain the ideal moisture levels.
Step 7: Be Patient
Saving an orchid takes time and patience. Orchids are slow-growing plants, and it may take weeks or even months for your plant to fully recover and start showing signs of new growth. Be patient, and continue caring for the plant with the right light, water, and humidity conditions.
You’ll know your orchid is on the road to recovery when you begin to see fresh new growth, such as new roots or a new flower spike. At this point, your orchid will be ready to bloom again.
Final Thoughts
Orchids are resilient plants, and with the right care, they can bounce back from near-death. By following these steps—assessing the condition, trimming damaged parts, repotting, adjusting watering practices, providing proper light and humidity, and exercising patience—you can save your dying orchid and restore it to its full glory.
If your orchid is struggling, don’t give up on it just yet. Try these simple steps to nurse it back to health, and you’ll soon be rewarded with a beautiful and thriving orchid plant that brings color and elegance to your home once again.
Hashtags: #OrchidRescue #PlantRecovery #GardeningTips #OrchidCare #PlantLovers #SaveYourOrchid #Houseplants #PlantHealing