
Introduction
Gardening is a rewarding and fulfilling activity, but it comes with its own set of challenges. One of the most straightforward methods for planting seeds is direct sowing, where you place seeds directly into the soil where they will grow. This technique can save time, reduce the need for transplanting, and allow plants to establish themselves in their natural environment. However, while direct sowing might seem simple, several factors can influence its success. In this comprehensive guide, we will explore the dos and don’ts of direct sowing to help you achieve a flourishing garden.
Understanding Direct Sowing
What is Direct Sowing?
Direct sowing refers to the practice of planting seeds directly into the ground, rather than starting them indoors and later transplanting them outdoors. This method is often preferred for crops that are sensitive to root disturbance or that thrive in their native soil conditions. Common plants grown via direct sowing include carrots, beans, peas, and many flowers.
Advantages of Direct Sowing
- Time-Saving: Direct sowing eliminates the need for seedling trays and indoor planting.
- Cost-Effective: You save on pots, soil, and indoor growing supplies.
- Less Transplant Shock: Plants that grow directly in the soil tend to experience less shock when it comes time to grow since they haven’t been moved.
- Natural Growth Environment: Seeds develop in the conditions they will face as mature plants, resulting in stronger plants.
Disadvantages of Direct Sowing
- Weather Dependence: Direct sowing is susceptible to adverse weather conditions, such as frost or heavy rain.
- Pest Vulnerability: Seeds are more exposed to pests and diseases in the soil compared to seedlings grown indoors.
- Limited Control: It can be harder to control soil conditions, moisture levels, and weed competition.
With these considerations in mind, let’s delve into the essential dos and don’ts of direct sowing.
The Dos of Direct Sowing
1. Choose the Right Time
Timing is critical in direct sowing. Most seeds should be planted after the last frost date in your area to avoid frost damage. Use local planting calendars to determine the best times for sowing seeds based on your climate zone. Warm-season crops, such as tomatoes and peppers, require different timing compared to cool-season crops like spinach and peas.
2. Prepare the Soil
Good soil preparation is essential for successful seed germination. Follow these steps:
- Test the Soil: Check pH levels and nutrient content to ensure optimal conditions.
- Amend the Soil: Add organic matter, such as compost, to enrich the soil and improve its structure. This promotes better drainage and aeration, which are vital for seedling growth.
- Tillage: Loosen the soil to at least 12 inches deep. This improves root development and allows for better seed-to-soil contact.
3. Follow Seed Depth Guidelines
Plant seeds at the depth specified on the seed packet. Different seeds require different depths for successful germination. As a general rule, smaller seeds should be sown shallower, while larger seeds can be planted deeper. Proper planting depth ensures that seeds receive adequate moisture and light to germinate.
4. Water Gently
After sowing seeds, water the area lightly to avoid displacing the seeds. Use a gentle spray or watering can to keep the soil moist but not saturated. Consistent moisture is crucial during the germination phase. If the soil dries out, seeds may fail to germinate or produce weak seedlings.
5. Mulch
Applying a thin layer of mulch over the sown area helps retain moisture, suppress weeds, and regulate soil temperature. Organic mulches, like straw or shredded leaves, can also improve soil fertility as they decompose. Be sure to leave enough space for emerging seedlings.
6. Monitor Soil Moisture
After sowing, it’s important to monitor soil moisture levels regularly. The top layer of soil should remain moist until seeds germinate. Depending on the weather and your soil type, you may need to water every few days. Once seedlings emerge, you can adjust your watering schedule as needed.
7. Use Row Covers
Consider using row covers to protect seeds from pests and harsh weather conditions. Row covers create a mini-greenhouse effect, warming the soil and creating a more favorable environment for germination. They can also shield young plants from birds and insects.
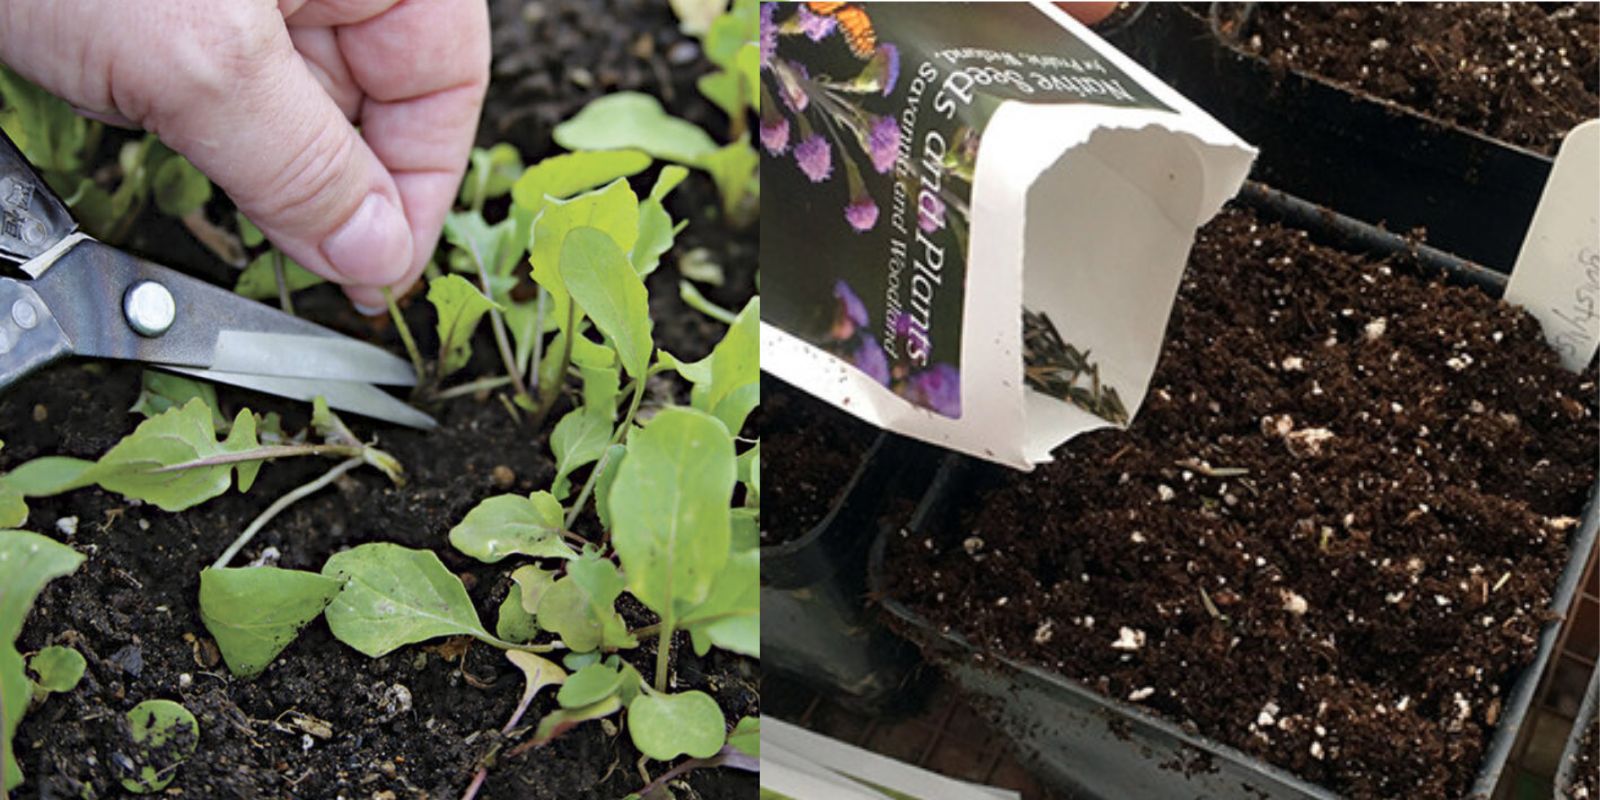
8. Plan for Thinning
Once seedlings have emerged, you may need to thin them out to reduce competition for nutrients and sunlight. Follow the spacing guidelines provided on the seed packet. Thinning helps ensure that remaining plants have enough space to grow robustly.
The Don’ts of Direct Sowing
1. Don’t Sow Too Early
Planting seeds too early can expose them to frost, cold soil, and other adverse conditions that hinder germination. Always check local frost dates and plant accordingly. You can use cold frames or cloches if you wish to extend your growing season slightly.
2. Don’t Overcrowd
Following proper spacing is critical. If seeds are sown too closely together, they will compete for resources, resulting in weak plants and reduced yields. Stick to the recommended spacing on seed packets, and use thinning techniques as needed to ensure healthy growth.
3. Don’t Ignore Weeds
Weeds can quickly take over your garden and compete with your plants for nutrients and water. Keep the area weed-free by regularly checking for unwanted plants. Hand-pulling or using mulch can help suppress weed growth and protect your seedlings.
4. Don’t Forget to Label
Label your sowing areas to keep track of what you’ve planted. This is especially important if you’re sowing multiple crops or using different varieties of the same plant. Labels help ensure proper care and maintenance, and they can be a valuable reference throughout the growing season.
5. Don’t Give Up
If seeds don’t germinate as expected, don’t be discouraged! Assess the conditions and try again if necessary. Experimenting with different seed varieties, soil amendments, or planting techniques can lead to better results in subsequent planting attempts.
6. Don’t Use Old Seeds
Seeds have a shelf life, and using old seeds can result in poor germination rates. Check the expiration dates on seed packets and store seeds in a cool, dry place to maintain their viability. If you’re unsure about seed viability, perform a germination test before sowing.
7. Don’t Neglect Fertilization
While direct sowing relies on the nutrients in the soil, plants may still require additional fertilizer as they grow. Use organic fertilizers to provide essential nutrients during the growing season. Follow the application guidelines and avoid over-fertilizing, which can damage young plants.
Conclusion
Direct sowing is an effective and rewarding way to establish a garden, but it requires careful planning and execution to ensure success. By following the dos and avoiding the don’ts outlined in this guide, you’ll be well on your way to cultivating a thriving garden. Remember that patience and persistence are key; gardening is a learning process, and each season offers new opportunities for growth and discovery.
Are you ready to take your gardening skills to the next level? Share your direct sowing experiences and tips in the comments below, and let’s grow together! 🌱✨ #DirectSowing #GardeningTips #GrowYourOwnFood #GardenLife #PlantingSeason