
Watercress (Nasturtium officinale) is a nutrient-dense aquatic plant that has been cherished for centuries, both for its culinary uses and its health benefits. Known for its peppery flavor, watercress is not only a versatile ingredient in salads and soups but also a powerhouse of vitamins and minerals. If you’re considering adding this vibrant green to your garden or hydroponic system, this comprehensive guide will walk you through everything you need to know about planting, growing, and harvesting watercress.
Introduction to Watercress
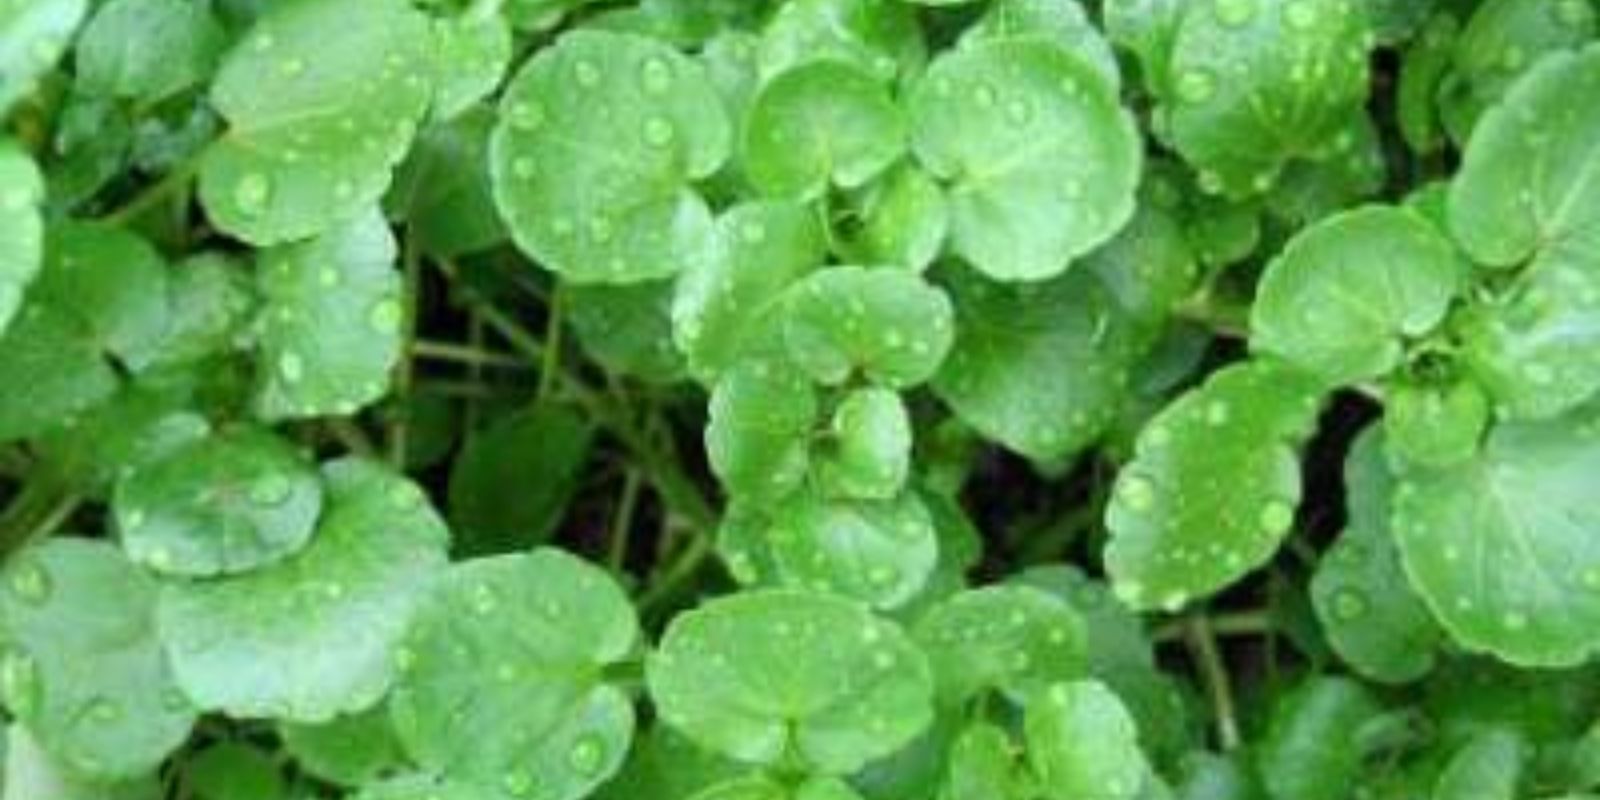
Watercress is a fast-growing, leafy green that belongs to the cruciferous family, which includes other well-known vegetables like kale, broccoli, and cabbage. This perennial plant thrives in wet, nutrient-rich environments, making it an excellent candidate for gardens with ample moisture or even hydroponic setups.
Rich in vitamins A, C, and K, as well as antioxidants and other beneficial compounds, watercress is often touted for its health-promoting properties. Whether you want to enhance your culinary repertoire or reap the numerous health benefits, growing watercress is a rewarding endeavor.
Benefits of Growing Watercress
Before diving into the practicalities of growing watercress, it’s worth exploring why you should consider adding this plant to your garden:
- Nutritional Value: Watercress is exceptionally rich in nutrients. Just a single cup of raw watercress contains more than 100% of the daily recommended intake of vitamins A, C, and K, along with essential minerals like calcium and iron.
- Culinary Versatility: The peppery flavor of watercress adds a unique twist to salads, sandwiches, and soups. It can also be blended into smoothies or used as a garnish for various dishes.
- Easy to Grow: Watercress is relatively simple to cultivate, requiring minimal care compared to many other vegetables. Its fast growth cycle means you can enjoy fresh greens in just a few weeks.
- Environmental Benefits: Growing watercress can contribute to a more sustainable lifestyle. It can thrive in water, making it a perfect candidate for aquaponics or hydroponics systems, which use less soil and water than traditional gardening.
Getting Started with Watercress
1. Selecting the Right Location
Watercress prefers to grow in cool, moist conditions. Here are some ideal locations for planting watercress:
- Stream or Pond: If you have access to a natural water source, planting watercress along the banks can provide the perfect growing conditions.
- Wet Garden Bed: Create a designated area in your garden that stays consistently moist. You can amend soil with organic matter to improve drainage and nutrient content.
- Containers: If space is limited or you want more control over the growing conditions, watercress can be successfully grown in containers. Choose deep pots that can hold water.
2. Choosing the Right Seeds
When it comes to planting watercress, you can either purchase seeds or start with cuttings. If you choose seeds, look for certified organic watercress seeds from reputable suppliers.
3. Preparing the Soil
Watercress thrives in nutrient-rich, well-draining soil that remains consistently moist. Here’s how to prepare the soil:
- Soil Type: Use loamy or sandy soil that retains moisture without becoming waterlogged.
- Organic Matter: Incorporate well-rotted compost or aged manure into the soil to enhance nutrient levels and improve soil structure.
- pH Level: Aim for a slightly acidic to neutral pH level (around 6.0-7.0) for optimal growth. You can test your soil using a home soil test kit.
4. Planting Watercress
Once your soil is prepared and the site is chosen, it’s time to plant your watercress.
Planting with Seeds:
- Sowing: Scatter watercress seeds evenly across the soil surface and lightly press them in. You can also plant them in rows about 6 inches apart.
- Watering: After sowing, water the area lightly to ensure good seed-to-soil contact. Be careful not to wash away the seeds.
- Spacing: As the seedlings grow, thin them out to about 4-6 inches apart to allow for proper air circulation and growth.
Planting with Cuttings:
- Choose Healthy Cuttings: If you’re starting with cuttings, select healthy stems from existing watercress plants. Each cutting should be about 4-6 inches long.
- Rooting: Place the cuttings in water for a few days until roots develop. Once roots are about 1-2 inches long, they are ready to be planted.
- Transplanting: Plant the rooted cuttings in prepared soil, ensuring that the roots are well-covered.
5. Maintaining Moisture
Watercress requires consistent moisture to thrive. Here are some tips for maintaining optimal moisture levels:
- Regular Watering: Check the soil regularly and water when the top inch feels dry. If growing in containers, ensure that water is present at the bottom.
- Mulching: Apply a layer of organic mulch around the plants to help retain soil moisture and suppress weeds.
- Check Drainage: If you notice standing water, ensure proper drainage to prevent root rot.
6. Fertilizing Watercress
To promote healthy growth, it’s essential to provide your watercress with adequate nutrients:
- Organic Fertilizers: Use a balanced organic fertilizer, such as compost tea or fish emulsion, every few weeks during the growing season.
- Nitrogen-Rich Fertilizers: Watercress thrives on nitrogen, so consider using fertilizers high in nitrogen content to promote lush foliage.
7. Harvesting Watercress
One of the most rewarding aspects of growing watercress is the ability to harvest fresh greens in a matter of weeks:
- Timing: You can start harvesting watercress about 3-4 weeks after planting, once the leaves are abundant.
- Harvesting Method: Use scissors or garden shears to cut the stems just above the roots. This encourages the plant to produce new growth.
- Continuous Harvesting: Regular harvesting can lead to continuous growth. If cared for properly, a single plant can provide multiple harvests throughout the season.
8. Dealing with Pests and Diseases
While watercress is generally hardy, it can be susceptible to some pests and diseases. Here are common issues and how to address them:
- Pests: Watch out for aphids, snails, and slugs. Use organic insecticidal soap or hand-pick pests to manage infestations.
- Fungal Diseases: Ensure proper air circulation and avoid overhead watering to prevent fungal issues like downy mildew.
- Water Quality: If growing in water, ensure that it is clean and free from contaminants to prevent diseases.
Growing Watercress in Hydroponic Systems
If you’re interested in growing watercress without soil, hydroponics is an excellent option. Here’s a quick overview:
1. Hydroponic Setup
- Nutrient Solution: Use a nutrient-rich water solution designed for hydroponic gardening.
- Growing Medium: Consider using a growing medium like coconut coir or rock wool to support the plants.
2. Light and Temperature
- Light: Watercress requires bright, indirect light. Use grow lights if necessary to provide adequate light for optimal growth.
- Temperature: Maintain a cool environment, ideally between 60°F and 70°F, for best results.
3. Monitoring Growth
- Check for Growth: Monitor the growth of your watercress regularly and adjust the nutrient solution as needed.
- Harvesting: Follow the same harvesting guidelines as mentioned earlier for soil-grown watercress.
Conclusion
Growing watercress is an enriching experience that offers numerous culinary and health benefits. With its fast growth cycle, nutrient density, and ease of care, watercress is an excellent choice for both novice and experienced gardeners.
By following the steps outlined in this guide—from selecting the right location to harvesting your fresh greens—you can cultivate a thriving watercress garden or hydroponic system that will elevate your meals and provide a continual supply of nutritious greens.
So, gather your supplies, prepare your soil, and start planting! Your taste buds and your health will thank you.
#Watercress #HomeGardening #HealthyEating #GrowYourOwnFood #GardenGoals #Hydroponics