
Starting seeds indoors is a gardening strategy that offers numerous benefits, including an earlier harvest and extended growing seasons. By getting a head start on the growing season, you can enjoy a bounty of fresh produce well before traditional outdoor planting times. This article provides a detailed guide on how to successfully start seeds indoors, covering essential techniques and tips to ensure your seedlings thrive and transition smoothly to outdoor conditions.
Understanding the Benefits of Indoor Seed Starting
1. Extended Growing Season
Indoor seed starting allows you to extend the growing season by getting plants started earlier than they would be able to outdoors. This is particularly useful in regions with shorter growing seasons or unpredictable weather.
2. Better Control of Growing Conditions
Starting seeds indoors gives you control over temperature, light, and moisture, which are crucial factors for seed germination and seedling growth. This controlled environment can lead to healthier and more robust plants.
3. Early Harvest
By starting seeds indoors, you can achieve an earlier harvest, giving you a head start on enjoying fresh produce. This is especially advantageous for plants with a long growing period or those sensitive to frost.
4. Increased Variety
Indoor seed starting allows you to grow a wider variety of plants, including those that may not be suited to your outdoor climate or growing conditions.
Selecting Quality Seeds
1. Choose the Right Seeds
Select seeds that are known to perform well when started indoors. Look for varieties labeled as “suitable for indoor growing” or “for starting indoors.” Popular choices include tomatoes, peppers, herbs, and lettuce.
2. Check Germination Requirements
Different seeds have varying germination requirements, such as temperature and light. Read the seed packet instructions carefully to ensure you meet these needs.
3. Consider Seed Freshness
Use fresh seeds for the best results. Older seeds may have reduced germination rates and can lead to poor seedling development.
Preparing Containers and Soil
1. Select Appropriate Containers
Choose seed trays, pots, or any containers with drainage holes to prevent waterlogging. Seed starting kits are also available and often come with cells or pots specifically designed for seedlings.
2. Use Seed-Starting Mix
Opt for a seed-starting mix rather than regular garden soil. Seed-starting mixes are lightweight, well-draining, and sterile, which helps prevent diseases and promotes healthy root development.
3. Fill Containers Correctly
Fill containers with the seed-starting mix, leaving a small gap at the top to avoid soil spillage when watering. Lightly tap the containers to settle the mix and ensure an even surface.
Planting Seeds
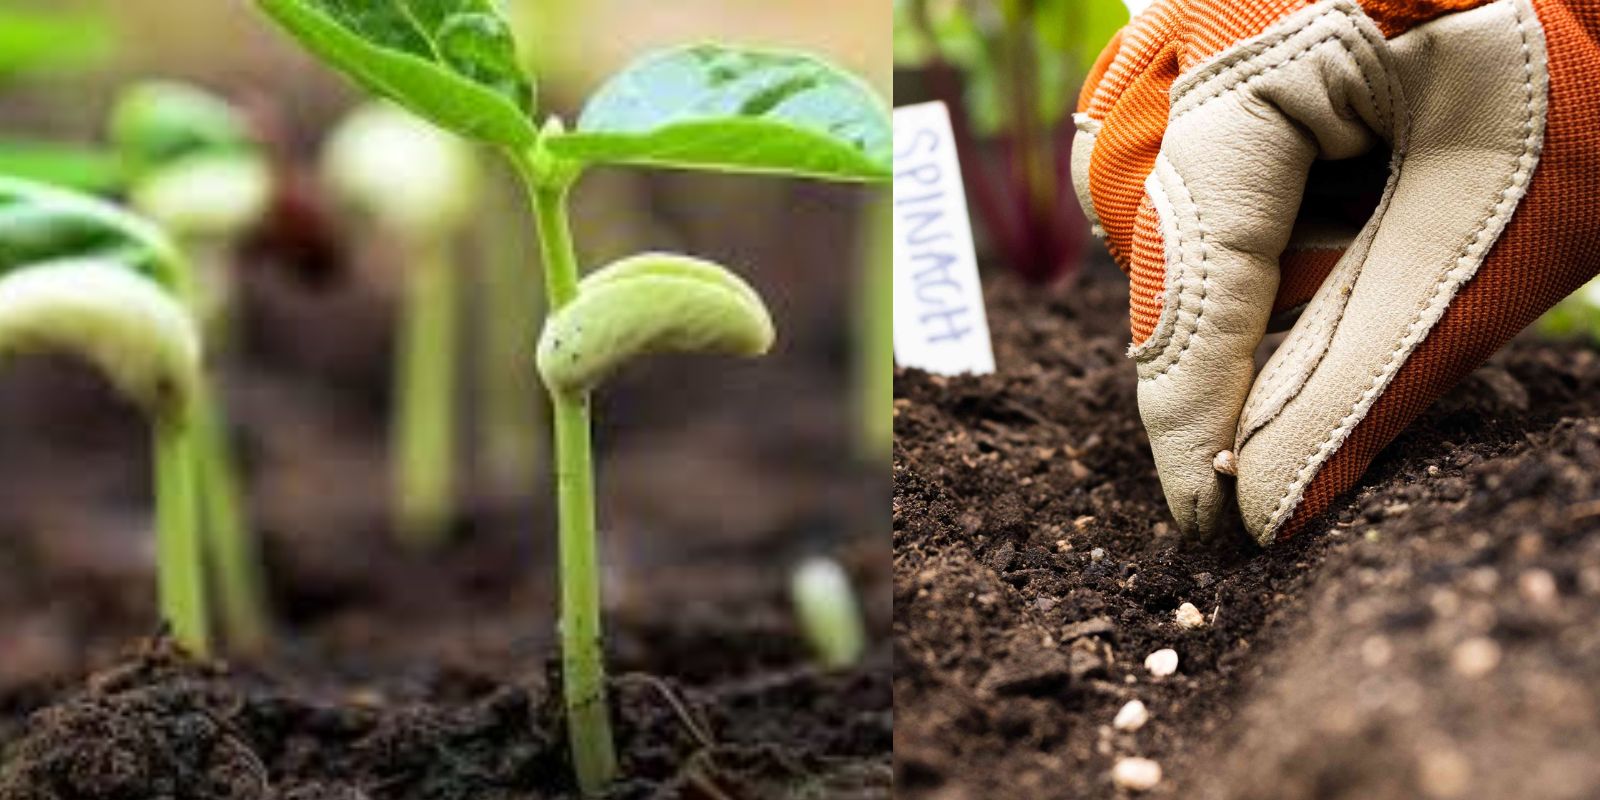
1. Sow Seeds at the Correct Depth
Refer to the seed packet for planting depth instructions. Generally, seeds should be planted at a depth of about twice their diameter. Press the seeds gently into the soil and cover with a thin layer of mix.
2. Space Seeds Appropriately
Space seeds according to the recommendations on the seed packet to avoid overcrowding. This allows for proper air circulation and reduces the risk of disease.
3. Label Containers
Label each container with the seed variety and planting date to keep track of what you’ve planted and when.
Providing Light
1. Natural Light
If using natural light, place containers in a south-facing window where they can receive ample sunlight. Ensure the plants get at least 6-8 hours of light daily.
2. Grow Lights
For more control, use grow lights to provide consistent, artificial light. Position the lights about 2-4 inches above the seedlings and adjust as they grow. Full-spectrum LED or fluorescent grow lights are ideal for indoor seed starting.
3. Light Duration
Seedlings need around 12-16 hours of light per day. Use a timer to ensure they receive the correct amount of light and darkness.
Maintaining Moisture
1. Watering Techniques
Keep the seed-starting mix consistently moist but not soggy. Water gently using a spray bottle or a watering can with a fine spout to avoid disturbing the seeds.
2. Avoid Overwatering
Overwatering can lead to mold growth and root rot. Allow the top of the soil to dry slightly between waterings. Ensure containers have adequate drainage to prevent excess water buildup.
3. Humidity
Consider using a humidity dome or covering containers with clear plastic to maintain high humidity levels during germination. Remove the cover once seedlings emerge to prevent mold.
Transplanting Seedlings
1. Gradual Acclimation
Before moving seedlings outdoors, gradually acclimate them to outdoor conditions in a process called hardening off. Start by placing them outside for a few hours each day, gradually increasing their exposure to sunlight and wind.
2. Transplanting Timing
Transplant seedlings once they have developed strong root systems and the risk of frost has passed. Check the specific requirements for each plant type to determine the best timing.
3. Soil Preparation
Prepare the outdoor planting area by enriching the soil with compost or other organic matter. Ensure the soil is well-draining and at the appropriate temperature for planting.
4. Planting
Dig holes that are slightly larger than the seedling’s root ball and space them according to the recommended distance. Gently remove seedlings from their containers and place them in the holes. Fill in around the roots with soil and water thoroughly.
Troubleshooting Common Issues
1. Poor Germination
If seeds are not germinating, check that they are receiving the correct temperature, moisture, and light conditions. Ensure the seed-starting mix is not too dense or compacted.
2. Leggy Seedlings
Leggy seedlings, or those with long, weak stems, often indicate insufficient light. Adjust grow lights or move containers to a sunnier location to promote stronger, bushier growth.
3. Disease and Pests
Monitor seedlings for signs of disease or pests, such as mold or aphids. Use organic remedies or gentle insecticidal soap to address issues promptly.
Best Practices for Success
1. Keep Records
Maintain a gardening journal to track planting dates, growth progress, and any issues encountered. This will help you refine your indoor seed-starting techniques over time.
2. Stay Organized
Keep seed packets, labels, and tools organized for easy access. This will streamline your seed-starting process and ensure you stay on top of your planting schedule.
3. Experiment
Don’t be afraid to experiment with different seeds, growing conditions, and techniques. Every gardener has unique preferences and circumstances, so find what works best for you.
Conclusion
Starting seeds indoors is a valuable technique that offers numerous benefits, including an earlier harvest and better control over growing conditions. By following the steps outlined in this guide, you can successfully grow strong, healthy seedlings and enjoy a bountiful garden season. Embrace the joys of indoor seed starting and reap the rewards of your efforts with an early and abundant harvest.
Motivational Sentence: Start your gardening journey early and enjoy a head start with homegrown seedlings—your future garden will thank you! 🌱🌟 #SeedStarting #IndoorGardening #EarlyHarvest #GreenThumb #HomeGardening #GrowYourOwn #PlantCare #GardenGoals