
As a gardener, ensuring the health and vitality of your fruit trees is a top priority. One often-overlooked method for enhancing their well-being is painting the trunks and larger branches. While this practice might seem unconventional, it offers several benefits, including protection from pests, sunscald, and extreme weather conditions. In this article, we’ll explore the reasons for painting fruit trees, the materials and techniques involved, and best practices to ensure your trees thrive.
Why Paint Your Fruit Trees?
1. Protection from Sunscald
Fruit trees, especially young ones, can suffer from sunscald, a condition caused by extreme temperature fluctuations. During sunny days, the bark heats up, and at night, when temperatures drop, it can cause the bark to crack. This can lead to infections and disease. Painting the trunks with a light-colored, reflective paint can help moderate the temperature and protect the bark from harmful UV rays.
2. Pest Deterrence
Certain pests are attracted to the bark of fruit trees. By applying a protective layer of paint, you can create a barrier that makes it more challenging for insects, like borers and beetles, to penetrate the bark. Some gardeners also incorporate insecticidal soap or other safe pesticides into the paint mixture to enhance protection against pests.
3. Prevention of Fungal Diseases
Fungal diseases often thrive in humid environments, especially in shaded areas around tree trunks. By painting the trunks, you can help reduce moisture accumulation that promotes fungal growth. This is particularly important in damp climates or during the rainy season.
4. Aesthetic Appeal
Beyond the practical benefits, painting fruit trees can also enhance the visual appeal of your garden. A fresh coat of paint can create a clean, polished look that complements your landscape design. Plus, you can get creative with colors to match your garden’s theme!
5. Winter Protection
In colder climates, fruit trees are susceptible to winter injury. Painting the trunks can help protect against temperature fluctuations and damage caused by frost. The paint acts as an insulating layer, helping to stabilize the temperature around the bark.
Materials Needed for Painting Fruit Trees
Before you start painting, gather the necessary materials:
- Non-Toxic Latex Paint: Choose a water-based latex paint in a light color (white, light gray, or beige) that reflects sunlight. Avoid oil-based paints as they can harm the tree.
- Water: To dilute the paint for easier application.
- Paintbrush or Sprayer: A large paintbrush works well for manual application, while a sprayer can cover larger areas more quickly.
- Drop Cloth: To protect the surrounding soil and plants from spills.
- Garden Gloves: Protect your hands during the painting process.
- Cleaning Supplies: A sponge, water, and mild soap for cleaning the bark before painting.
Step-by-Step Guide to Painting Fruit Trees
Step 1: Choose the Right Time
The best time to paint fruit trees is during early spring or late fall. In spring, before the tree begins to bud, you can protect it as it wakes from dormancy. In late fall, after the leaves have dropped, painting can help guard against winter weather.
Step 2: Clean the Tree
Before painting, clean the tree’s trunk and larger branches. Use a sponge or cloth with water and mild soap to remove dirt, moss, or lichen. This step is crucial as it allows the paint to adhere better and prevents any hidden pests from causing issues later on.
Step 3: Prepare the Paint
Dilute your latex paint with water in a 1:1 ratio (50% paint, 50% water). This dilution helps the paint penetrate better and makes it less likely to suffocate the tree. Mix thoroughly to achieve a consistent texture.
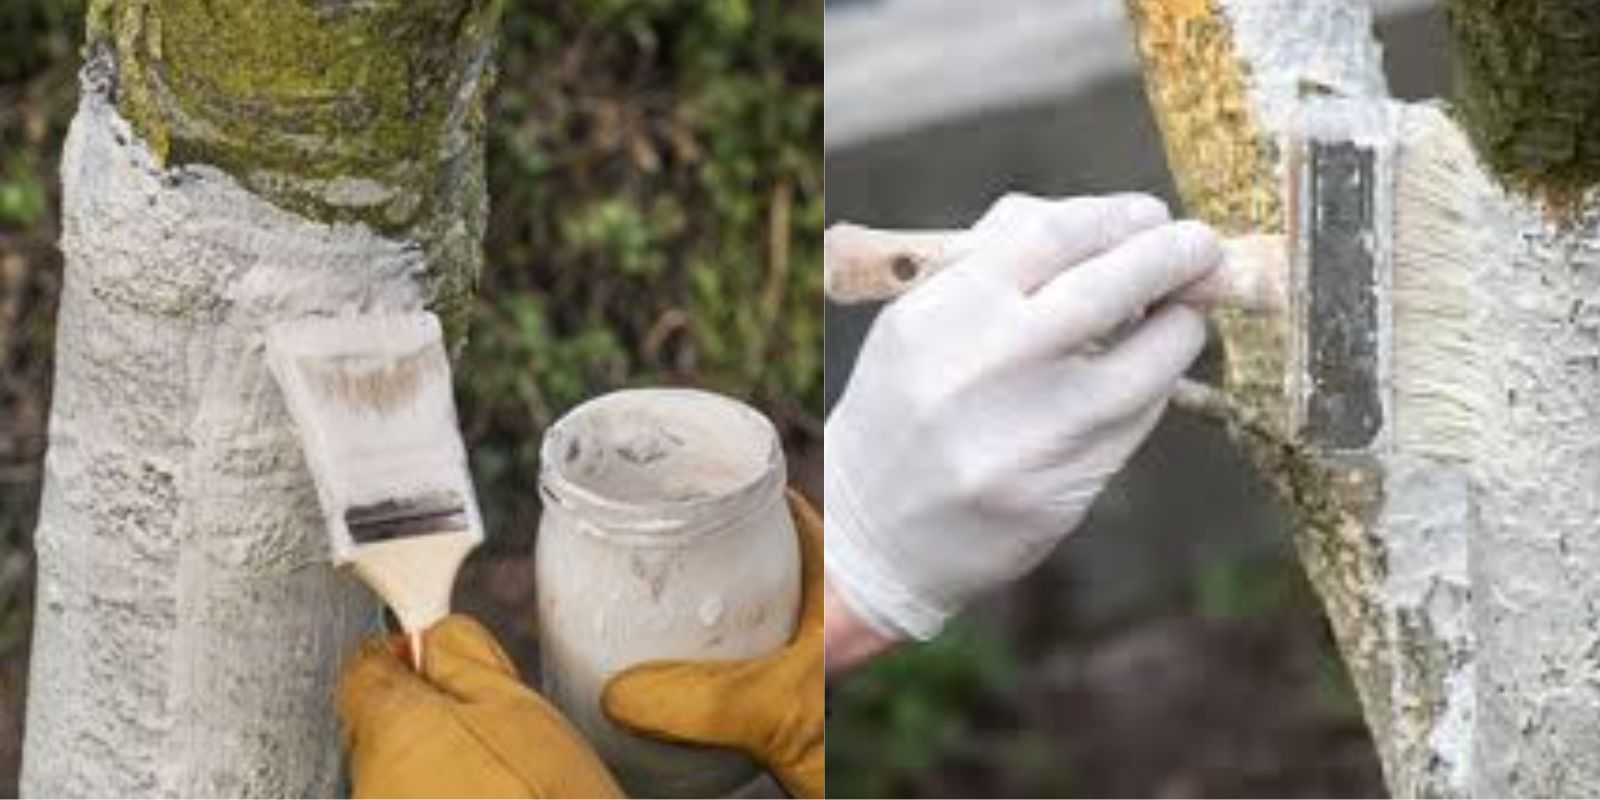
Step 4: Apply the Paint
Using a paintbrush or sprayer, apply the diluted paint evenly around the trunk and any larger branches. Start from the bottom and work your way up, ensuring complete coverage. Avoid painting the leaves or fruit to prevent hindering photosynthesis.
Step 5: Focus on Wounds
If your tree has any visible wounds or scars, pay special attention to these areas. Applying an extra layer of paint can help seal these wounds and protect against diseases.
Step 6: Monitor Your Trees
After painting, regularly check your trees for any signs of damage or pests. Reapply the paint as necessary, especially if you notice wear or if the weather has been particularly harsh.
Step 7: Maintain a Clean Environment
To ensure the long-term health of your trees, keep the area around them clean. Remove any fallen leaves or debris that can harbor pests and diseases.
Best Practices for Painting Fruit Trees
- Avoid Painting During Extreme Weather: Do not paint in extreme temperatures (above 90°F or below 40°F) or during rain. This can affect how well the paint adheres and its protective qualities.
- Limit Painting to Trunks and Large Branches: Focus your painting efforts on the trunks and main branches. Avoid covering smaller branches and foliage, as this can hinder growth.
- Choose the Right Color: Light colors reflect sunlight and prevent overheating. Dark colors can absorb heat and may not provide the same level of protection.
- Keep Paint Out of Reach: Store leftover paint securely, away from children and pets. Ensure that any equipment used for painting is cleaned thoroughly to avoid contamination.
- Consider Adding Nutrients: Some gardeners mix nutrients or beneficial substances into the paint to promote tree health. Be cautious and ensure that any additives are safe for your trees.
Conclusion
Painting fruit trees is a simple yet effective way to enhance their health and protect them from various threats. By following the steps outlined in this guide, you can ensure that your trees not only survive but thrive in your garden. Whether you’re looking to prevent sunscald, deter pests, or simply add an aesthetic touch to your landscape, painting your fruit trees is a worthwhile endeavor.
So grab your paintbrush, protect those trees, and enjoy the fruits of your labor!
Get started on your tree-painting adventure today! 🍏🌳🎨
#GardeningTips #FruitTrees #TreeCare #GardenInspiration #HealthyPlants