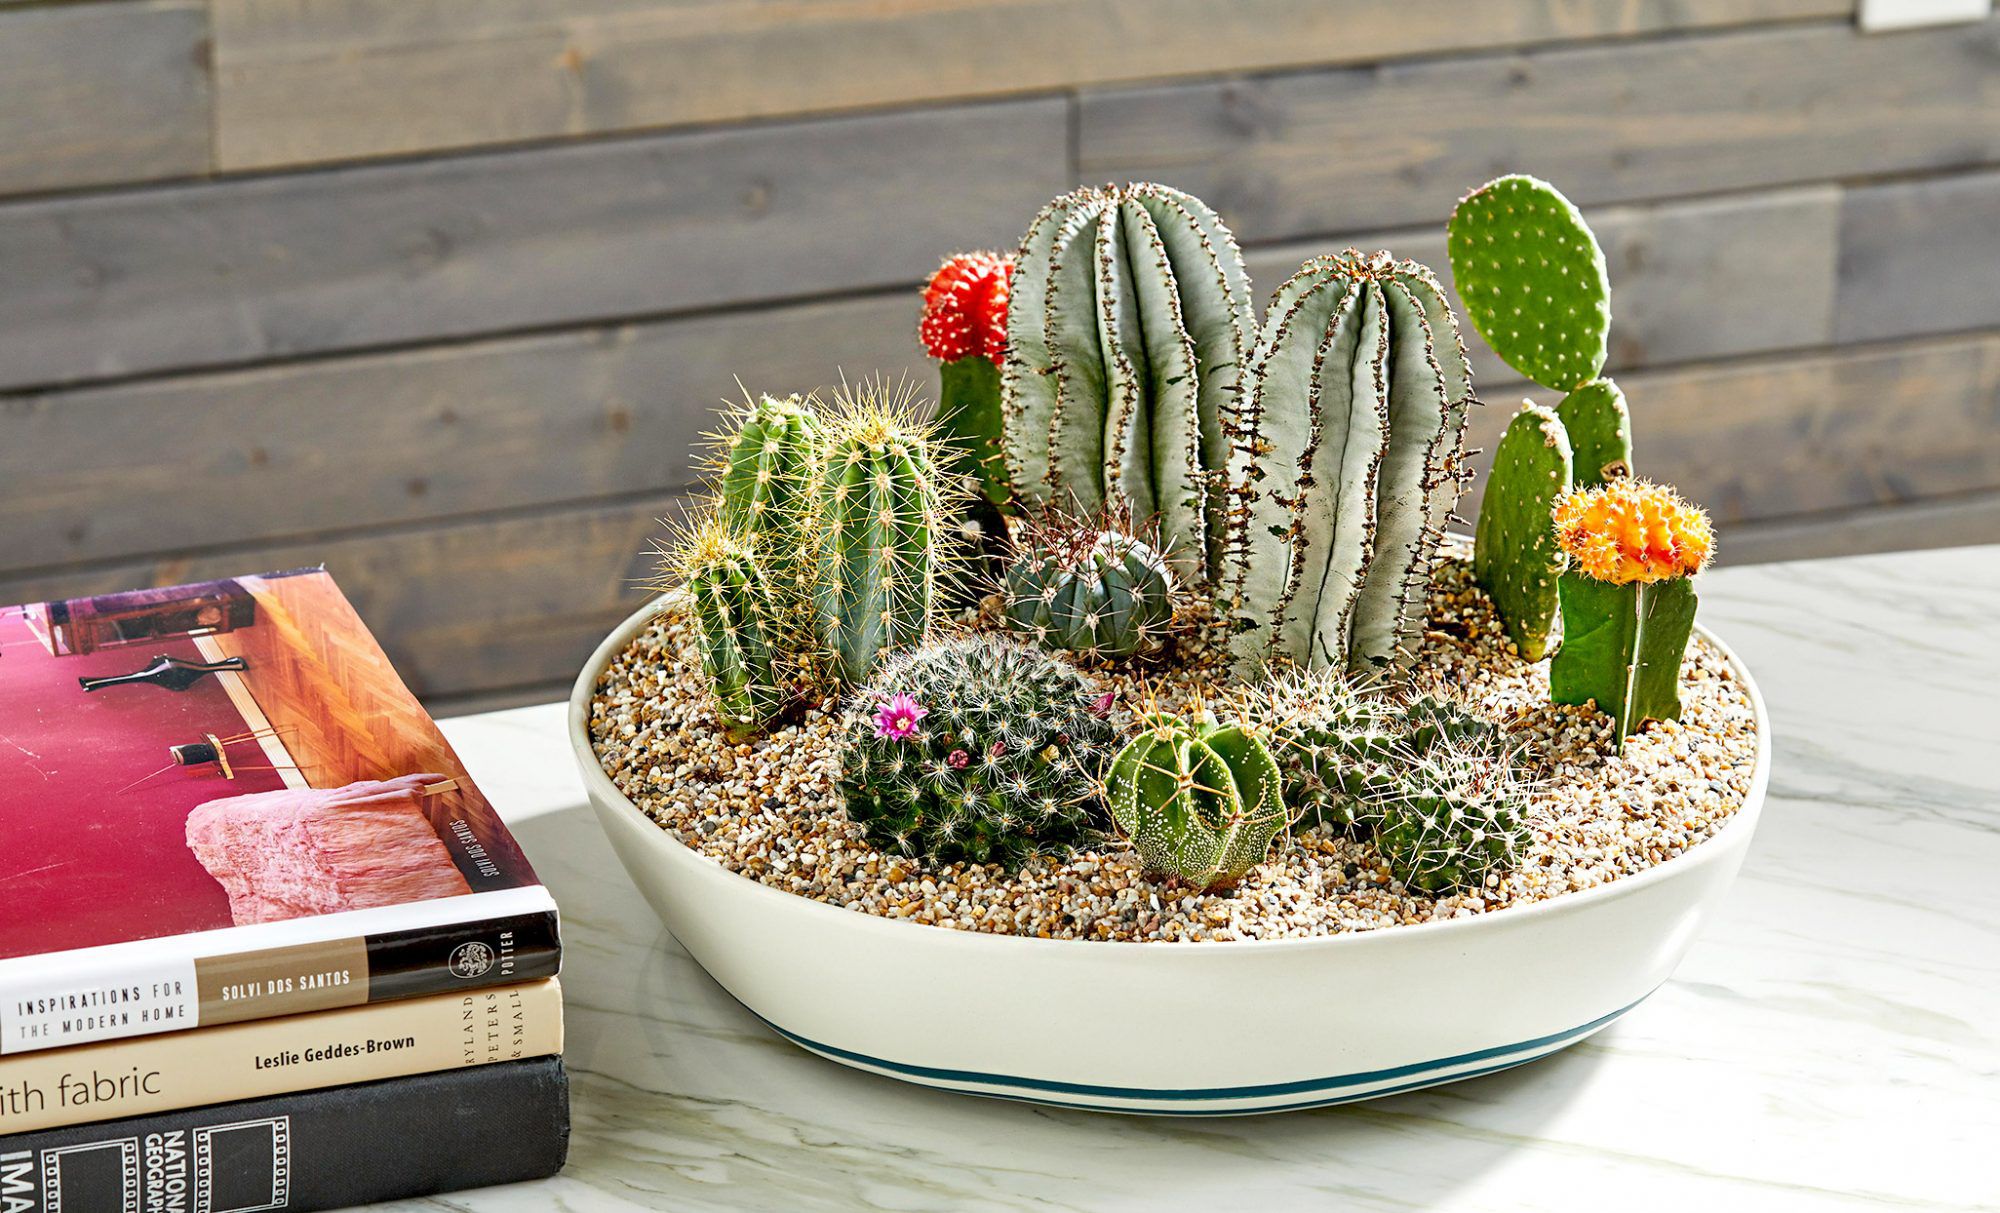
If you love plants but don’t have the space for a large garden, a dish garden is the perfect solution! It’s simple, elegant, and can thrive indoors or outdoors with minimal effort. Whether you’re a beginner or a seasoned plant lover, creating a dish garden is a fun and rewarding way to bring greenery into your home.In this Step-by-Step Guide: Dish Garden, we’ll walk you through everything you need to know — from choosing the right container and plants to designing, planting, and caring for your miniature garden masterpiece.🌸 What Is a Dish Garden?A dish garden is a shallow container filled with a mix of small plants that grow harmoniously together. It’s like a mini landscape — beautiful, low-maintenance, and perfect for desks, windowsills, or tabletops.Dish gardens are often made using succulents, cacti, or tropical plants, depending on the look and environment you want. You can design a desert-style garden with sand and stones, or a lush, green tropical scene with moss and ferns.The beauty of a dish garden lies in its versatility — you can customize it to match your decor, theme, and plant preferences.🪴 Benefits of Creating a Dish GardenWhy choose a dish garden over traditional pots? Here are a few great reasons:🌿 Space-saving: Perfect for small apartments, offices, or dorms.💧 Low maintenance: Requires minimal watering and care.🎨 Decorative: Adds instant natural beauty to any space.🪴 Customizable: You can mix plants, stones, and accessories for endless designs.🧘 Stress-relieving: Caring for plants can boost your mood and reduce anxiety.With these benefits, it’s easy to see why dish gardens have become a favorite among home decorators and plant enthusiasts alike.🌼 Step 1: Choose the Right ContainerYour container, or “dish,” is the foundation of your garden. You can use nearly anything shallow that holds soil and plants.🪴 Popular Dish Options:Ceramic bowls or plattersGlass terrariumsWooden trays with linersDecorative metal dishesRepurposed household items (like tea cups or serving bowls)💡 Tip: Choose a container that is at least 2–3 inches deep and wide enough to fit multiple small plants.If your dish doesn’t have drainage holes, add a layer of pebbles or charcoal at the bottom to prevent root rot.🌿 Step 2: Select the Right PlantsChoosing plants that thrive in the same conditions is key. Mixing plants with different water or light needs can lead to problems later.🌵 For a Desert-Themed Dish Garden:Succulents (like echeveria or jade plant)Cacti (small varieties work best)Aloe veraHaworthia🌴 For a Tropical-Themed Dish Garden:Small fernsFittonia (nerve plant)Mini peace liliesPothos or philodendron cuttings🌸 For a Decorative Mixed Garden:African violetsMiniature rosesHerbs like thyme or rosemary💚 Pro Tip: Choose plants that stay small and grow slowly. You want them to complement each other, not compete for space.🌻 Step 3: Gather Your SuppliesBefore planting, make sure you have everything ready. Here’s your checklist:🌿 You’ll Need:Dish or containerPotting mix (choose cactus mix or tropical mix depending on your plants)Pebbles or small stones for drainageDecorative rocks, shells, or moss for finishing touchesA small trowel or spoon for plantingOptional:Activated charcoal (to absorb moisture and odors)Gloves (especially if working with cacti)💡 Pro Tip: Use a spray bottle for gentle watering — it’s perfect for small dish gardens.🌱 Step 4: Prepare the BaseNow it’s time to build your garden’s foundation.Add a layer of pebbles or small stones to the bottom (about 1 inch thick). This helps with drainage.Add a thin layer of activated charcoal if your dish doesn’t have drainage holes — it prevents mold and keeps soil fresh.Fill the container with potting mix, leaving about an inch of space from the top.Use the right type of soil:Cactus/succulent mix for desert gardensMoisture-retentive tropical mix for ferns and leafy plants🌼 Step 5: Arrange and Plant Your GardenHere’s where creativity comes in! Arrange your plants before you start digging to visualize how the garden will look.🌿 Design Tips:Place taller plants in the center or at the back.Use smaller or trailing plants at the edges.Mix colors, textures, and shapes for a balanced look.Once you’re happy with your layout:Gently remove plants from their pots.Loosen the roots slightly with your fingers.Dig small holes in the soil and place each plant in.Press soil gently around the roots to secure them.💚 Pro Tip: Leave some space between plants so they can grow comfortably.🌸 Step 6: Add Decorative TouchesNow for the fun part — decorating your dish garden!You can make it as simple or as detailed as you like. Add elements that complement your home style or match a theme (like beach, forest, or desert).✨ Decoration Ideas:Pebbles or gravel to cover the soilMini figurines or fairy garden accessoriesShells, driftwood, or crystalsColored sand for texture and contrastMoss for a natural finish🎨 Design Tip: Keep it balanced. Too many decorations can overwhelm the plants.💧 Step 7: Water CarefullyOverwatering is the most common mistake with dish gardens — especially those without drainage holes.🌿 Watering Guidelines:Succulent/cactus gardens: Water lightly every 2–3 weeks.Tropical gardens: Keep the soil slightly moist; water weekly or when the top inch feels dry.Herb gardens: Check often — herbs like consistent moisture.Use a spray bottle or small watering can to avoid flooding the dish. Let the soil dry out between waterings to prevent root rot.💡 Pro Tip: Always research your specific plants’ watering needs.☀️ Step 8: Provide the Right LightLight is crucial for your dish garden’s health and color.Succulents and cacti love bright, direct sunlight — place them near a south-facing window.Tropical and indoor plants prefer bright, indirect light — east or north-facing windows work best.If natural light is limited, use a grow light to supplement.🌻 Pro Tip: Rotate your dish garden every week or two so plants grow evenly toward the light.🌱 Step 9: Maintain and Refresh RegularlyA dish garden is easy to care for, but a little maintenance goes a long way.🌿 Maintenance Tips:Remove any dead leaves or debris to prevent mold.Trim overgrown plants to maintain shape.Replenish decorative stones or moss as needed.Check soil moisture regularly.Every 6–12 months, you may want to repot or refresh the soil, especially if your plants start to outgrow the dish.💚 Bonus Tip: Rotate seasonal decorations — it keeps your dish garden looking fresh all year!🌸 Step 10: Get Creative with ThemesOne of the joys of dish gardening is how versatile it is. You can create themed designs to match holidays, seasons, or moods.🌿 Creative Dish Garden Themes:🌵 Desert Zen Garden: Sand, succulents, and smooth stones.🪴 Tropical Paradise: Mini ferns, moss, and driftwood.🧚 Fairy Garden: Tiny figurines, pathways, and flowers.🍃 Herbal Kitchen Dish: Mini basil, thyme, and rosemary.💎 Crystal Garden: Combine plants with healing stones for positive energy.The only limit is your imagination!🌼 Common Mistakes to AvoidEven easy projects can go wrong without the right care. Here are the top mistakes to avoid:🚫 Overwatering your plants🚫 Mixing plants with different light/water needs🚫 Forgetting drainage layers🚫 Using non-breathable containers (for succulents)🚫 Ignoring sunlight requirements💡 Quick Fix: When in doubt, less water and more light are usually safer!🌿 Conclusion: Build Your Mini Oasis Today!Creating a dish garden is a simple, rewarding way to bring nature indoors. Whether you choose succulents, tropical plants, or herbs, the process is relaxing and creative.By following this Step-by-Step Guide: Dish Garden, you’ll design a living work of art that fits perfectly in your home or office — no green thumb required!So grab your favorite dish, gather your plants, and start building your mini oasis today. With a little care and creativity, your dish garden will thrive and bring joy for months (or even years) to come. 🌸