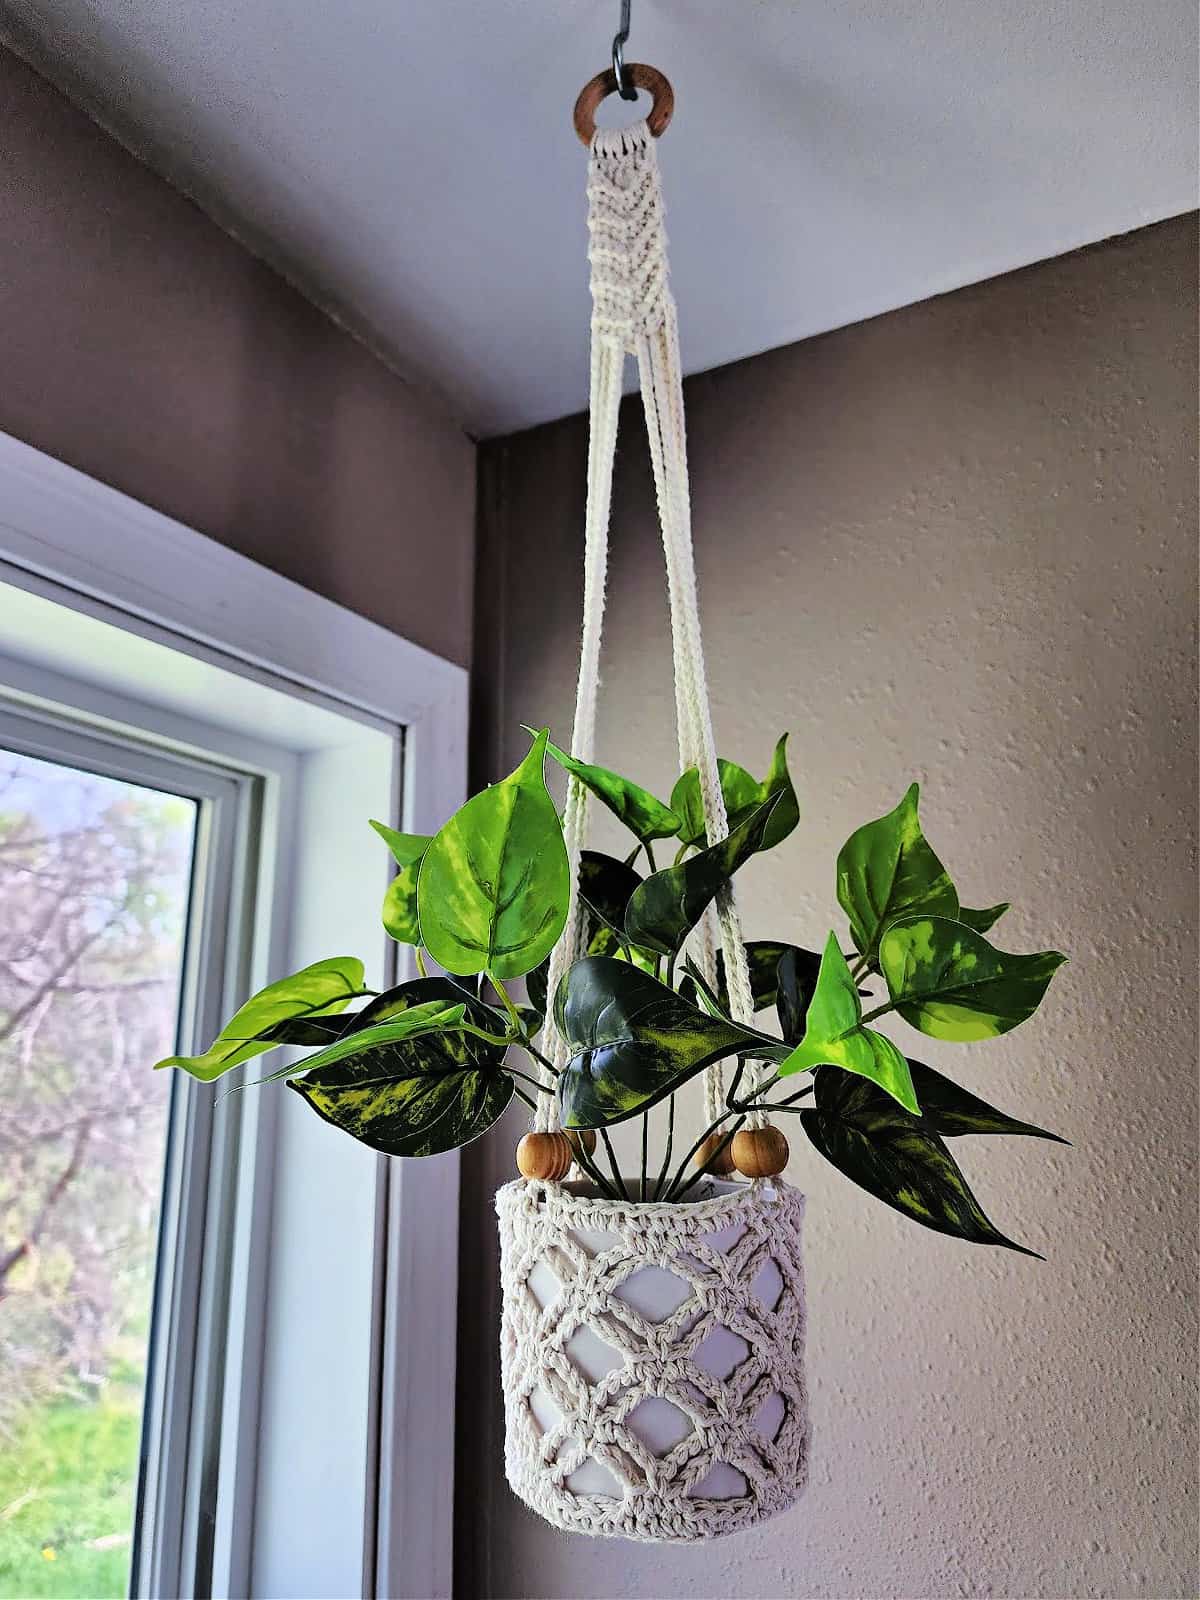
If you love plants and handmade décor, there’s nothing quite as charming as a crocheted hanging plant holder. These beautiful creations add texture, warmth, and personality to any room — whether you’re decorating a cozy apartment, a bohemian-style home, or a bright sunroom.Learning the simple tricks to how to crochet a hanging plant successfully can turn a ball of yarn into a stunning, functional piece of art. And the best part? You don’t need to be an expert crocheter! With just a few basic stitches and techniques, you can make your own stylish hanging planter in under an hour.This ultimate guide will walk you through everything you need — from materials and steps to insider tips that ensure your crochet hanger is strong, balanced, and beautiful.🌿 Why Crochet a Hanging Plant?Crocheted hanging planters aren’t just trendy — they’re practical and sustainable too. Instead of buying mass-produced plastic or metal holders, you can create something unique, eco-friendly, and perfectly fitted to your space.Here’s why so many DIY lovers are obsessed with them:🪴 Eco-conscious décor: Use natural cotton or recycled yarn.🎨 Customizable: Choose your colors, textures, and styles.💪 Durable: Crochet creates a strong netting that can hold weight easily.🎁 Great gift idea: Perfect for birthdays, housewarmings, or plant lovers.🕒 Fast and relaxing: Even beginners can complete one in about 45 minutes!Now, let’s explore the simple tricks to how to crochet a hanging plant successfully — step by step.🧰 What You’ll NeedBefore you start crocheting, it’s important to have the right tools and materials.Basic MaterialsYarn: 100% cotton yarn (medium or bulky weight) — durable and easy to wash.Crochet hook: Size H/8 (5 mm) or I/9 (5.5 mm). Adjust to match your yarn.Scissors: For trimming yarn neatly.Tapestry needle: To weave in ends securely.Metal or wooden ring: For hanging the finished piece (optional).Plant pot: Use your actual pot for sizing as you work.✅ Pro Tip: Cotton yarn works best because it doesn’t stretch as much as acrylic yarn. If your plant will hang near moisture or sunlight, cotton handles that better too.🪴 Step-by-Step: How to Crochet a Hanging Plant SuccessfullyLet’s break the process into clear steps so you can follow along with ease — even if you’re new to crochet!Step 1: Make the BaseStart with the bottom part of your hanger — this will support your plant pot.Create a magic ring (also called a magic circle).Work 6 single crochets (sc) into the ring.Pull the loop tight and join with a slip stitch.This creates a sturdy starting point.Next, widen the base:Round 2: 2 sc in each stitch (12 stitches total).Round 3: 1 sc in the first stitch, 2 sc in the next stitch — repeat (18 total).Continue adding rounds until your circle matches the size of your pot’s bottom.✅ Simple trick: Place your pot on top of the crochet circle as you work — this helps ensure a perfect fit.Step 2: Build the SidesOnce your base fits the pot, stop increasing stitches.Now, crochet 1 sc in each stitch around for several rounds to form the sides.You can:Keep it solid for a sturdy look, orSwitch to chain spaces or double crochets (dc) for a more open, decorative design.Aim for sides about 3–5 inches high, depending on how deep your pot is.Step 3: Add Hanging LoopsNow it’s time to create the loops that will hold your planter up.Choose 3 or 4 evenly spaced points around the rim.At each point, attach your yarn and chain 35–45 stitches (depending on how long you want your hanger).Slip stitch back into the same stitch where you started to form a loop.Repeat this for each section.Gather all the loops together at the top and tie them securely — or thread them through a metal/wooden ring for a cleaner finish.✅ Pro Tip: Make sure your loops are equal in length — uneven loops can cause your plant to tilt. That’s one of the most important simple tricks to how to crochet a hanging plant successfully!Step 4: Strengthen and SecureYour plant hanger will hold some weight, so it’s essential to reinforce it.Double up your yarn for the loops if you plan to hold heavier pots.Tighten all joins and weave in yarn ends firmly using your tapestry needle.Gently pull on each loop to test its strength before hanging your plant.You can even add a few decorative macramé-style knots or a tassel at the bottom for style!🌼 Optional Design VariationsCrochet plant hangers are wonderfully versatile. Once you master the basics, try these creative ideas:1. Boho Fringe HangerAfter finishing, cut long yarn pieces and attach them as a tassel at the bottom. It gives that trendy boho vibe — perfect for cozy living rooms or balconies.2. Two-Tone HangerSwitch yarn colors halfway through to create a two-tone design. It’s a simple way to add visual interest and coordinate with your home décor.3. Mesh DesignInstead of single crochets, use a chain-1, skip-1, double crochet pattern for a net-like effect. This is great for lighter pots or artificial plants.4. Mini HangersUse thinner yarn and smaller hooks to make mini versions for succulents or herbs. These look adorable in kitchen windows or office spaces!💡 Simple Tricks for Crocheting SuccessHere are some expert-approved tips to make your project smooth and professional-looking:Keep your tension consistent.Even stitches help your hanger look neat and balanced.Test fit often.Slip your pot into the holder as you go to ensure the perfect fit.Use a sturdy yarn.Cotton or rope-style yarn holds weight better than acrylic.Block your work.Lightly steam or shape your finished crochet to relax the fibers.Add a liner if needed.If your plant leaks water, place a small tray or liner inside the pot before hanging.Hang before planting.Test the balance and adjust loop lengths before adding soil or water.These simple tricks to how to crochet a hanging plant successfully ensure that your handmade piece is both functional and long-lasting.🌸 Caring for Your Crochet Plant HangerOnce you’ve made your crochet hanger, keep it looking fresh with a little care:Dust it weekly with a soft brush or cloth.Spot-clean gently with mild soap and water if it gets dirty.Air dry completely to prevent mildew.Avoid overwatering plants — cotton yarn can absorb moisture.If your hanger ever stretches slightly, you can re-shape it by dampening and air-drying it while the pot is inside to maintain its form.🌿 Why You’ll Love This DIY ProjectCreating your own crochet plant hanger isn’t just about the finished product — it’s about the joy of crafting something meaningful with your hands.With these simple tricks to how to crochet a hanging plant successfully, you’ll enjoy:A relaxing, creative hobbyA custom home décor pieceA gift-worthy handmade itemA sustainable alternative to store-bought hangersCrochet plant hangers are timeless, versatile, and always in style — adding a cozy, personal touch to any space.🏁 ConclusionNow that you’ve learned the simple tricks to how to crochet a hanging plant successfully, you can bring your green dreams to life — one stitch at a time!From choosing the right yarn and hook to crafting balanced loops and creative designs, every step in this process is both enjoyable and rewarding. Whether you’re hanging succulents in your kitchen, ferns in your patio, or trailing ivy by the window, a handmade crochet hanger adds that perfect touch of warmth and charm.So grab your yarn, pick your favorite plant, and start crocheting today — your home (and your plants) will thank you for it! 🌸✨