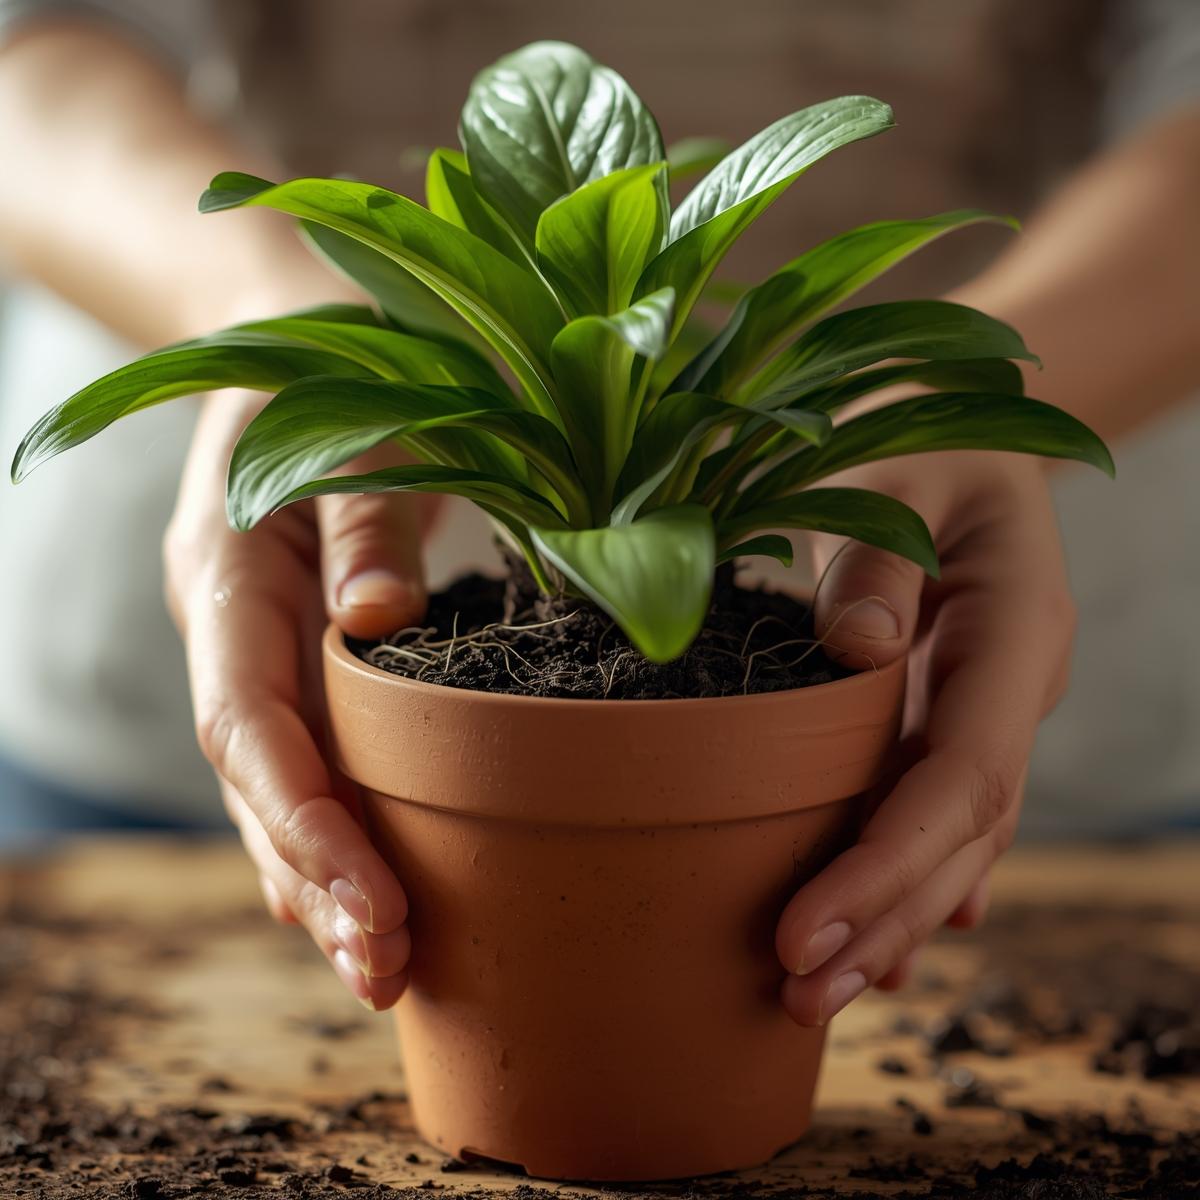
Repotting isn’t just about moving a plant to a bigger pot — it’s about reviving its roots, refreshing its soil, and giving it room to thrive. Whether your plant looks a little droopy or its roots are peeking out of the pot, it’s probably whispering: “Time for a new home!” 🪴Here’s your ultimate guide to how to repot a plant — Secret Tips Inside! 🌿✨🌱 Step 1: Know When to RepotTiming is everything — repot at the right moment for stress-free success!Signs your plant needs repotting:✅ Roots are growing out of the drainage holes✅ Water runs straight through the pot✅ Leaves are yellowing or growth has slowed✅ Soil looks compacted or dry no matter whatBest Time:Spring or early summer — when plants are actively growing.Avoid winter unless it’s absolutely necessary.🌸 Secret Tip:If you see roots circling the bottom of the pot, it’s definitely time! 🌀🪴 Step 2: Choose the Perfect PotYour new pot should be 1–2 inches larger in diameter than the current one.Potting Secrets:Ensure it has drainage holes — always!Terra cotta pots breathe better but dry out faster.Plastic pots retain more moisture for thirsty plants.Secret Hack:Place a small piece of mesh, coffee filter, or broken pottery shard over the drainage hole to prevent soil from escaping. ☕✨🌾 Step 3: Prepare the Perfect Soil MixYour plant deserves nutrient-rich, fluffy soil that lets roots breathe.Basic Potting Mix Recipe:2 parts high-quality potting soil1 part perlite (for drainage)1 part compost or coco coir (for nutrients & moisture)🌿 Secret Add-ons:A pinch of activated charcoal to prevent root rot.A sprinkle of worm castings for a nutrient boost! 🪱🌻 Step 4: Remove the Plant GentlyHandle with care — your plant’s roots are delicate!How to do it:Water the plant a few hours before repotting — moist soil slides out easier.Tap the sides of the pot to loosen roots.Gently pull the plant out, holding the base (never yank the stems!).Secret Tip:If the roots are tightly tangled, massage them gently or snip a few circling ones with clean scissors. This encourages new root growth. ✂️🌱🌼 Step 5: Repot Like a ProNow, it’s time for your plant’s grand move!Steps:Add a layer of soil to the bottom of the new pot.Center your plant — make sure it sits at the same depth as before.Fill in around the sides with fresh soil, pressing lightly to remove air pockets.Water thoroughly to settle the soil.Secret Hack:Don’t pack the soil too tight — loose soil = happy roots that can breathe and expand! 🌬️🌞 Step 6: Post-Repotting CareYour plant just moved homes — let it adjust!Aftercare Secrets:🌿 Keep it in indirect sunlight for a few days.💧 Water lightly until you see new growth.🌸 Avoid fertilizing for 2–3 weeks — roots need time to heal.Pro Hack:Misting the leaves or using a humidity tray can reduce stress and help your plant settle in smoothly.🌺 Step 7: Maintain the MagicTo keep your newly repotted plant thriving:Rotate it weekly for even light.Dust the leaves to help with photosynthesis.Repot again every 12–18 months for continued growth.Secret Tip:Talk to your plants! 🌿 Studies suggest plants respond positively to your voice — a little love goes a long way. 💚🌸 Bonus: Common Repotting Mistakes to Avoid🚫 Choosing a pot that’s too large — it leads to soggy soil.🚫 Forgetting drainage holes — roots can rot.🚫 Using garden soil — it’s too dense for indoor pots.🚫 Overwatering after repotting — less is more until the roots recover!🌿 Final Thoughts: Secret How to Repot a Plant Tips!When you know how to repot a plant — Magic Awaits! ✨By giving your green companions fresh soil, space to stretch, and gentle care, you’ll watch them flourish like never before. 🌱💚Repotting isn’t just maintenance — it’s a ritual of renewal. Each new pot is a fresh chapter in your plant’s story. 🌸Keywords: how to repot a plant, repotting houseplants, repotting tips, plant care hacks, soil mix for plants, indoor plant guide, gardening secrets