
Garlic has been a cherished crop for centuries, known for its culinary and medicinal uses. But achieving those large, flavorful bulbs takes more than just planting cloves and hoping for the best. An ancient gardening secret—salting garlic before planting—has proven to enhance its growth, protect it from pests and diseases, and result in a more robust harvest. This article dives deep into the benefits of this method, the science behind it, and the step-by-step process to help you achieve garlic-growing success.
Why Salt Your Garlic Before Planting?
Salting garlic might sound unusual, but this practice is rooted in centuries of gardening wisdom. Here’s why it works:
- Disease Prevention: Garlic is prone to fungal infections like white rot and fusarium. Saline solutions act as a natural disinfectant, killing pathogens that may reside on the cloves.
- Pest Deterrent: Saltwater creates an unfavorable environment for pests that might attack garlic during its early stages of growth.
- Stronger Germination: The saline soak boosts the garlic’s resilience, ensuring it sprouts vigorously once planted.
- Larger Bulbs: Healthier cloves lead to stronger plants, which can produce bigger, more flavorful garlic bulbs.
Preparing Your Garlic for Planting
Here’s a step-by-step guide to salting garlic before planting:
Step 1: Gather Your Materials
- Garlic bulbs (preferably certified disease-free or saved from previous harvests)
- 1 tablespoon of salt (use non-iodized salt for best results)
- 1 liter of warm water
- A mixing bowl
- A clean surface for drying
Step 2: Prepare the Saline Solution
Dissolve 1 tablespoon of salt into 1 liter of warm water. Stir until the salt is completely dissolved. This creates a mild saline solution that is strong enough to disinfect but gentle enough not to harm the garlic.
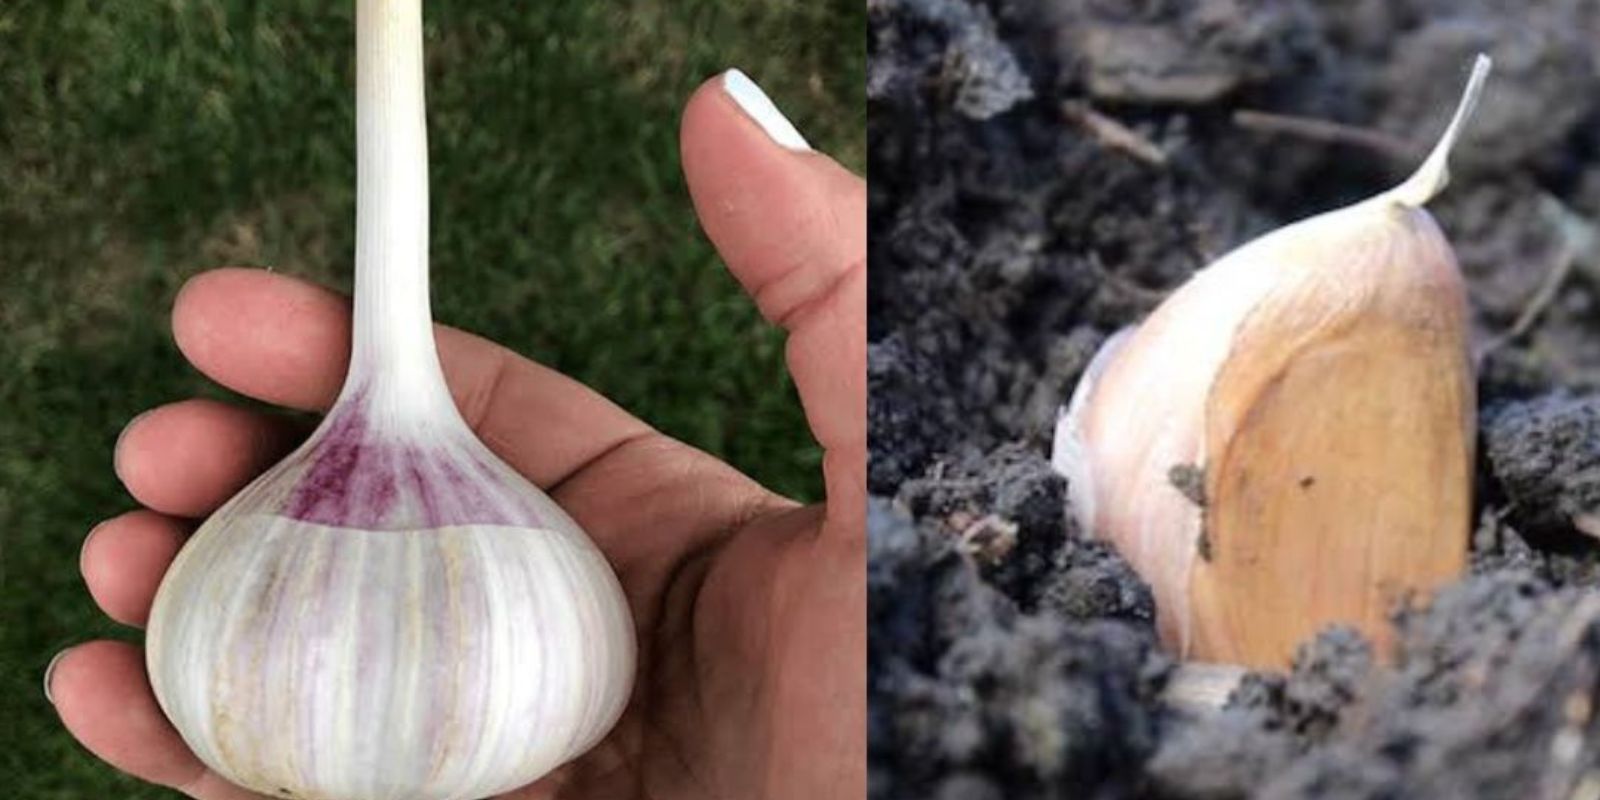
Step 3: Separate the Garlic Bulbs into Cloves
Carefully break the garlic bulb into individual cloves, keeping the papery skin intact. This skin helps protect the cloves during planting.
Step 4: Soak the Cloves
Place the garlic cloves into the saline solution. Let them soak for 15-20 minutes. This soaking process disinfects the cloves and primes them for strong growth.
Step 5: Dry the Cloves
Remove the cloves from the saline solution and lay them out on a clean, dry surface. Allow them to dry completely. This step is essential to prevent excess moisture, which could lead to rot when planted.
Planting Your Garlic
Once your garlic cloves are salted and dried, it’s time to plant them. Follow these steps for the best results:
- Prepare the Soil: Garlic thrives in loose, well-drained soil enriched with organic matter. Add compost or well-rotted manure to improve fertility. Ensure the soil pH is between 6.0 and 7.0.
- Plant the Cloves: Place the cloves root-side down into the soil, about 7-8 cm apart in a row. Space the rows about 20 cm apart to give the plants enough room to grow.
- Depth Matters: Cover the cloves with soil, ensuring they are buried about 5 cm deep. This protects them from harsh weather and keeps them firmly in place.
- Mulch for Protection: Cover the planted area with a layer of mulch, such as straw, dried leaves, peat, or compost. Mulching helps retain moisture, suppress weeds, and insulate the cloves during cold weather.
Winter Care and Spring Revival
Garlic is a hardy crop that grows well even in cold climates. During winter, the mulch protects the cloves from frost. As spring arrives:
- Remove the mulch layer to allow the soil to warm up and the garlic shoots to emerge.
- Ensure the plants receive consistent watering, especially during dry spells, but avoid overwatering to prevent rot.
Tips for Healthy Garlic Growth
- Rotate Crops: Avoid planting garlic in the same spot each year to reduce the risk of soil-borne diseases.
- Fertilize Wisely: Feed your garlic plants with a nitrogen-rich fertilizer during their early growth stages. Switch to a potassium-based fertilizer as the bulbs begin to form.
- Weed Control: Keep the garlic bed weed-free to reduce competition for nutrients and sunlight.
- Watch for Pests: Monitor for common garlic pests like onion maggots and thrips. Neem oil or insecticidal soap can help deter them.
The Harvest
Garlic is typically ready for harvest in midsummer, depending on when it was planted. Look for these signs to determine readiness:
- The lower leaves of the plant turn yellow and begin to die back.
- The bulbs feel firm and well-formed when gently dug up.
Once harvested, cure the garlic by letting it dry in a well-ventilated area for 2-3 weeks. This process enhances its flavor and shelf life.
The Science Behind Salting Garlic
Saltwater solutions have natural antibacterial and antifungal properties. When garlic cloves are soaked, the saline environment kills harmful microbes on their surface without penetrating the clove itself. This prepares the garlic for a strong, healthy start in the soil.
Benefits of Salting Garlic for Gardeners
- Minimal Maintenance: Salting reduces the likelihood of diseases, making garlic easier to grow with minimal intervention.
- Eco-Friendly: Using saltwater as a natural disinfectant eliminates the need for chemical treatments.
- Reliable Results: This method ensures consistent germination and growth, even for beginner gardeners.
Conclusion
Salting garlic before planting is a simple yet effective way to enhance its growth and ensure a healthy harvest. By following this age-old technique, you can enjoy larger, more robust garlic bulbs that are resistant to pests and diseases. Whether you’re a seasoned gardener or a beginner, this method is easy to incorporate into your gardening routine.
Have you tried salting garlic before planting? Share your experience and tips in the comments below! 🌱🧄