
Gardening can be a rewarding and relaxing hobby, but it can also get expensive—especially when it comes to buying potting mix for your plants. If you’re like many gardeners, you may have an old bag of potting mix that’s sitting around, looking a little tired and worn out. The good news is, there’s no need to throw it away! With a few simple techniques, you can refresh and reuse your old potting mix, saving money and giving your plants the nutrients they need to thrive.
In this article, we’ll cover the top secrets for reviving old potting mix. By the end, you’ll know exactly how to give your soil a second life, boost its fertility, and keep your garden growing strong, all while reducing waste and saving money.
Why Recycle Potting Mix?
You might wonder why you should bother reviving your old potting mix in the first place. After all, when it’s looking a little tired, doesn’t it need to be replaced?
The truth is, there are many benefits to recycling your potting mix, and with a little care, it can last much longer than you might think. Here are a few reasons why you should give your old potting mix a second chance:
- Save Money: Potting mix can be costly, especially when you need a large amount for several pots or garden beds. By refreshing your old mix, you can avoid the expense of buying new soil every season.
- Reduce Waste: Reusing your potting mix helps reduce waste, keeping your garden eco-friendly. Instead of throwing away bags of old soil, you can recycle it, which is better for the environment.
- Boost Soil Health: Old potting mix may have lost some of its nutrients, but by adding organic matter, you can reintroduce essential nutrients and improve its structure, making it suitable for future plantings.
- Sustainable Gardening: Gardening in an eco-conscious way means finding ways to minimize waste and reuse resources. Reviving your old potting mix is a sustainable practice that aligns with these values.
Step-by-Step Guide to Reviving Old Potting Mix
Now that you understand the benefits, let’s dive into the simple steps you can follow to bring your old potting mix back to life.
1. Remove Old Roots and Debris
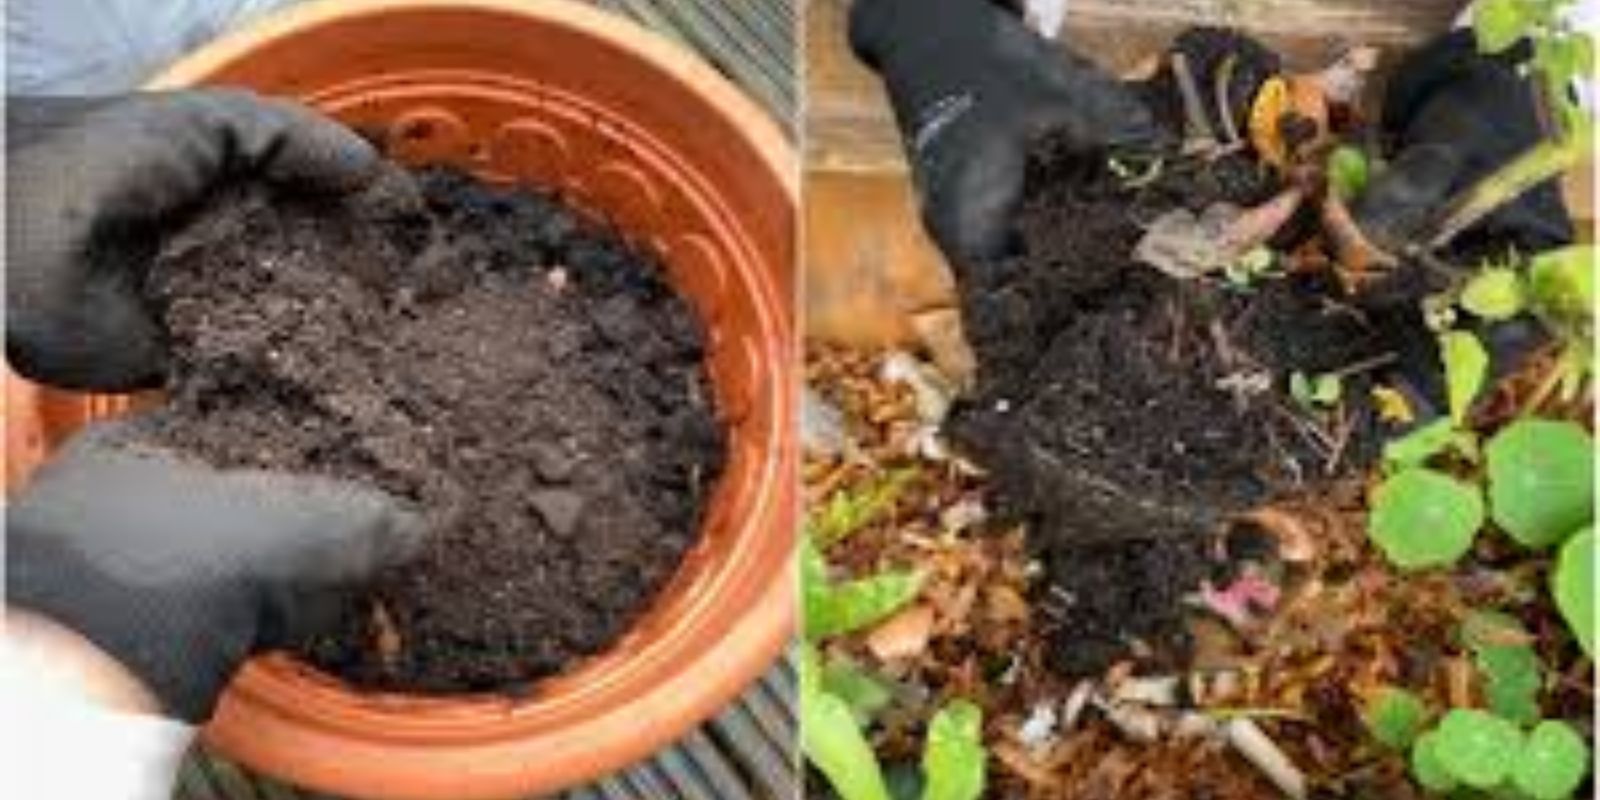
Before you start adding any new materials to your old potting mix, you’ll need to clean it up. Gently sift through the mix to remove any old plant roots, dead leaves, or other debris. These bits can break down over time and rob your soil of nutrients, so it’s important to remove them before you refresh the mix.
You can use a garden sieve or mesh strainer to sift the mix. If you don’t have one, simply use your hands to gently work through the soil. Remove any roots, twigs, and other organic matter that isn’t beneficial to your plants.
2. Add Fresh Organic Matter
Once your potting mix is clean and free from debris, it’s time to add fresh organic matter. Potting mixes can lose their fertility over time, especially after multiple plantings. To restore vital nutrients, mix in compost, worm castings, or well-rotted manure. These organic materials are rich in nutrients and will help replenish the soil, encouraging healthy plant growth.
- Compost: Compost is an excellent choice for rejuvenating your potting mix. It’s nutrient-dense and rich in beneficial microbes, which will improve soil health and structure.
- Worm Castings: Worm castings are another fantastic option. They’re packed with nutrients and beneficial microbes that enhance soil fertility and promote strong root growth.
- Manure: If you have access to well-rotted manure, this can be a great addition to your mix. Just be sure it’s aged enough to avoid burning plants or introducing pathogens.
A good rule of thumb is to add about 20-30% fresh organic material to your old potting mix, depending on how depleted it is. Mix it in thoroughly, making sure the new material is evenly distributed.
3. Loosen the Soil
Potting mix can sometimes become compacted after several uses, which can hinder root growth and water drainage. To improve the texture of the soil and ensure proper aeration, you’ll need to loosen it up.
One way to do this is by adding coarse materials like perlite, vermiculite, or sand. These materials will create air pockets in the soil, allowing the roots to breathe and water to drain more effectively.
- Perlite: Perlite is a lightweight, volcanic glass material that improves aeration and drainage in potting mixes. It helps prevent soil from becoming too dense and allows roots to access oxygen.
- Vermiculite: Vermiculite is a mineral that helps retain moisture while still promoting good drainage. It also improves soil aeration, making it easier for roots to grow.
- Sand: Coarse sand can also help loosen soil, although it’s best used in smaller amounts since it can sometimes make the soil too heavy if over-applied.
Start by adding a small amount of perlite, vermiculite, or sand to your old potting mix and mix it in well. Aim for a light, fluffy texture that will allow air and water to flow freely through the soil.
4. Sterilize (Optional)
If you’re concerned about pests, diseases, or mold that might be lingering in your old potting mix, sterilizing the soil is a good precautionary step. While this step isn’t always necessary, it can help ensure that your refreshed mix is free from harmful pathogens.
There are a few methods you can use to sterilize your potting mix:
- Oven Method: Preheat your oven to 180°F (82°C). Spread your potting mix evenly on a baking tray and bake it for about 30 minutes. This will kill any pathogens or pests that might be present. Just make sure the soil doesn’t get too hot—keep the temperature under 200°F (93°C) to avoid burning the soil.
- Solarization: If you don’t want to use the oven, you can try solarizing the soil. Spread it out in a thin layer on a tarp, and leave it in the sun for several hours. The heat from the sun will kill most pathogens.
After sterilizing, allow the soil to cool completely before adding any fresh organic matter or planting.
5. Moisturize
Once you’ve added fresh organic matter and loosened the soil, it’s time to rehydrate your potting mix. Old potting mix can dry out over time, so you’ll need to add water to bring it back to life.
Add water slowly, mixing it in thoroughly as you go. You want the soil to be moist but not soggy. If the mix is too dry, it will be harder for plants to establish roots and absorb nutrients.
6. Re-pot Your Plants
Once your potting mix is ready, you can begin using it again! Whether you’re re-potting houseplants, starting new seedlings, or filling up containers for your garden, the refreshed soil should provide the perfect environment for plant growth.
7. Store Leftover Soil Properly
If you have any leftover refreshed potting mix, store it in a sealed container or bag in a cool, dry place. This will help prevent it from drying out and ensure it remains ready for future use.
Final Thoughts: Save Money and Keep Your Garden Thriving
Reviving old potting mix is an easy and cost-effective way to keep your plants healthy without breaking the bank. By following these simple steps—removing old debris, adding fresh organic matter, loosening the soil, sterilizing (if necessary), and rehydrating—you can create a nutrient-rich potting mix that will help your plants thrive.
Not only does this practice save you money, but it also helps reduce waste and promotes sustainable gardening. With a little effort, you can reuse your old potting mix and keep your garden growing strong season after season.
Give your old potting mix a second chance, and watch your garden flourish!
Join the Conversation
Have you ever reused your old potting mix? Share your tips and experiences in the comments below! We’d love to hear how you keep your garden eco-friendly and budget-conscious. Don’t forget to share this article with fellow gardeners who could benefit from these money-saving tips!