Lavender (Lavandula) is a versatile and aromatic plant cherished for its beauty, fragrance, and numerous uses. Whether used in aromatherapy, culinary dishes, or simply as a decorative element in gardens, lavender is a favorite among gardeners. Propagating lavender allows you to grow new plants without purchasing expensive seedlings, making it an economical and fulfilling gardening activity. This article explores various methods of propagating lavender, ensuring you can cultivate a flourishing garden with these delightful plants.
Introduction to Lavender Propagation
Propagation is the process of growing new plants from a variety of sources: seeds, cuttings, and other plant parts. For lavender, propagation through cuttings is particularly effective and straightforward. This method ensures that the new plants retain the desirable characteristics of the parent plant, such as color, fragrance, and growth habit. Here’s a detailed guide on how to propagate lavender using different techniques, each suited to various seasons and stages of plant growth.
1. Softwood Cuttings: The Best Time in Late Spring or Early Summer
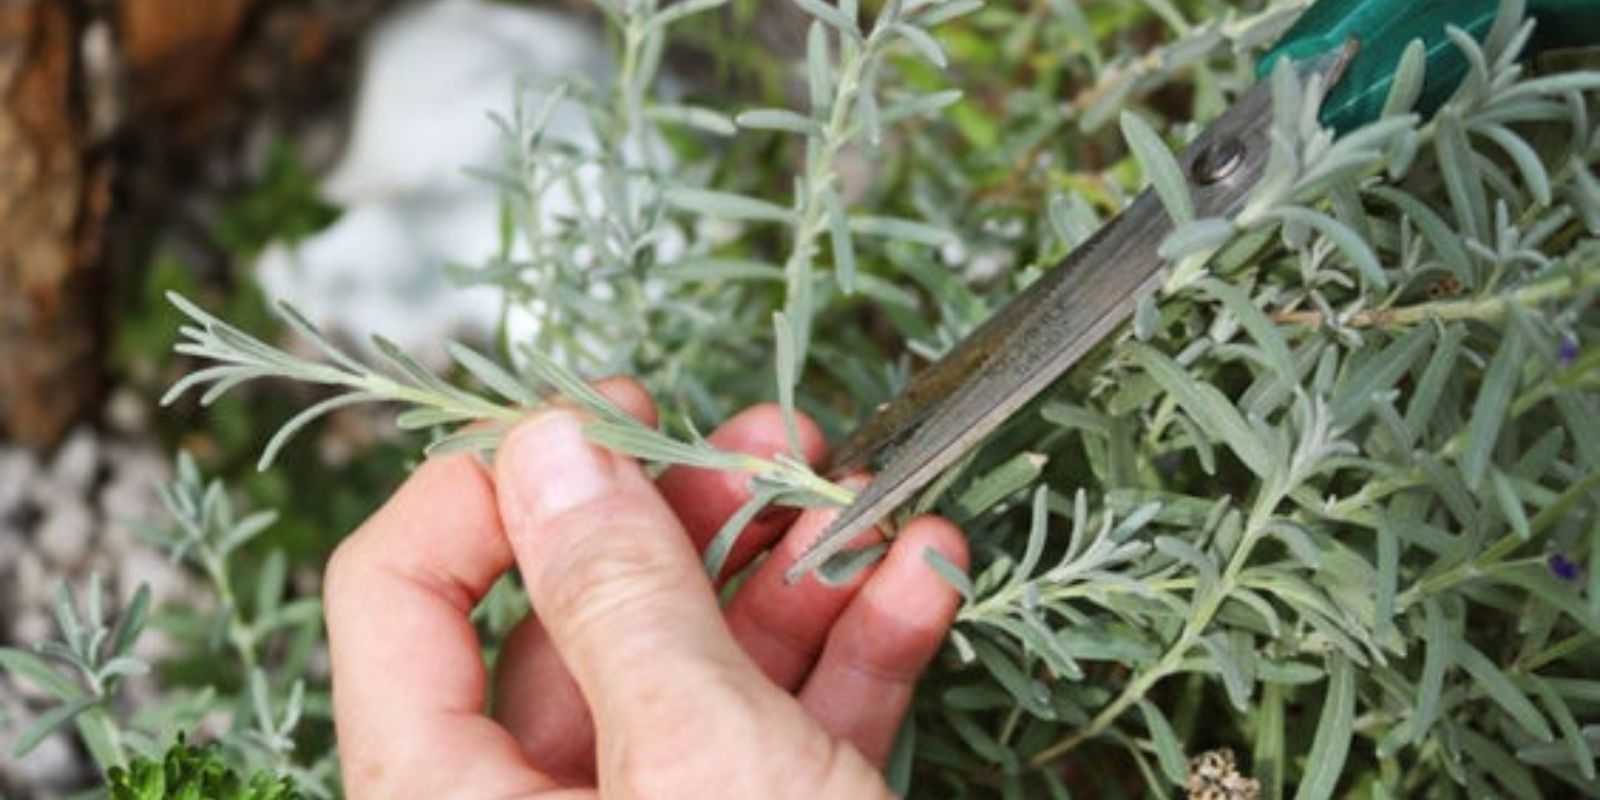
Softwood cuttings are taken from the fresh, new growth of the lavender plant. This method is ideal during late spring or early summer when the plant is actively growing. Here’s how to do it:
Step-by-Step Guide for Softwood Cuttings
- Select Healthy Stems: Choose non-flowering stems that are flexible and have just begun to harden. This part of the plant is not too woody and still has plenty of growth potential.
- Cut the Stems: Using a clean, sharp knife or scissors, cut a section of the stem approximately 4-6 inches long. Ensure each cutting has at least a few leaves but remove the lower leaves to prevent rot.
- Dip in Rooting Hormone: Rooting hormone can accelerate the root development process. Dip the cut end of the stem in the hormone powder.
- Planting the Cuttings: Place the prepared cuttings into pots filled with a well-draining soil mix, ideally one formulated for succulents or cacti, as it closely mimics lavender’s natural habitat. Firm the soil around the base of the cuttings.
- Provide Optimal Conditions: Place the pots in a location with indirect sunlight and maintain the soil’s moisture. Avoid overwatering, as lavender prefers drier conditions.
- Monitor Growth: After a few weeks, the cuttings should begin to develop roots. Gently tug on the cuttings; if you feel resistance, roots are forming.
2. Hardwood Cuttings: Best Taken in Late Summer or Early Fall
Hardwood cuttings are taken from older, more mature parts of the plant. This method is particularly useful in late summer or early fall when the lavender has finished its blooming period and the stems have become woody.
Step-by-Step Guide for Hardwood Cuttings
- Select Sturdy Stems: Choose healthy, mature stems that are woody and have a thickness similar to a pencil.
- Cut the Stems: Cut the stems to a length of about 6-8 inches. As with softwood cuttings, remove the lower leaves to prevent decay.
- Apply Rooting Hormone: Dip the cut ends in rooting hormone to encourage root development.
- Prepare the Soil Mix: Use a gritty soil mix to ensure excellent drainage, crucial for preventing root rot in lavender.
- Plant and Care: Insert the cuttings into the soil mix, ensuring they are upright and supported. Place the pots in a bright location but out of direct sunlight. Water sparingly to keep the soil moist but not wet.
- Root Development: Hardwood cuttings may take longer to root than softwood cuttings. Monitor the cuttings over several weeks and check for root development before transplanting them into the garden.
3. Division of Mature Plants: Early Spring or Late Fall
Division is another effective method, particularly for well-established lavender plants. This method involves separating a mature plant into multiple smaller plants, each with its own root system.
Step-by-Step Guide for Division
- Prepare the Plant: Water the lavender thoroughly a day before dividing to make the process easier and less stressful for the plant.
- Dig Up the Plant: Carefully dig around the base of the lavender plant, lifting it from the ground with a spade or garden fork.
- Separate the Root Ball: Gently divide the root ball into smaller sections, ensuring each section has healthy roots and stems.
- Replant the Divisions: Plant the divided sections in well-drained soil, spacing them adequately to allow for growth. Water them well after planting.
4. Layering: An Easy, Natural Method in Early Spring
Layering is a method where a branch of the plant is buried in soil while still attached to the parent plant. This technique is best done in early spring when the plant is beginning to grow actively.
Step-by-Step Guide for Layering
- Select a Branch: Choose a low-growing branch that can be easily bent to the ground.
- Prepare the Site: Dig a shallow trench where the branch will be buried.
- Bury the Branch: Scrape a small portion of the branch’s bark where it will be in contact with the soil. Bury this section in the trench and cover with soil, leaving the tip of the branch exposed.
- Maintain Moisture: Keep the soil around the buried section moist to encourage root development.
- Separate and Transplant: Once roots have developed, cut the new plant from the parent and transplant it to a desired location.
Conclusion
Propagating lavender is an accessible and rewarding way to expand your garden with minimal cost. Each method—softwood cuttings, hardwood cuttings, division, and layering—has its own set of advantages and timing considerations. Whether you’re a novice or an experienced gardener, these techniques offer a practical way to enjoy the beauty and benefits of lavender in your garden.
Share your lavender propagation experiences or tips in the comments below! Let’s cultivate a community of lavender lovers! 🌿💜

