Introduction
Propagating hydrangeas from cuttings is a rewarding and cost-effective way to expand your garden with these beloved flowering shrubs. Whether you’re drawn to their stunning blooms, vibrant colors, or nostalgic garden charm, learning how to propagate hydrangeas allows you to cultivate new plants that retain the desirable traits of their parent plants. This guide will take you through the step-by-step process of propagating hydrangeas from cuttings, from selecting the right stems to caring for rooted cuttings until they are ready for planting in your garden.
Understanding Hydrangea Propagation
Hydrangeas (Hydrangea spp.) are popular ornamental shrubs known for their large, showy flower clusters that bloom in various shades of blue, pink, purple, and white, depending on the soil pH and variety. Propagation from cuttings is a preferred method for many gardeners because it allows them to replicate specific hydrangea cultivars and ensure the plants retain their desirable characteristics, such as flower color and form.
Step-by-Step Guide to Propagating Hydrangeas from Cuttings
- Selecting Suitable Cuttings:
- Timing: The best time to take hydrangea cuttings is in late spring to early summer when the plant is actively growing and stems are tender but not too soft.
- Choosing Stems: Select healthy, non-flowering stems that are 4-6 inches long. Look for stems with several pairs of leaves and ensure they are free from diseases or pests.
- Preparing the Cuttings:
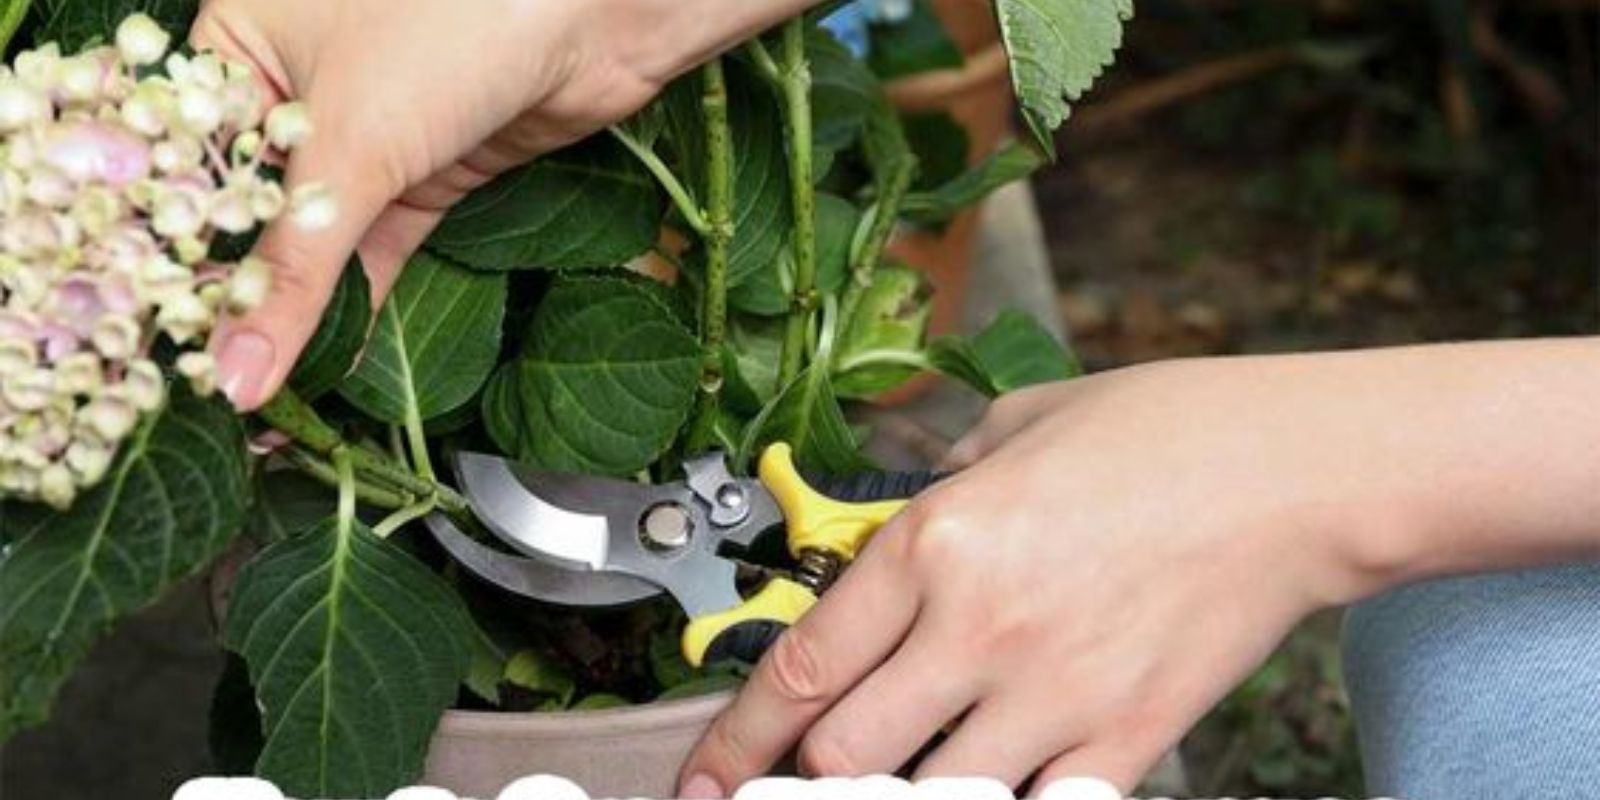
- Cutting Technique: Use sharp, clean pruning shears to take cuttings just below a leaf node. Remove any flowers, buds, or leaves from the lower half of the cutting to expose nodes where roots will form.
- Optional Rooting Hormone: Dip the cut end of each stem into a rooting hormone powder or gel to encourage root development, although hydrangeas generally root well without hormone treatment.
- Preparing the Potting Mix:
- Choosing the Mix: Use a well-draining potting mix that is light and airy, such as a blend of peat moss and perlite. Moisten the mix slightly before inserting the cuttings to help maintain moisture levels.
- Planting the Cuttings:
- Insertion Depth: Make a hole in the potting mix with a pencil or similar tool and gently insert the prepared cutting into the hole. Ensure at least one or two leaf nodes are buried in the mix to promote root growth.
- Firming the Soil: Firm the soil gently around each cutting to provide stability and good soil contact.
- Rooting Conditions:
- Light and Temperature: Place the pots in a bright location with indirect light. Avoid direct sunlight, which can scorch tender cuttings. Provide warmth and maintain temperatures around 70-75°F (21-24°C) to encourage root development.
- Humidity: Cover the pots with a clear plastic bag or place them in a propagator to create a mini greenhouse effect that retains humidity. This helps prevent moisture loss from the cuttings until roots form.
- Caring for Rooting Cuttings:
- Watering: Keep the potting mix consistently moist but not waterlogged. Mist the cuttings and inside of the plastic cover regularly to maintain high humidity.
- Monitoring for Rooting: Check for signs of rooting after 3-4 weeks by gently tugging on the base of the cutting. Feel resistance, which indicates roots are forming. Avoid disturbing the cuttings unnecessarily during this period.
- Transitioning to Outdoor Conditions:
- Gradual Acclimatization: Once roots have developed (typically within 6-8 weeks), gradually acclimate the rooted cuttings to outdoor conditions. Start by placing them in a sheltered, partially shaded location for a few hours each day, gradually increasing exposure to sunlight and outdoor conditions over 1-2 weeks.
- Planting Out: After acclimatization, transplant the rooted cuttings into their permanent garden location. Choose a site with well-draining soil and adequate sunlight for optimal growth and flowering.
Enjoying Your Propagated Hydrangeas
Once established in your garden, your propagated hydrangeas will continue to delight with their abundant blooms and lush foliage. Regular watering, occasional feeding with a balanced fertilizer, and pruning as needed will help maintain healthy growth and prolific flowering season after season.
Conclusion
Propagating hydrangeas from cuttings allows you to expand your garden with these iconic flowering shrubs while preserving their unique characteristics and beauty. By following the steps outlined in this guide, you can successfully propagate hydrangeas and enjoy the satisfaction of nurturing new plants from start to finish. Whether you’re a novice gardener or a seasoned enthusiast, propagating hydrangeas from cuttings offers a fulfilling gardening experience that enhances your outdoor space with vibrant colors and natural charm.
Begin your journey of hydrangea propagation today and watch as your garden flourishes with these timeless beauties, adding elegance and joy to your landscape year after year.
This article provides a detailed roadmap for propagating hydrangeas from cuttings, ensuring a successful gardening experience and vibrant garden blooms.

