
African Violets (Saintpaulia) are cherished for their beautiful, delicate flowers that brighten any indoor space. Their blooms, which range from violet to white and pink, paired with soft, velvety leaves, make them one of the most popular houseplants globally. But beyond their aesthetic appeal, African Violets hold another secret: they are remarkably easy to propagate from a single leaf. Whether you’re a seasoned gardener or a beginner looking to expand your plant collection, learning how to propagate African Violets is both simple and rewarding.
In this article, we’ll dive deep into the process of propagating African Violets from a leaf, discussing everything from selecting the right leaf to ensuring successful growth of new plantlets. By following these steps, you can multiply your African Violets without needing to purchase new plants, creating an ever-growing indoor garden.
Why Propagate African Violets?
Before we get into the details, let’s explore why propagating African Violets is such a great idea:
- Cost-Effective: Propagating from a single leaf allows you to create multiple new plants for free.
- Personal Satisfaction: Watching a tiny leaf cutting grow into a full plant is incredibly rewarding.
- Gift-Giving: African Violet plantlets make great, thoughtful gifts for friends and family.
- Preservation of Rare Varieties: If you have a rare or sentimental variety of African Violet, propagation allows you to keep the lineage alive.
With that in mind, let’s explore how you can propagate these gorgeous plants with ease.
Step 1: Choosing the Right Leaf for Propagation
The first and most crucial step in propagating African Violets is selecting the right leaf. This is important because the health of the leaf you choose will determine how successful the propagation process will be.
- Healthy Leaf: Choose a mature, healthy leaf from the middle rows of the plant (avoid older or younger leaves). The leaf should be vibrant, firm, and free from spots, tears, or other signs of damage.
- Stem Length: The stem (also called the petiole) should be at least 1-1.5 inches long, as this will be the part of the leaf that gets planted into the soil. If the stem is too short, the leaf may not develop roots.
Once you’ve chosen the ideal leaf, use a sterilized pair of scissors or a sharp knife to cleanly cut the leaf from the plant, making sure to include a portion of the stem.
Step 2: Preparing the Soil for Rooting
After cutting your African Violet leaf, the next step is preparing the potting medium for the leaf to root in. African Violets require well-draining soil to prevent root rot and ensure the development of healthy roots.
- Potting Mix: Use a specific African Violet potting mix, or make your own by combining equal parts of peat moss and perlite. This mixture will ensure good aeration and moisture retention.
- Containers: Choose small, shallow pots for propagating your leaves. A 2-3 inch diameter container is perfect for the initial growth of plantlets. Ensure that the container has drainage holes to prevent waterlogging.
Once your container is filled with soil, lightly moisten the potting mix so that it is damp but not soggy.
Step 3: Planting the Leaf Cutting
With the soil prepared, it’s time to plant your African Violet leaf.
- Insert the Stem: Make a small hole in the soil using a pencil or your finger and insert the stem (petiole) of the leaf into the hole. Make sure that about 1 inch of the stem is buried in the soil at a slight angle.
- Firm the Soil: Gently press the soil around the stem to provide support and ensure good soil-to-stem contact.
Step 4: Creating the Ideal Growing Environment
After planting your leaf cutting, the next step is to create the perfect environment for it to root and develop new plantlets.
- Cover the Container: To maintain high humidity, which is crucial for successful propagation, cover the pot with a clear plastic bag or place it inside a clear plastic container. This will create a mini greenhouse effect, trapping moisture and warmth.
- Light: Place the covered container in a bright, indirect light location. African Violets prefer filtered sunlight rather than direct exposure, which can scorch the leaves.
- Temperature: Keep the container in a warm spot, ideally between 70-75°F (21-24°C), to encourage root growth.
It’s important to monitor the moisture level in the soil during this period. The soil should remain slightly moist but not waterlogged. If you notice condensation inside the plastic cover, this indicates there is sufficient humidity.
Step 5: Patience and Care
Propagation takes time, and patience is key at this stage. Typically, it will take 4 to 8 weeks for new plantlets to start forming at the base of the leaf cutting. Here’s what to expect:
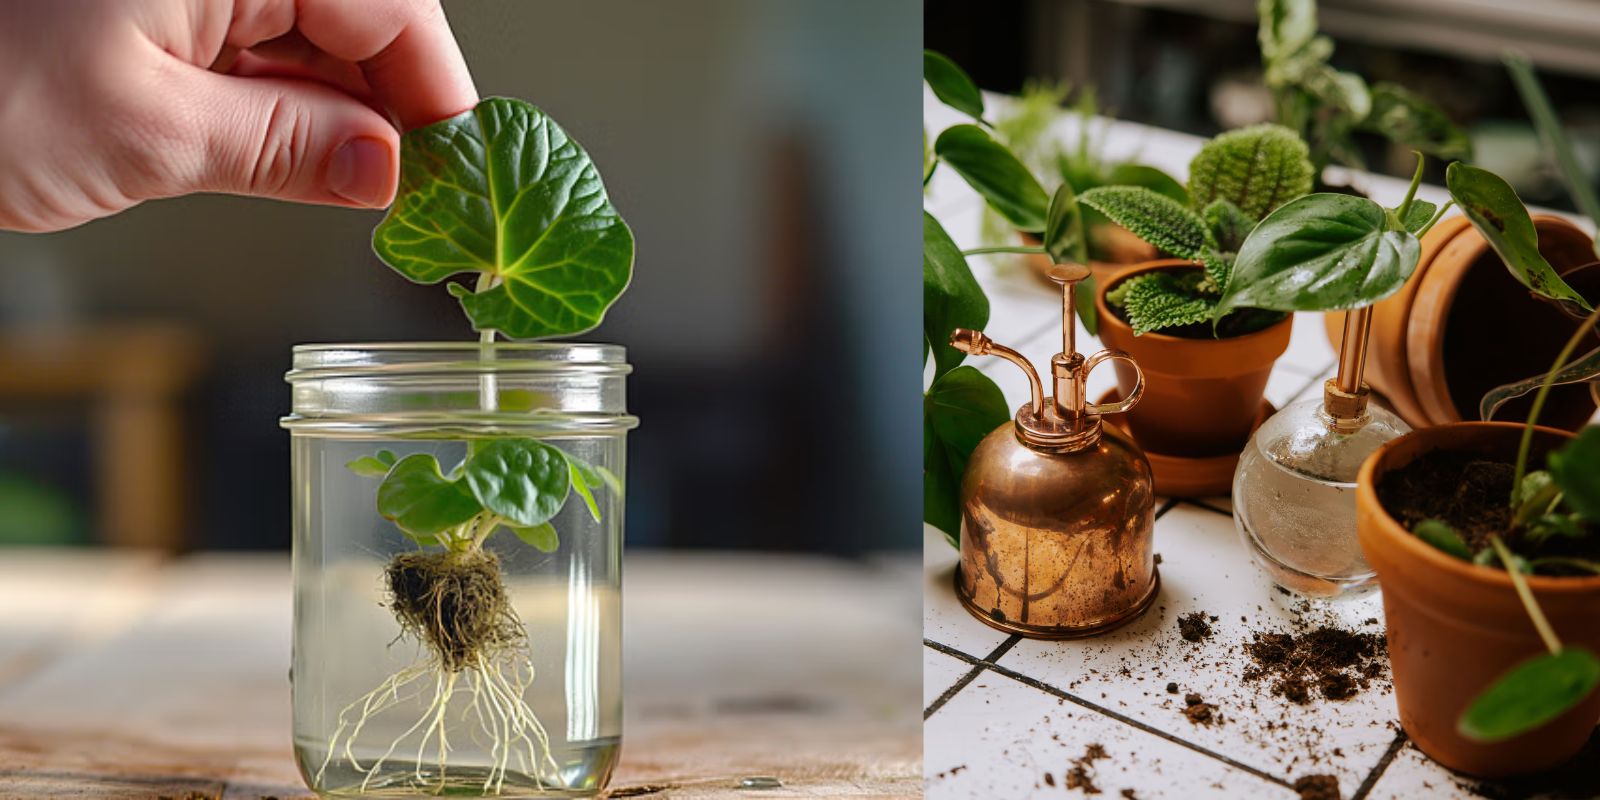
- Root Growth: During the first few weeks, the leaf will develop roots under the soil. You won’t see any visible growth above the surface yet, but this is a crucial phase.
- Emerging Plantlets: After about 4-6 weeks, tiny new leaves, known as plantlets, will begin to emerge at the base of the leaf. These new growths are a clear sign that the propagation was successful.
During this period, continue to provide the right light, warmth, and moisture. You may need to re-cover the pot if it becomes too dry, but make sure to avoid overwatering.
Step 6: Transplanting the New Plantlets
Once the plantlets have grown to about 1-2 inches tall and developed a few leaves, it’s time to separate them from the mother leaf and transplant them into individual pots.
- Gently Separate the Plantlets: Remove the leaf from the soil and gently pull apart the plantlets. Each plantlet should have its own small root system.
- Replant: Place each new plantlet into its own pot filled with fresh African Violet potting mix. Continue to care for these new plants by providing them with indirect light, appropriate humidity, and regular watering.
Tips for Successful Propagation:
- Watering: African Violets prefer their soil to be consistently moist but not soggy. Water the plants from the bottom by placing the pots in a shallow tray of water. This method prevents the leaves from becoming wet, which can lead to rot.
- Fertilizing: Once your new African Violets are established, you can feed them with a diluted African Violet fertilizer every 4-6 weeks to promote healthy blooms.
- Pest Control: Keep an eye out for pests such as spider mites and aphids, which can damage your plants. Regularly inspect the leaves and treat any infestations with insecticidal soap.
Conclusion: Growing Your Own African Violets
Propagating African Violets from a single leaf is not only an easy gardening project but also a deeply rewarding one. Watching new life sprout from a simple leaf cutting gives you a true sense of accomplishment, and before you know it, you’ll have an entire collection of beautiful, flowering plants. Whether you’re doing this for yourself or to give as gifts, the propagation process ensures a steady supply of these lovely houseplants.
Ready to try it yourself? Share your progress and propagation tips with the gardening community! 🌱🌸
#AfricanViolets #PlantPropagation #IndoorPlants #GreenThumb #GardeningHacks #HouseplantLove