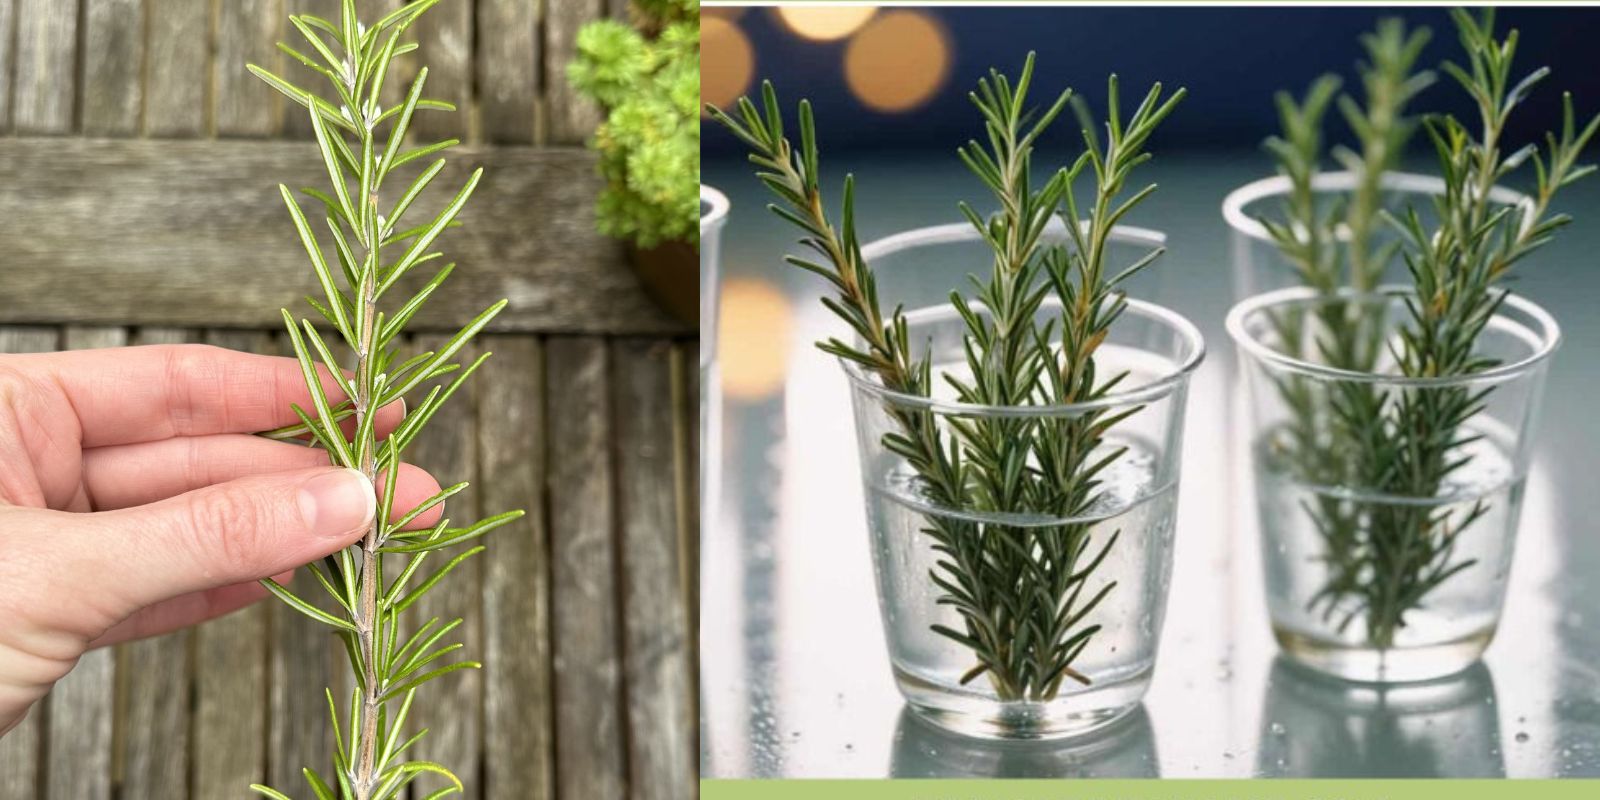
Rosemary (Rosmarinus officinalis) is a beloved herb known for its fragrant leaves and culinary versatility. Whether you’re an experienced gardener or a novice looking to start your herb garden, propagating rosemary is a simple and rewarding process. This guide will walk you through everything you need to know about propagating rosemary, ensuring your success in growing this aromatic herb at home.
The Importance of Propagation
Propagation is the process of creating new plants from existing ones. It allows you to multiply your favorite herbs, share them with friends, or save money on purchasing new plants. Propagating rosemary can be especially rewarding as it not only saves costs but also ensures you have fresh herbs readily available for cooking and other uses.
Benefits of Growing Rosemary
Before diving into the propagation process, let’s explore some of the many benefits of growing rosemary:
- Culinary Uses: Rosemary is a popular herb in Mediterranean cuisine, enhancing the flavor of meats, vegetables, and bread.
- Health Benefits: Rosemary has been linked to several health benefits, including improved digestion, enhanced memory, and antioxidant properties.
- Aromatic Qualities: The fragrant leaves can be used in essential oils, potpourri, or as a natural air freshener.
- Low Maintenance: Rosemary is a hardy plant that requires minimal care once established, making it perfect for beginners.
With these benefits in mind, let’s get started on propagating your own rosemary!
Step-by-Step Guide to Propagating Rosemary
Step 1: Gather Your Materials
Before you begin, gather all the necessary materials:
- Healthy rosemary plant
- Sharp scissors or pruning shears
- Small pots or seed trays
- Well-draining potting mix
- Rooting hormone (optional)
- Plastic bags or clear plastic domes
- Water
Step 2: Choose Healthy Cuttings
- Select a Rosemary Plant: Look for a healthy rosemary plant that is at least a year old and free from pests or diseases.
- Take Cuttings: Using sharp scissors or pruning shears, cut 4-6 inch long stems from the plant. Ideally, choose stems from the current season’s growth (softwood cuttings) rather than older, woody stems.
Step 3: Prepare the Cuttings
- Remove Lower Leaves: Trim off the lower leaves from the cuttings, leaving 2-3 leaves at the top. This will prevent the leaves from rotting when planted and allow the cutting to focus energy on root development.
- Optional: Dip in Rooting Hormone: While rosemary cuttings can root without rooting hormone, dipping the cut end in rooting hormone can enhance the rooting process and increase success rates.
Step 4: Plant in Soil
- Fill Pots with Potting Mix: Choose small pots or seed trays filled with a well-draining potting mix. A mix of peat moss and perlite or sand works well for rosemary.
- Make a Hole: Use your finger or a pencil to make a hole in the center of the potting mix, deep enough to accommodate the cutting without bending it.
- Insert the Cutting: Place the cutting in the hole and gently firm the soil around it to hold it in place. Make sure the leaves are above the soil level.
Step 5: Water and Create Humidity
- Water the Cuttings: Gently water the newly planted cuttings to settle the soil around the roots. Ensure that the soil is moist but not soggy.
- Cover to Maintain Humidity: To create a humid environment that encourages rooting, cover the pots with plastic bags or clear plastic domes. This will help retain moisture while allowing light to filter through.
Step 6: Provide Proper Light Conditions
- Choose a Suitable Location: Place the pots in a warm area with indirect sunlight. Avoid direct sunlight, as it can scorch the cuttings.
- Monitor Light Exposure: If you’re using artificial light, ensure the cuttings receive about 12-16 hours of light daily for optimal growth.
Step 7: Monitor and Care for the Cuttings
- Check Soil Moisture: Regularly check the soil moisture. Water the cuttings when the top inch of the soil feels dry, but avoid overwatering.
- Watch for Root Development: After about 3-6 weeks, gently tug on the cuttings. If you feel resistance, roots have developed!
Step 8: Transplanting the Cuttings
- Hardening Off: Once the cuttings have established roots (about 3-4 inches), gradually acclimate them to outdoor conditions over a week. Start by placing them in a sheltered area for a few hours each day.
- Transplant to Larger Pots: After hardening off, transplant your rooted cuttings into larger pots or your garden. Choose a sunny location with well-draining soil.
Tips for Successful Propagation
- Timing: The best time to take rosemary cuttings is in late spring or early summer when the plant is actively growing.
- Spacing: When planting multiple cuttings, give them enough space to grow. This helps prevent competition for nutrients and light.
- Fertilizing: Once established, you can fertilize rosemary with a balanced fertilizer every 4-6 weeks during the growing season.
Troubleshooting Common Issues
- Cuttings Rotting: If your cuttings are rotting, ensure you’re not overwatering and that the potting mix has good drainage.
- Slow Rooting: If cuttings take too long to root, check the humidity levels and light conditions. You may need to provide more light or adjust humidity.
- Pest Problems: Keep an eye out for pests like aphids or spider mites. If found, treat them with insecticidal soap or neem oil.
Conclusion
Propagating rosemary is an easy and fulfilling endeavor that allows you to enjoy this versatile herb at home. By following these steps, you’ll be well on your way to growing healthy rosemary plants that you can use in the kitchen or as ornamental additions to your garden. So grab your scissors, and let’s get propagating!
Start your herb garden today and enjoy the benefits of fresh rosemary all year round! 🌱✨ #HerbGarden #Rosemary #PlantPropagation #GardeningTips #HomeGrown #SustainableLiving #GreenThumb
By incorporating these practices, you can not only enjoy the rewards of your efforts but also become more self-sufficient and sustainable in your gardening journey. Happy planting!

