
Peanuts are a versatile and beloved crop, cherished for their nutritional value and delightful flavor. However, the journey from field to table involves critical post-harvest steps, one of the most important being peanut curing. Proper curing enhances the flavor, extends shelf life, and prepares peanuts for consumption or storage. This comprehensive guide explores the specialty techniques for post-harvest peanut curing to help you make the most of your harvest.
Why Curing is Essential
Curing peanuts is the process of reducing their moisture content to safe levels for storage. Freshly harvested peanuts contain high moisture levels, which can lead to spoilage, mold growth, or pest infestations if not properly addressed. Curing not only prevents these issues but also improves the texture and flavor of the peanuts.
Step-by-Step Guide to Post-Harvest Peanut Curing
1. Harvesting the Right Way
Proper curing begins with correct harvesting techniques. Ensure you:
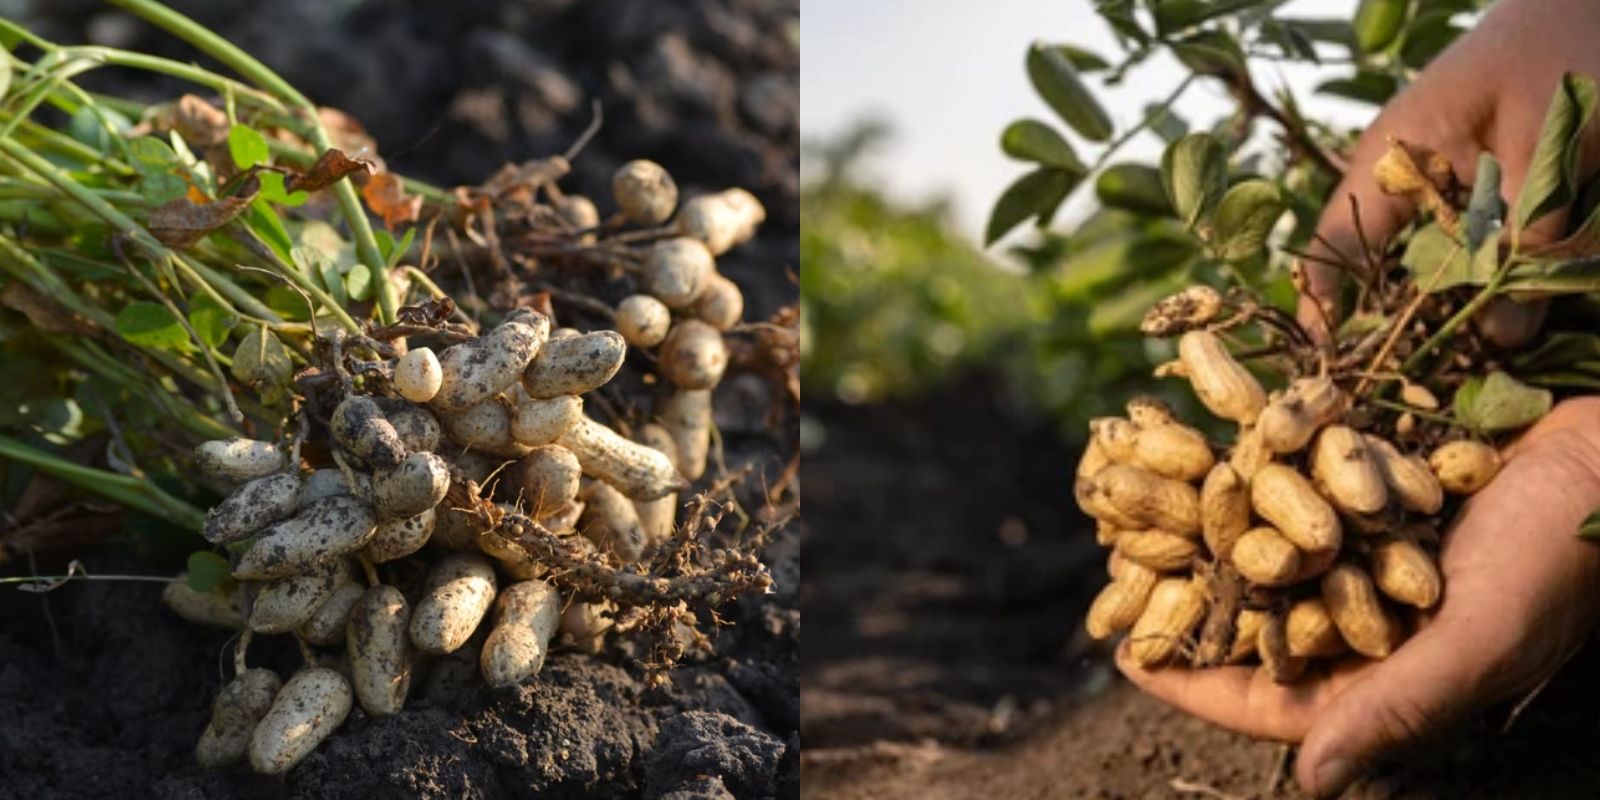
- Harvest peanuts when the plants begin to yellow and the pods are fully developed.
- Carefully uproot the plant to avoid damaging the pods.
- Shake off excess soil but avoid washing the peanuts as moisture can hinder the curing process.
2. Initial Cleaning
- Remove as much dirt as possible by gently brushing the pods. Excess soil can trap moisture and slow down the drying process.
- Inspect the peanuts for damaged or moldy pods and discard them to prevent contamination.
3. Air Drying
Air drying is a natural and cost-effective method to initiate the curing process. Follow these steps:
- Spread peanuts in a single layer on a drying rack, mesh, or any well-ventilated surface.
- Place them in a shaded area to prevent direct exposure to sunlight, which can cause overheating and discoloration.
- Rotate the peanuts every few days to ensure even drying.
- Allow this process to continue for about 2-3 weeks until the moisture content decreases significantly.
4. Monitoring Humidity Levels
Maintaining the right humidity levels during curing is crucial. Use these tips:
- Ensure the drying area has good airflow to prevent mold growth.
- If possible, use a moisture meter to track the progress of drying. Aim for a moisture content of around 8-10%.
5. Final Curing in a Controlled Environment
After air drying, move the peanuts to a warm, dry location for final curing. This step ensures that the moisture is reduced uniformly, especially in thicker pods. Here’s how:
- Use a drying chamber, oven, or any enclosed space where you can maintain a temperature of 35°C (95°F).
- Spread the peanuts in a thin layer and monitor the temperature to avoid overheating.
- Allow this process to continue for 2-3 days.
6. Shelling and Cleaning
Once cured, decide whether to store peanuts in their shells or shelled:
- In-shell Storage: Peanuts in their shells tend to have a longer shelf life and better flavor preservation.
- Shelled Peanuts: Remove the shells carefully to avoid breaking the peanuts. Store in airtight containers to maintain freshness.
7. Storage Tips
Proper storage is as important as curing. Follow these tips:
- Store peanuts in a cool, dry place to prevent rehydration and spoilage.
- For long-term storage, consider freezing shelled peanuts in airtight containers.
- Label containers with the harvest date to track freshness.
Specialty Techniques for Enhanced Results
Using Drying Racks
Invest in drying racks or create DIY versions using mesh or wire. These provide better airflow and prevent peanuts from sitting in moisture.
Solar Drying
In regions with ample sunlight, solar drying can be an effective alternative. Cover peanuts with a thin cloth to prevent direct sun exposure while utilizing natural heat.
Dehydrators
Electric dehydrators are a modern solution for curing peanuts efficiently. Adjust the settings to maintain a steady temperature of 35°C (95°F) and dry the peanuts evenly.
Benefits of Proper Peanut Curing
- Flavor Enhancement: Cured peanuts develop a richer, nuttier taste.
- Extended Shelf Life: Reduced moisture prevents mold and spoilage, ensuring peanuts remain fresh for months.
- Versatility: Cured peanuts are suitable for roasting, boiling, or making peanut butter.
- Reduced Waste: Proper curing minimizes the risk of losing your harvest to rot or pests.
Common Mistakes to Avoid
- Skipping Initial Cleaning: Dirt and debris can trap moisture, leading to mold.
- Overexposure to Sunlight: Direct sunlight can cause discoloration and compromise flavor.
- Inconsistent Drying: Uneven drying can leave some peanuts vulnerable to mold.
- Improper Storage: Storing peanuts in high-humidity environments can undo the curing process.
Fun Fact: Peanuts in History
Did you know that peanuts have been cultivated for over 7,000 years? Originating in South America, they’ve become a global staple due to their adaptability and rich nutritional profile.
Final Thoughts
Curing peanuts may seem like a meticulous process, but it’s worth the effort. With these specialty techniques, you can ensure your peanuts are flavorful, long-lasting, and ready for a variety of uses. Whether you’re a seasoned farmer or a gardening enthusiast, mastering peanut curing will elevate your post-harvest experience.
Get Started Today! Try these techniques and enjoy the satisfaction of perfectly cured peanuts. Share your curing journey and tips with fellow gardeners!
#PeanutHarvest #CuringTechniques #GardeningHacks #SustainableGardening #OrganicFarming #PostHarvestTips