
Mulberries are versatile and fruitful trees that can greatly enhance your garden. Not only do they provide delicious berries, but their elegant foliage also adds visual appeal. If you’re a gardener looking to maximize the health and productivity of your mulberry trees, understanding the techniques of pollarding and propagating is essential. This guide will walk you through the processes of pollarding to manage growth and propagating to expand your collection of these marvelous trees.
Understanding Mulberries
Mulberries (genus Morus) are deciduous trees known for their juicy, sweet berries that can be red, black, or white. They are relatively easy to grow and adapt well to various soil types and climates. However, to keep them in optimal condition and ensure they continue to bear fruit, proper maintenance and propagation techniques are crucial.
Pollarding Mulberries: Managing Growth and Enhancing Health
Pollarding is a pruning technique used to control the size and shape of a tree while promoting new growth. For mulberries, pollarding can help manage their size, make harvesting easier, and enhance their overall health.
1. When to Pollard:
The best time to pollard mulberries is during late winter or early spring, before the new growth begins. At this stage, the tree is dormant, and the risk of disease is minimized.
2. How to Pollard:
- Select the Right Branches: Identify the branches that need to be cut back. Ideally, choose branches that are too long or are affecting the tree’s shape.
- Make the Cuts: Using clean, sharp pruners or a saw, cut back the selected branches to a few inches from the main trunk or a lower, stronger branch. Make sure the cuts are clean to prevent disease.
- Care for the Cuts: After pruning, apply a pruning sealant if desired to protect the cuts from disease, although this is generally optional.
3. Benefits of Pollarding:
- Size Control: Keeps the tree at a manageable size, making it easier to handle and harvest.
- Enhanced Health: Promotes new, vigorous growth and improves air circulation within the canopy.
- Increased Fruit Production: By controlling the size and shape, you may enhance fruit production.
Propagating Mulberries: Expanding Your Garden
Propagating mulberries allows you to grow new trees from existing ones, expanding your garden and sharing plants with friends. There are two main methods for propagating mulberries: cuttings and layering.
1. Propagating by Cuttings:
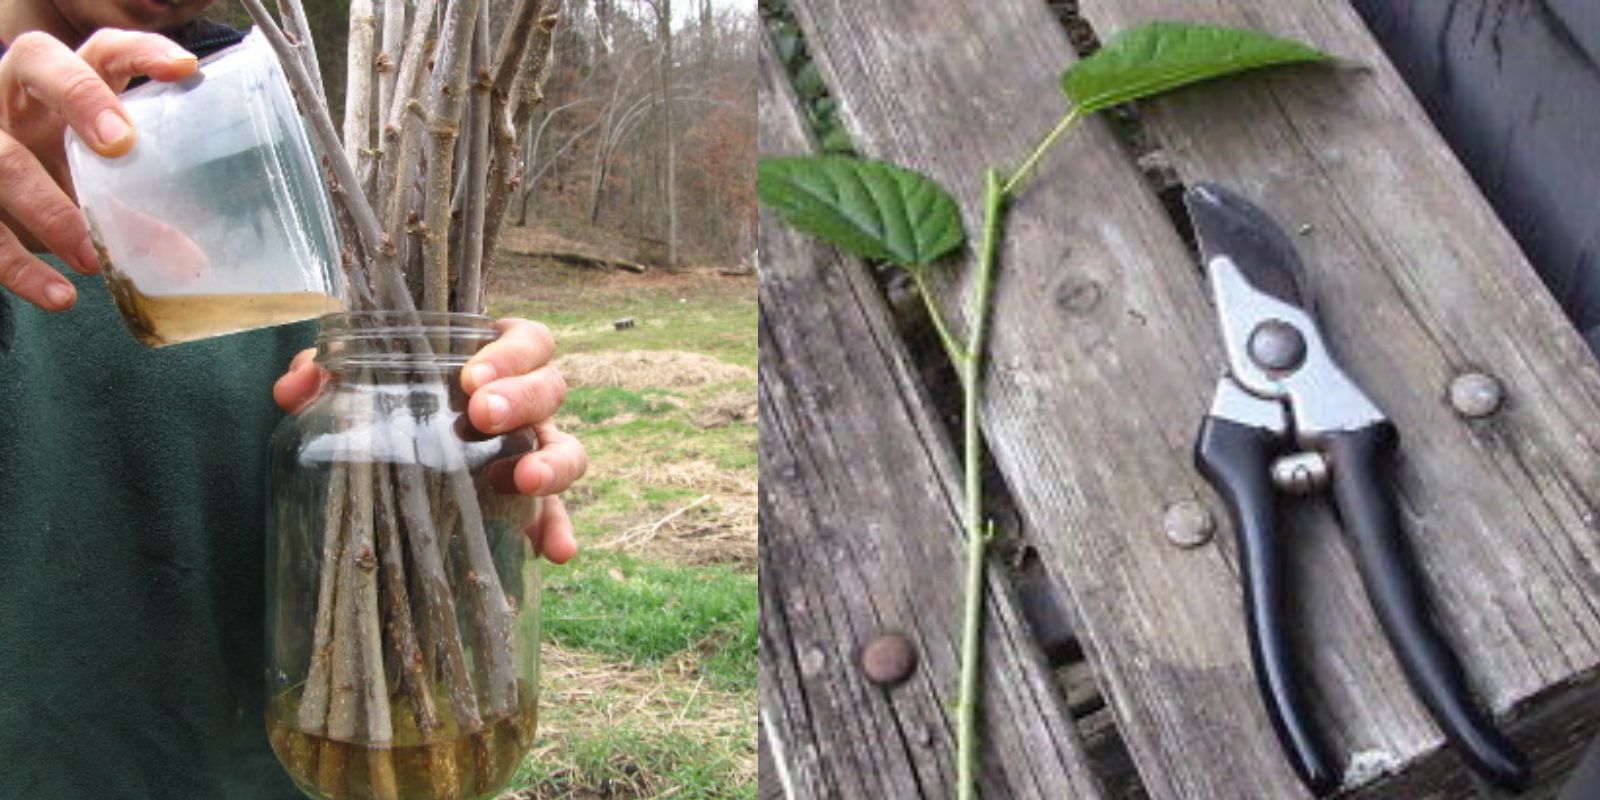
- Select Healthy Cuttings: Choose a healthy mulberry tree and select 6-8 inch long cuttings from mature branches. The cuttings should be taken from the current season’s growth and should be free from disease or pests.
- Prepare the Cuttings: Remove the lower leaves from the cuttings, leaving only a few leaves at the top. This helps reduce water loss and allows the plant to focus on root development.
- Apply Rooting Hormone: Dip the cut end of each cutting into rooting hormone powder. This will encourage root growth and increase the chances of successful propagation.
- Plant the Cuttings: Insert the cuttings into a pot filled with well-draining soil or a mix of peat and perlite. Water the soil lightly to ensure it’s moist but not waterlogged.
- Create a Humid Environment: Cover the pot with a clear plastic bag or a plastic dome to create a humid environment, which helps the cuttings root.
- Care for the Cuttings: Place the pot in a warm, bright location but out of direct sunlight. Keep the soil consistently moist. After a few weeks to a few months, check for root development by gently pulling on the cutting.
2. Propagating by Layering:
- Choose a Suitable Branch: Select a low-hanging, flexible branch that can be easily bent to the ground.
- Prepare the Branch: Gently scrape the bark on the underside of the branch where it will be buried. This encourages root formation.
- Bury the Branch: Bend the branch down to the ground and bury the scraped section in soil. Secure it in place using a stake or peg.
- Watering: Keep the buried section of the branch moist but not waterlogged. This helps promote root growth.
- Monitor Root Development: After a few months, gently check the buried section for roots. Once a good root system has developed, you can cut the new plant from the parent tree and transplant it to its permanent location.
Caring for Your Mulberries
Once your mulberries are established, whether from pollarding or propagation, proper care is essential for their continued health and productivity.
1. Watering:
Mulberries prefer well-draining soil and should be watered regularly, especially during dry periods. However, avoid overwatering as it can lead to root rot.
2. Fertilizing:
Apply a balanced fertilizer in early spring to promote healthy growth and fruit production. Follow the manufacturer’s instructions for application rates.
3. Pest and Disease Control:
Regularly inspect your mulberry trees for pests such as aphids and scale insects. Apply organic pest control methods if needed. Also, keep an eye out for diseases like leaf spot and handle them promptly.
4. Mulching:
Apply mulch around the base of the trees to retain moisture, suppress weeds, and regulate soil temperature.
Conclusion
Pollarding and propagating mulberries are valuable techniques for any gardener looking to enhance their garden’s productivity and aesthetic appeal. By mastering these methods, you can manage the growth of your mulberry trees, ensure they remain healthy, and expand your garden with new, vibrant plants. Embrace these practices to enjoy a bountiful harvest of delicious berries and a flourishing garden.
Motivational Sentence:
Unlock the full potential of your garden with the art of pollarding and propagating mulberries—grow vibrant trees and expand your green paradise today! 🌿🌳 #MulberryMagic #GardenGrowth #TreeCare #PlantPropagation #GreenThumb #GardeningTips #FruitfulGarden #GrowYourOwn #GardenLove