
Introduction
Phalaenopsis orchids, also known as moth orchids, are among the most popular and widely grown orchids. Their elegant blooms and relatively easy care requirements make them an ideal choice for both novice and experienced gardeners. One of the most crucial aspects of orchid care is watering, and getting it right can make the difference between a thriving plant and one that struggles. This article will guide you through the essential steps for watering Phalaenopsis orchids, ensuring that your plant remains healthy and beautiful.
Understanding Phalaenopsis Orchids
Phalaenopsis orchids are epiphytes, which means they naturally grow on other surfaces like tree branches rather than in soil. In their native habitats, they receive water from rain and humidity, not from standing water. This growth habit influences how you should water them in a home setting. Their roots are adapted to absorb moisture quickly and efficiently, so it’s important to mimic these natural conditions as closely as possible.
Steps for Watering Phalaenopsis Orchids
1. Check the Moisture Level
The first step in proper watering is determining when your Phalaenopsis orchid needs water. This can be done by:
- Feeling the Potting Medium: Stick your finger about an inch into the potting medium. If it feels dry to the touch, it’s time to water. If it feels moist, wait a few more days before checking again.
- Using a Moisture Meter: For a more precise measurement, you can use a moisture meter. These devices are inserted into the soil and give a reading of the moisture level.
2. Water Thoroughly
When it’s time to water your orchid, ensure you do so thoroughly:
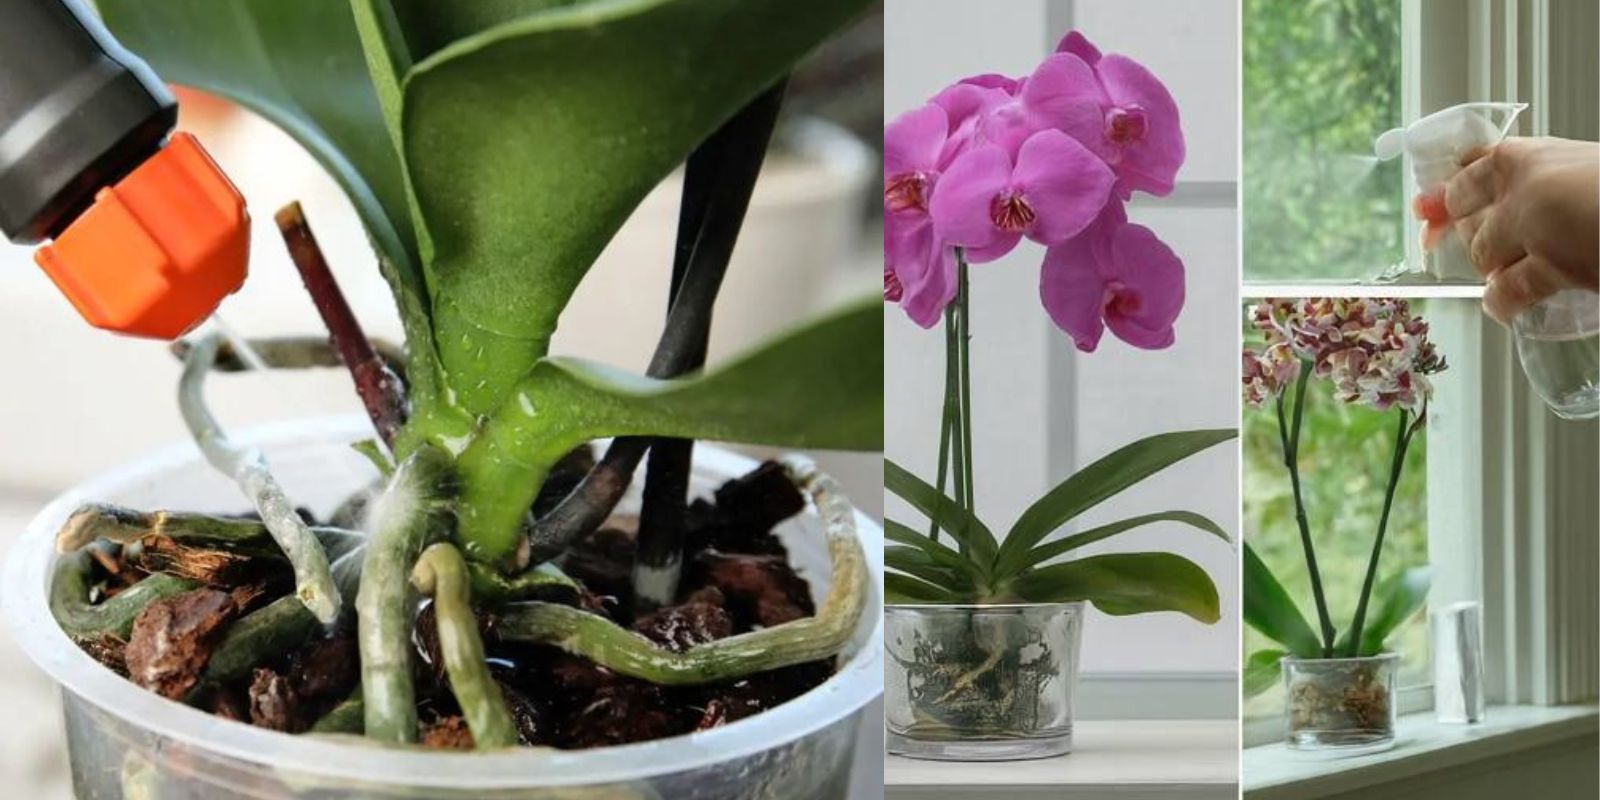
- Use Room-Temperature Water: Cold or hot water can shock the plant’s roots. Use room-temperature water to avoid temperature extremes.
- Soak the Potting Mix: Place the orchid pot in a sink or basin and water it until you see water draining from the bottom of the pot. This ensures that the entire potting medium is moistened and helps flush out any accumulated salts or minerals.
- Avoid Water on Leaves: Be careful not to get water on the orchid’s leaves or in the crown (the center of the plant where new leaves emerge). Excess water here can lead to rot.
3. Drain Excess Water
Proper drainage is crucial for the health of your Phalaenopsis orchid:
- Ensure Proper Drainage: Make sure the pot has adequate drainage holes. This allows excess water to escape and prevents water from accumulating at the bottom of the pot.
- Allow Pot to Drain Completely: After watering, place the pot in a well-ventilated area and let it drain thoroughly. Avoid placing the pot in a saucer filled with water, as this can lead to waterlogging and root rot.
4. Adjust Watering Frequency
The frequency of watering depends on several factors, including the environment and the orchid’s stage of growth:
- General Rule: As a general guideline, water your Phalaenopsis orchid once a week. However, this can vary based on factors like humidity, temperature, and the size of the pot.
- Environmental Factors: In warmer, drier conditions, you may need to water more frequently. Conversely, in cooler or more humid conditions, the plant may require less frequent watering.
- Seasonal Adjustments: During the plant’s dormant period (usually in the winter), it will require less water. Adjust your watering schedule accordingly to prevent overwatering.
Common Watering Issues and Solutions
1. Overwatering
Overwatering is a common issue with Phalaenopsis orchids and can lead to root rot:
- Symptoms: Yellowing leaves, wilting, and a musty smell from the potting medium are signs of overwatering.
- Solution: Allow the potting medium to dry out completely before watering again. Ensure that the pot has adequate drainage and that you’re not watering too frequently.
2. Underwatering
Underwatering can also be problematic, leading to dehydration and poor growth:
- Symptoms: Wrinkled leaves, dry potting medium, and a general lack of vigor are signs of underwatering.
- Solution: Increase the frequency of watering and ensure that the potting medium is thoroughly moistened each time you water.
3. Water Quality
The quality of the water used can impact orchid health:
- Hard Water: Water with high mineral content can lead to salt buildup in the potting medium. Use filtered or distilled water if your tap water is hard.
- Chlorinated Water: If using tap water, let it sit for 24 hours to allow chlorine to dissipate before using it on your orchids.
Additional Tips for Successful Orchid Care
1. Humidity Levels
Phalaenopsis orchids thrive in high humidity:
- Humidity Trays: Use humidity trays or place the pot on a shallow tray filled with water and pebbles to increase ambient humidity.
- Misting: Lightly mist the orchid with water to maintain humidity, but avoid excessive misting that can lead to fungal issues.
2. Proper Light
Provide the right light for your orchid:
- Indirect Light: Phalaenopsis orchids prefer bright, indirect light. Avoid direct sunlight, which can scorch the leaves.
- Light Conditions: Place the orchid near an east or west-facing window where it can receive filtered light.
3. Temperature and Air Circulation
Maintain optimal growing conditions:
- Temperature: Phalaenopsis orchids prefer temperatures between 65-75°F (18-24°C) during the day and slightly cooler at night.
- Air Circulation: Ensure good air circulation around the plant to prevent stagnation and promote healthy growth.
Conclusion
Watering Phalaenopsis orchids correctly is a key aspect of their care and crucial for their overall health and blooming success. By checking moisture levels, watering thoroughly, ensuring proper drainage, and adjusting watering frequency based on environmental conditions, you can help your orchids thrive. Along with proper light, humidity, and temperature, these practices will support the vibrant growth and beautiful blooms that make Phalaenopsis orchids such a delightful addition to any home. Embrace these simple yet effective watering techniques, and enjoy the rewards of a flourishing and stunning orchid collection. Happy gardening!