
Turnips, known for their edible roots and nutrient-rich greens, are a versatile and hardy crop that can be grown easily in most gardens. With their rapid growth and low-maintenance requirements, turnips are an excellent choice for both beginner and experienced gardeners alike. In this guide, we’ll walk you through the entire process of growing turnips from seed to harvest, covering everything from soil preparation and planting techniques to maintenance and pest control. By the end of this article, you’ll have all the knowledge you need to cultivate a successful turnip crop.
Why Grow Turnips?
Turnips (Brassica rapa) are part of the cruciferous vegetable family, which includes kale, cabbage, and broccoli. They are grown for both their roots and leafy greens, which are packed with vitamins A, C, and K. The roots are crisp and mildly sweet, making them great for roasting, mashing, or adding to soups. The greens can be harvested early in the season and used in salads, stir-fries, or steamed as a side dish.
Turnips are cool-season vegetables that grow best in the spring and fall. They have a relatively short growing period of about 50 to 70 days, depending on the variety, making them an ideal choice for quick harvests. Plus, they can be planted successively for multiple harvests throughout the year.
1. Preparing to Plant Turnips
Before you plant your turnip seeds, you’ll need to ensure the growing conditions are optimal.
Choosing a Location
Turnips thrive in full sun, though they can tolerate partial shade. For the best root development and growth, choose a garden area that receives at least six hours of direct sunlight per day. Make sure the soil is well-draining, as turnips do not like sitting in waterlogged soil.
Soil Preparation
Turnips prefer loose, loamy soil with a pH of 6.0 to 7.5. Start by loosening the soil to a depth of about 12 inches to encourage healthy root growth. Mix in organic matter such as compost or aged manure to improve soil fertility and structure. This will also help retain moisture while ensuring good drainage.
Choosing the Right Variety
There are several varieties of turnips to choose from, each with its own characteristics. For a fast-growing, early harvest, consider varieties like ‘Purple Top White Globe’ or ‘Hakurei.’ For a sweeter flavor, the ‘Golden Ball’ variety is popular. Some turnips, like ‘Seven Top,’ are grown specifically for their nutritious greens.
2. Sowing the Seeds
Once your soil is prepared, you can start planting your turnip seeds.
When to Plant
Turnips are a cool-season crop, which means they grow best in temperatures between 40°F and 75°F. In spring, plant seeds 2 to 3 weeks before the last expected frost. For a fall harvest, sow seeds in late summer, about 8 to 10 weeks before the first expected frost.
Planting Depth and Spacing
Plant turnip seeds about 1/4 to 1/2 inch deep and 1 inch apart. If planting in rows, space the rows 12 to 18 inches apart to give the roots plenty of room to grow. For container gardening, ensure the pot is at least 12 inches deep to accommodate the growing roots.
Watering After Planting
After sowing, water the seeds gently to keep the soil moist. Turnip seeds germinate quickly, usually within 5 to 10 days. To ensure even moisture, mulch around the seedlings once they start to grow.
3. Maintaining Your Turnip Plants
Once your turnip seeds have sprouted, it’s essential to maintain the right conditions to ensure healthy growth and a successful harvest.
Thinning the Seedlings
When the seedlings reach about 3 inches tall, thin them out to prevent overcrowding. Aim for about 4 to 6 inches of space between plants to allow the roots to develop fully. Thinning will also improve air circulation and reduce the risk of disease.
Watering
Turnips need consistent moisture to grow well. Water the plants regularly, providing about 1 inch of water per week. Avoid letting the soil dry out completely, especially during hot spells, as this can lead to poor root development. At the same time, be cautious of overwatering, which can cause the roots to rot.
Fertilizing
Turnips benefit from a light application of fertilizer during the growing season. A balanced fertilizer (such as 10-10-10) applied midway through the growing period will help boost growth. Be careful not to over-fertilize, as too much nitrogen can lead to lush greens but small, underdeveloped roots.
Weeding and Mulching
Keep the area around your turnips free from weeds, which can compete for nutrients and water. A layer of mulch can help suppress weeds, retain moisture, and regulate soil temperature. Use organic mulch such as straw, grass clippings, or shredded leaves.
4. Pest and Disease Management
Turnips are relatively pest-resistant, but you should still be on the lookout for common garden pests.
Pests to Watch For
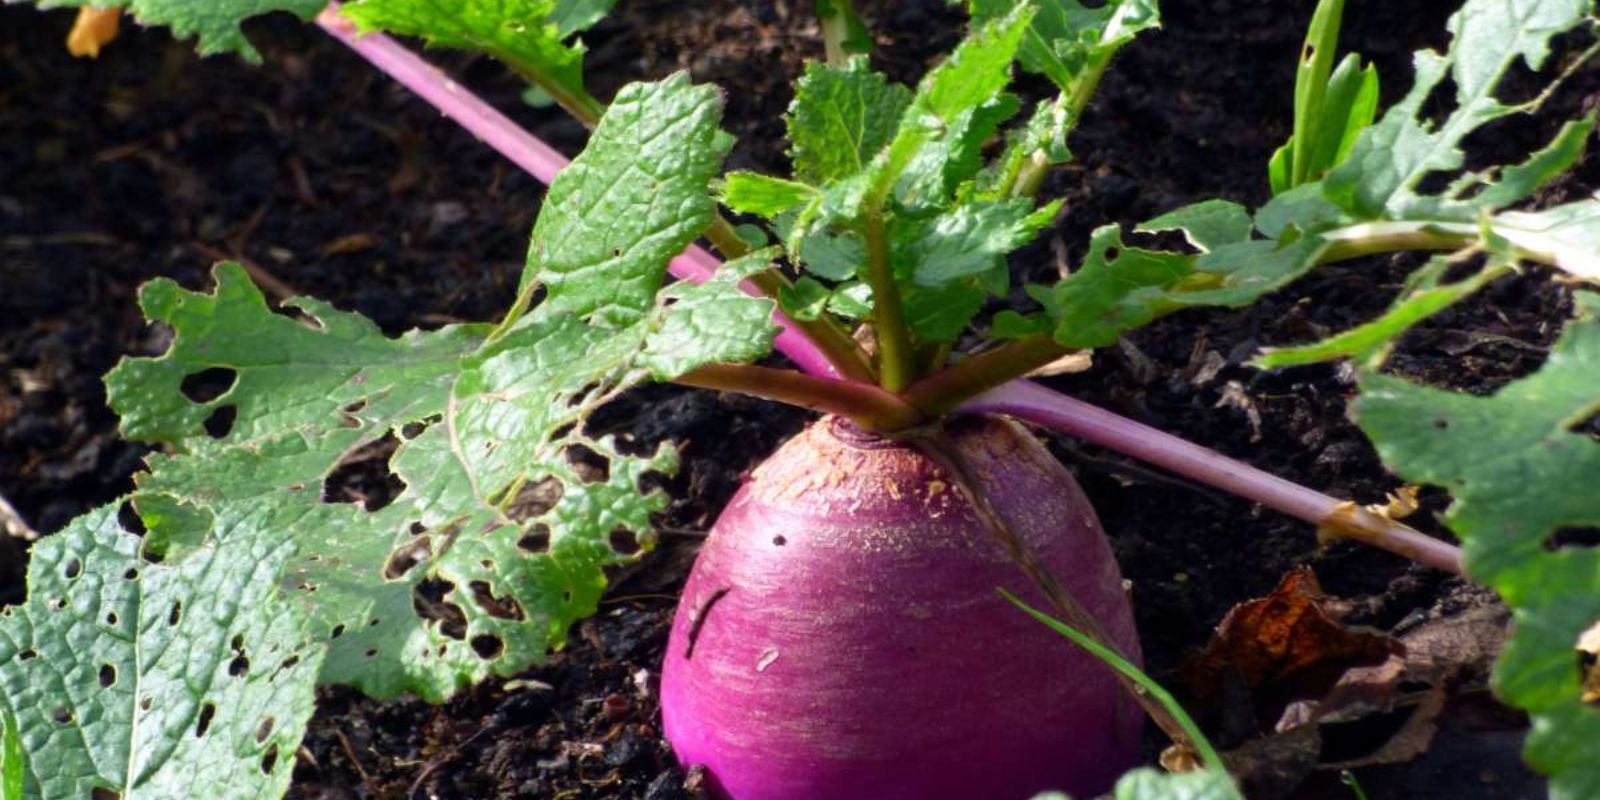
- Flea Beetles: These small, jumping beetles can create small holes in turnip leaves. Use floating row covers to protect young plants.
- Aphids: These tiny pests suck the sap from plant leaves, causing them to curl and distort. Wash them off with a strong stream of water or use insecticidal soap.
- Root Maggots: These larvae can damage the roots. If you notice holes in the roots or stunted growth, you may have a root maggot problem. Crop rotation can help prevent this issue.
Preventing Diseases
Turnips can be susceptible to fungal diseases such as powdery mildew and clubroot. To prevent these diseases, avoid overhead watering and space plants adequately for good air circulation. Crop rotation is also important, especially for preventing soil-borne diseases like clubroot.
5. Harvesting Turnips
Turnips can be harvested for their greens, roots, or both, depending on your preferences.
Harvesting Turnip Greens
Turnip greens can be harvested as early as 30 days after planting when the leaves are young and tender. Cut the outer leaves with scissors, leaving the inner leaves to continue growing. Harvesting greens does not harm the root development, so you can continue to enjoy both.
Harvesting Turnip Roots
Turnip roots are typically ready for harvest in 50 to 70 days. The ideal time to harvest is when the roots are 2 to 3 inches in diameter. To check for readiness, gently pull one turnip to inspect its size. If it looks mature, carefully pull the rest, using a garden fork to loosen the soil if necessary.
Storing Turnips
After harvesting, trim the greens and store the roots in a cool, dry place. Turnips can be stored in the refrigerator for up to two weeks or in a root cellar for several months. The greens can be stored in the refrigerator for a few days, but it’s best to use them fresh.
6. Replanting for Successive Harvests
To ensure a continuous supply of turnips throughout the season, you can plant successive crops every 2 to 3 weeks. This will give you a steady harvest of both greens and roots, extending the growing season well into the fall.
Conclusion
Growing turnips from seed is a rewarding and relatively simple gardening task that offers numerous benefits. From the sweet, crisp roots to the nutritious greens, turnips are a versatile crop that can thrive in various climates and garden settings. By following the steps outlined in this guide, you can enjoy a bountiful harvest of turnips while adding a nutritious and delicious vegetable to your diet.
Interaction Motivation:
Are you ready to grow your own turnips and enjoy a fresh harvest? Start today and follow these simple steps for a successful turnip crop! 🌱🥕 #TurnipHarvest #GrowYourOwn #GardenFresh #OrganicGardening #HealthyLiving #GardeningTips #GreenThumb #SustainableGardening #VegetableGarden #TurnipsFromSeed