
Olive trees are renowned for their timeless beauty and unique character, making them a popular choice for decorative gardens. Their silvery leaves, gnarled trunks, and graceful form can add a touch of elegance and Mediterranean charm to any landscape. However, to maintain their health and enhance their aesthetic appeal, regular pruning is essential. Pruning olive trees not only helps control their size and shape but also promotes healthy growth and a visually pleasing structure. This comprehensive guide will walk you through the key techniques for pruning olive trees to create a stunning and well-maintained garden centerpiece.
Why Prune Olive Trees?
Pruning olive trees serves several important purposes:
- Health Maintenance: Regular pruning helps remove dead, diseased, or damaged branches, reducing the risk of pests and diseases.
- Aesthetic Appeal: Pruning shapes the tree and enhances its natural beauty, ensuring it complements your garden design.
- Improved Growth: By removing excess growth, you encourage new shoots and a more balanced structure, leading to a healthier and more productive tree.
When to Prune Olive Trees
The best time to prune olive trees is in late winter or early spring, just before the new growth begins. This timing allows the tree to recover from pruning and prepare for the growing season. Avoid pruning during the summer or fall, as this can stimulate new growth that may not harden off before cooler temperatures arrive, leading to potential winter damage.
Essential Pruning Tools
Before you start pruning, ensure you have the right tools and prepare them properly:
- Pruning Shears: For small branches and twigs.
- Loppers: For thicker branches that are too large for pruning shears.
- Pruning Saw: For very thick branches.
- Sterilizing Solution: To clean your tools and prevent disease spread.
Sterilize your tools by wiping them with rubbing alcohol or a solution of one part bleach to nine parts water. This helps prevent the transmission of diseases from one tree to another and ensures clean cuts.
Pruning Techniques for Olive Trees
1. Timing: Late Winter or Early Spring
Pruning in late winter or early spring is ideal because it allows the tree to heal and adjust before the growing season begins. This timing also prevents disruption to the tree’s natural growth cycle and helps ensure a strong recovery.
2. Remove Deadwood
Start by removing any dead, damaged, or diseased branches. Deadwood is easily identifiable by its lack of leaves, brittle texture, or discolored bark. Removing deadwood is crucial for:
- Preventing Disease: Dead and diseased branches can harbor pathogens that may spread to healthy parts of the tree.
- Encouraging Healthy Growth: By eliminating deadwood, you allow the tree to focus its energy on producing healthy, new growth.
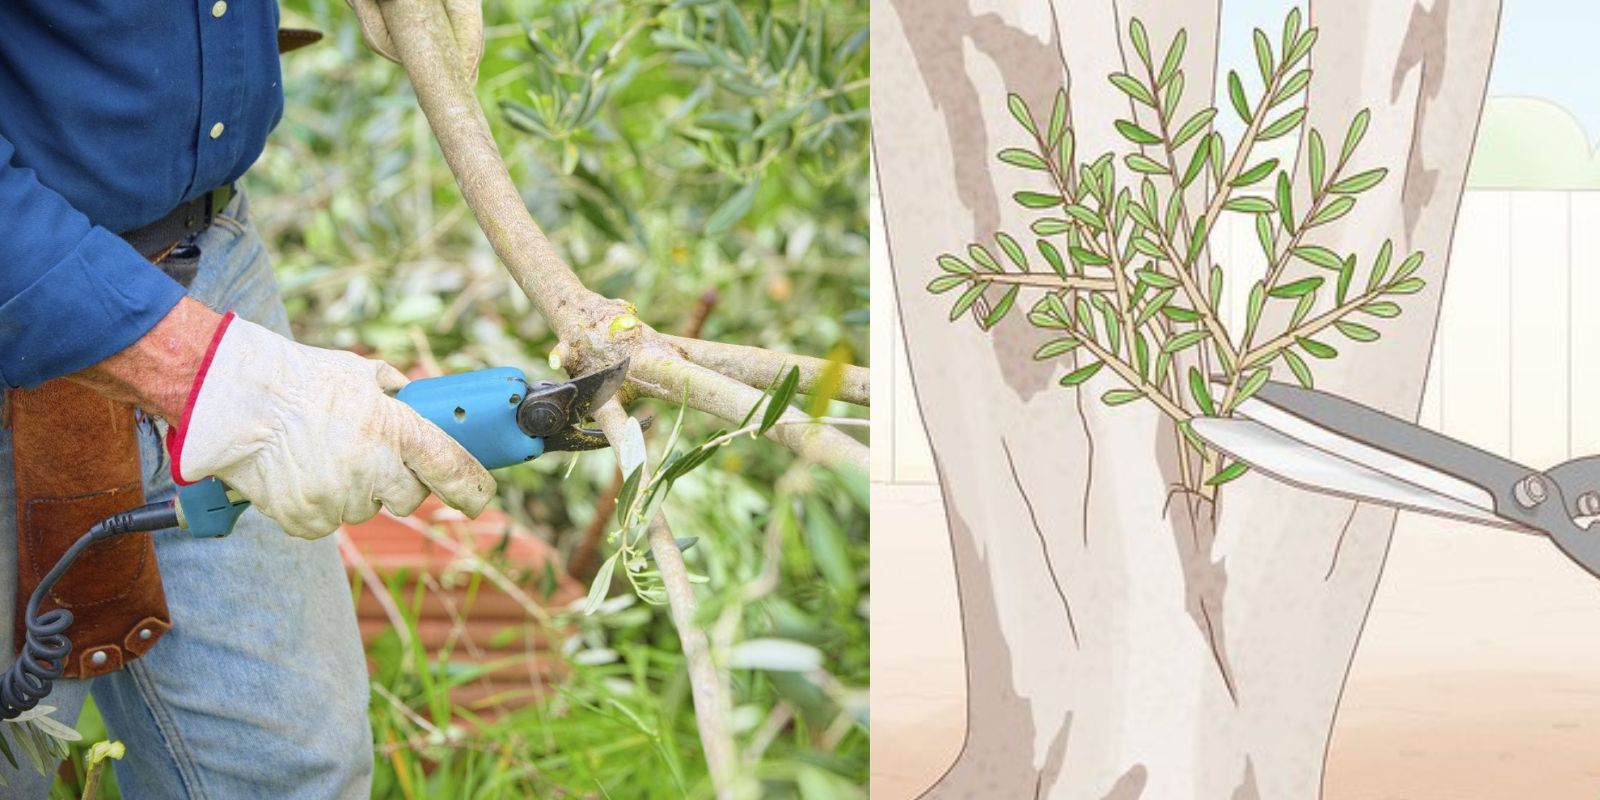
Use sterilized pruning shears or a saw to make clean cuts just above the point where the branch connects to a larger limb or the main trunk. Avoid leaving stubs, as these can become entry points for diseases.
3. Thin the Canopy
Thinning the canopy involves selectively removing branches to improve air circulation and light penetration. This technique helps:
- Reduce Crowding: Removing excess branches prevents competition for nutrients and sunlight, leading to stronger, more balanced growth.
- Improve Airflow: Better airflow reduces the risk of fungal infections and pest infestations.
Focus on removing branches that cross each other, grow inward, or create excessive density. This will help open up the canopy and ensure that sunlight reaches all parts of the tree.
4. Shape the Tree
Shaping your olive tree helps maintain a visually pleasing structure that highlights its natural beauty. To shape the tree:
- Remove Unwanted Growth: Cut back any branches that disrupt the tree’s natural form or extend beyond the desired size.
- Encourage a Balanced Structure: Aim for a central leader or main trunk with evenly spaced lateral branches. This structure provides stability and enhances the tree’s aesthetic appeal.
Trim the branches to create a symmetrical, open shape. Olive trees naturally have a wide, spreading form, so aim to enhance this shape while removing any overly vigorous or misaligned branches.
5. Maintain Size
Regularly trimming back overgrowth helps keep the olive tree within the desired dimensions and prevents it from becoming too large or unruly. To manage size:
- Identify Overgrown Branches: Look for branches that extend too far or disrupt the tree’s overall shape.
- Prune Back to a Bud or Lateral Branch: Make cuts just above a bud or a lateral branch to encourage new, controlled growth.
By managing overgrowth, you ensure that the tree remains well-sized for your garden space and continues to complement your landscape design.
Post-Pruning Care
After pruning, your olive tree will need some extra care to support its recovery and continued growth:
- Watering: Water the tree thoroughly after pruning to help it recover and support new growth. Ensure the soil remains consistently moist but not waterlogged.
- Fertilizing: Apply a balanced fertilizer to provide essential nutrients for new growth and overall health. Follow the manufacturer’s instructions for application rates and frequencies.
- Monitoring: Keep an eye on the tree for any signs of stress, disease, or pests. Ensure the tree receives adequate sunlight and that the soil remains well-drained.
Final Thoughts: Pruning for a Beautiful Olive Tree
Pruning is a vital practice for maintaining the health and beauty of your olive tree. By following these techniques, you can ensure that your tree remains a stunning centerpiece in your garden, showcasing its natural elegance and charm. Regular pruning not only enhances the tree’s appearance but also contributes to its overall health and productivity.
Motivation:
Ready to elevate your garden with a beautifully shaped olive tree? Start pruning today to create a visually stunning and well-maintained centerpiece that enhances your outdoor space! 🌿