
Growing fresh herbs at home not only enhances the flavors of your meals but also brings a touch of nature into your kitchen. Among the easiest and most rewarding herbs to cultivate is chives. With their mild onion flavor, chives are versatile in the kitchen, perfect for seasoning soups, salads, and a variety of dishes. This comprehensive guide will walk you through the process of growing fresh and flavorful chives at home, offering tips and techniques for success.
Introduction
Chives (Allium schoenoprasum) are a staple in many herb gardens due to their ease of growth and culinary versatility. They are known for their mild onion-like taste and are used both as a garnish and a seasoning. Whether you have a spacious garden or just a small windowsill, chives are an excellent herb to grow. They thrive in various conditions and can be grown both indoors and outdoors. This guide will provide you with everything you need to know to cultivate healthy, flavorful chives that will elevate your culinary creations.
Choosing the Right Location
1. Selecting a Growing Spot
Chives are adaptable and can grow in a variety of environments. However, for optimal growth, they require plenty of sunlight. Choose a location that receives at least 6 hours of direct sunlight each day. If you’re growing chives indoors, place them near a sunny window where they can get sufficient light. Chives can also tolerate partial shade, making them suitable for areas that receive dappled sunlight or indirect light.
2. Indoor vs. Outdoor Growing
For outdoor gardens, chives are well-suited to garden beds, containers, or raised beds. In containers, they can be moved to follow the sunlight, making them a great option for patios or balconies. For indoor growing, use a pot with good drainage and place it in a bright location. Both methods of growing chives can yield fresh, flavorful herbs.
Preparing the Soil
1. Soil Composition
Chives prefer well-draining soil that is rich in organic matter. The ideal soil is loamy, meaning it has a balanced mix of sand, silt, and clay. If your soil is heavy clay or sandy, amend it with compost to improve its texture and nutrient content. This will ensure that the soil retains enough moisture while allowing excess water to drain away, preventing root rot.
2. Soil pH
Chives thrive in soil with a pH level between 6.0 and 7.0. You can test your soil’s pH using a simple home testing kit. If your soil is too acidic, add lime to raise the pH. If it’s too alkaline, incorporate organic matter such as compost or peat moss to lower the pH.
Planting Chives
1. Seed vs. Seedling
You can start chives from seeds or purchase seedlings from a nursery. If starting from seeds, sow them directly into the soil or seed trays. For direct sowing, scatter the seeds evenly over the soil and cover them lightly with a thin layer of soil. Space the seeds about 6 inches apart. If using seedlings, plant them at the same depth they were growing in their nursery container.
2. Indoor Planting
If growing chives indoors, use a container with drainage holes. Fill the container with a high-quality potting mix and plant the seeds or seedlings at the same depth as described above. Indoor chives should be watered regularly and may require additional nutrients compared to outdoor plants.
3. Outdoor Planting
In outdoor gardens, prepare the soil by removing weeds and breaking up any large clumps. Sow the seeds or plant the seedlings, ensuring they are spaced at least 6 inches apart. This spacing allows the chives to grow freely and access nutrients without competition.
Watering and Maintenance
1. Watering Requirements
Chives prefer consistently moist soil, but it’s crucial not to overwater. Water the plants when the top inch of soil feels dry. During hot or dry periods, you may need to water more frequently. Ensure that the container or garden bed has good drainage to prevent waterlogging.
2. Fertilizing
Chives are relatively low-maintenance and don’t require frequent fertilization. However, applying a balanced fertilizer once or twice during the growing season can promote healthy growth. Choose a fertilizer with equal parts nitrogen, phosphorus, and potassium or use an organic option such as compost or aged manure.
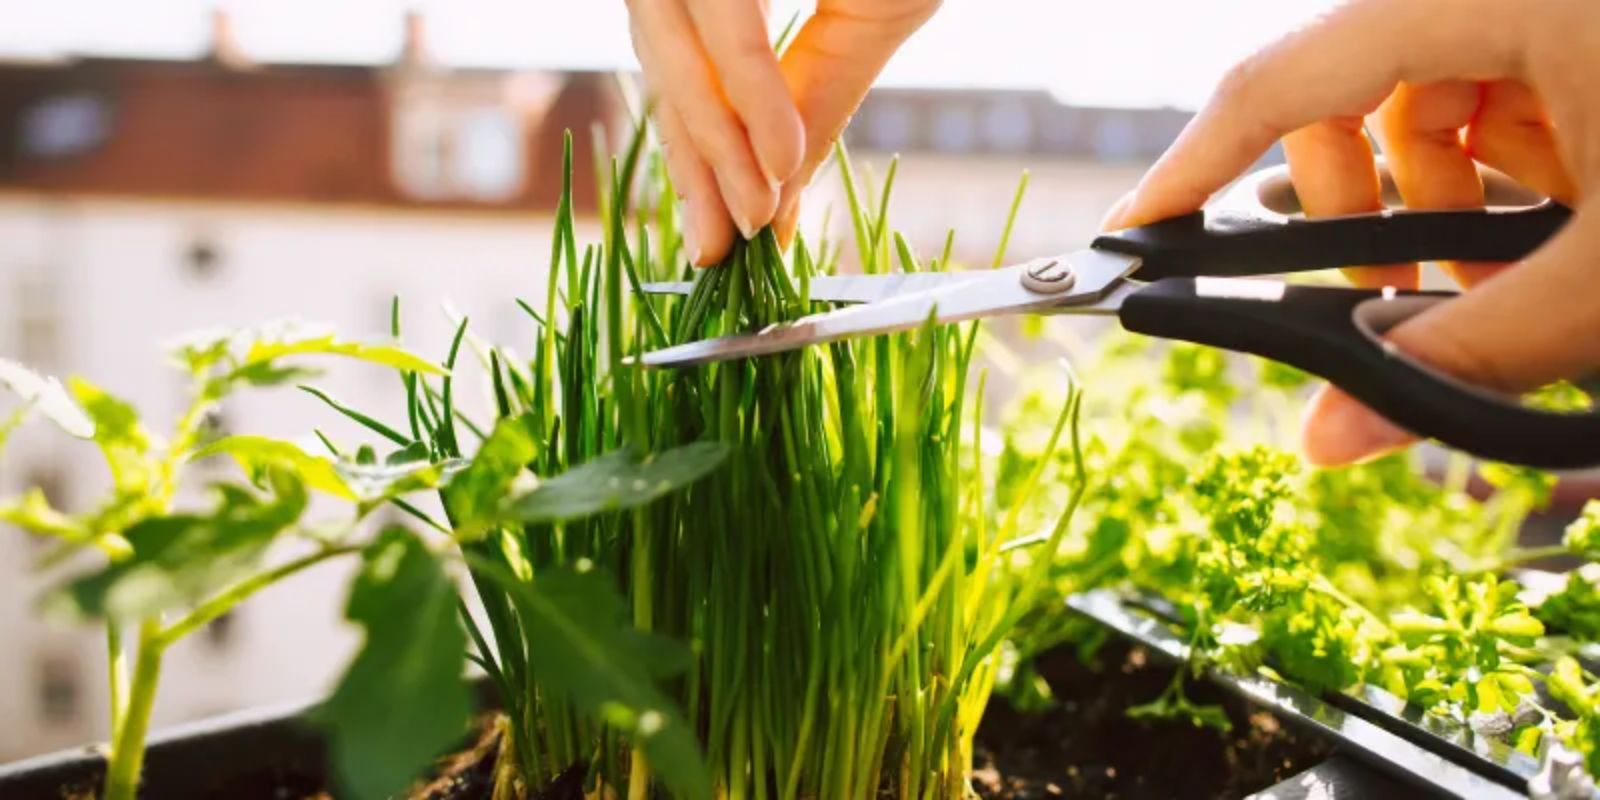
3. Pruning and Harvesting
Regular harvesting of chives encourages new growth and keeps the plants productive. Snip the leaves with clean scissors, cutting them at the base, leaving about 1 inch of growth. This will allow the plant to regrow new shoots. Avoid cutting more than one-third of the plant at a time to prevent stress. Chives can be harvested multiple times throughout the growing season.
4. Preventing Pests and Diseases
Chives are generally resistant to pests and diseases, but occasional issues may arise. Watch for signs of aphids or spider mites, which can be managed with insecticidal soap or by washing the plants with a gentle stream of water. Fungal diseases such as downy mildew can be prevented by ensuring good air circulation and avoiding overhead watering.
Harvesting and Using Chives
1. When to Harvest
Chives are ready to harvest when they reach a height of 6-8 inches. You can begin harvesting as soon as the leaves are long enough to use. Regular trimming encourages a steady supply of fresh leaves and helps maintain the plant’s vigor.
2. How to Harvest
Use clean, sharp scissors or garden shears to cut the chive leaves. Harvest only a portion of the leaves to allow the plant to continue growing. The flavor of chives is most intense when they are young and tender.
3. Storing Chives
Freshly harvested chives can be used immediately or stored for later use. For short-term storage, place the chives in a glass of water, covering them with a plastic bag, and keep them in the refrigerator. For longer-term storage, chop and freeze the chives in an airtight container or freezer bag.
Troubleshooting Common Issues
1. Yellowing Leaves
If your chive leaves are turning yellow, it may be a sign of overwatering or nutrient deficiency. Check the soil moisture and reduce watering if necessary. Consider applying a balanced fertilizer if the soil is lacking nutrients.
2. Slow Growth
Slow growth can be attributed to insufficient light, poor soil conditions, or overcrowding. Ensure your chives are receiving adequate light and that the soil is well-draining. Thin out crowded plants to allow space for proper growth.
3. Wilting
Wilting can occur due to underwatering, especially in hot weather. Ensure that the soil remains consistently moist and provide additional water during dry periods.
Conclusion
Growing chives at home is a simple and rewarding way to enhance your culinary experience. By choosing the right location, preparing the soil, and following proper planting and care techniques, you can enjoy a bountiful harvest of fresh, flavorful chives. Whether you’re an experienced gardener or just starting, chives are a versatile herb that can thrive in various conditions, making them an excellent addition to your home garden.
Start growing chives today and elevate your dishes with the fresh taste of homegrown herbs! 🌿✨