
Grafting is one of the oldest and most efficient horticultural techniques, allowing gardeners to combine the best traits of different plant varieties. This age-old practice can enhance fruit production, improve disease resistance, and create unique hybrids. If you’re looking to increase your gardening skills and enjoy the fruits of your labor, understanding how to graft fruit trees is essential. This guide will take you through everything you need to know about grafting, from the basics to advanced techniques.
Understanding Grafting
Grafting involves joining two different plants together in such a way that they grow as one. The part of the plant that provides the root system is called the rootstock, while the part that produces the foliage and fruit is known as the scion. Successful grafting relies on the ability of the plants to grow together, which is influenced by several factors, including species compatibility and environmental conditions.
Why Graft?
- Disease Resistance: Grafting can enhance resistance to soil-borne diseases by using rootstocks that are more tolerant to certain pathogens.
- Improved Fruit Quality: Certain scions produce better fruit in terms of taste, size, and quality, giving you more delicious options in your garden.
- Dwarfing Effects: Some rootstocks can control the size of the tree, making it more manageable and suitable for small spaces.
- Faster Fruit Production: Grafted trees often produce fruit more quickly than those grown from seed.
- Combining Varieties: Grafting allows you to create trees that produce multiple types of fruit, enhancing biodiversity in your garden.
Types of Grafting Techniques
There are several grafting techniques, each suited for different types of plants and conditions. The most common methods include:
1. Whip and Tongue Grafting
This technique is ideal for grafting young, flexible stems. The process involves making a sloped cut on both the scion and rootstock, creating a tongue-shaped notch in both pieces that interlock when joined together.
Steps:
- Cut both the rootstock and scion at a 45-degree angle.
- Create a tongue-shaped cut on both pieces.
- Join the two parts together and wrap with tape.
2. Cleft Grafting
Best used for larger rootstocks, cleft grafting involves splitting the rootstock and inserting the scion into the cleft.
Steps:
- Make a vertical cut down the center of the rootstock.
- Split the rootstock open slightly.
- Insert the prepared scion into the cleft and secure it with tape.
3. Bark Grafting
Ideal for older trees, bark grafting is done when the bark is slipping (usually in late spring). This method involves lifting the bark and inserting the scion beneath it.
Steps:
- Make a horizontal cut around the tree’s circumference.
- Lift the bark flaps.
- Insert the scion and press the bark back down.
4. Chip Budding
This technique is particularly useful for budding in late summer and early fall. It involves removing a chip of bark with a bud from the scion and inserting it into the rootstock.
Steps:
- Make a T-shaped cut in the bark of the rootstock.
- Remove a chip from the scion with a bud attached.
- Insert the chip into the T-cut and wrap with tape.
Materials Needed for Grafting
- Sharp Knife or Grafting Tool: A clean, sharp tool is crucial for making precise cuts.
- Grafting Tape or Paraffin: This helps to hold the graft together and prevents moisture loss.
- Pruning Shears: For cutting and preparing the scion and rootstock.
- Disinfectant: To sanitize your tools and prevent the spread of disease.
- Labels: To mark your grafts and keep track of different varieties.
The Grafting Process
1. Choosing the Right Time
Timing is crucial for successful grafting. The best time to graft most fruit trees is during late winter or early spring when the plants are dormant and sap flow is minimal. This timing reduces stress on the plants and promotes quicker healing.
2. Selecting Compatible Varieties
Not all plants can be grafted together. Ensure that the rootstock and scion are compatible; generally, they should be from the same species or closely related species. For example, apples can be grafted onto apple rootstocks, while pears can be grafted onto pear rootstocks.
3. Preparing the Scion and Rootstock
- Scion Preparation: Choose a healthy, disease-free branch from the desired variety. Cut a 6- to 8-inch section with several buds. Make a clean cut at the bottom.
- Rootstock Preparation: Select a healthy rootstock that is well-established. Make the appropriate cuts based on your grafting method.
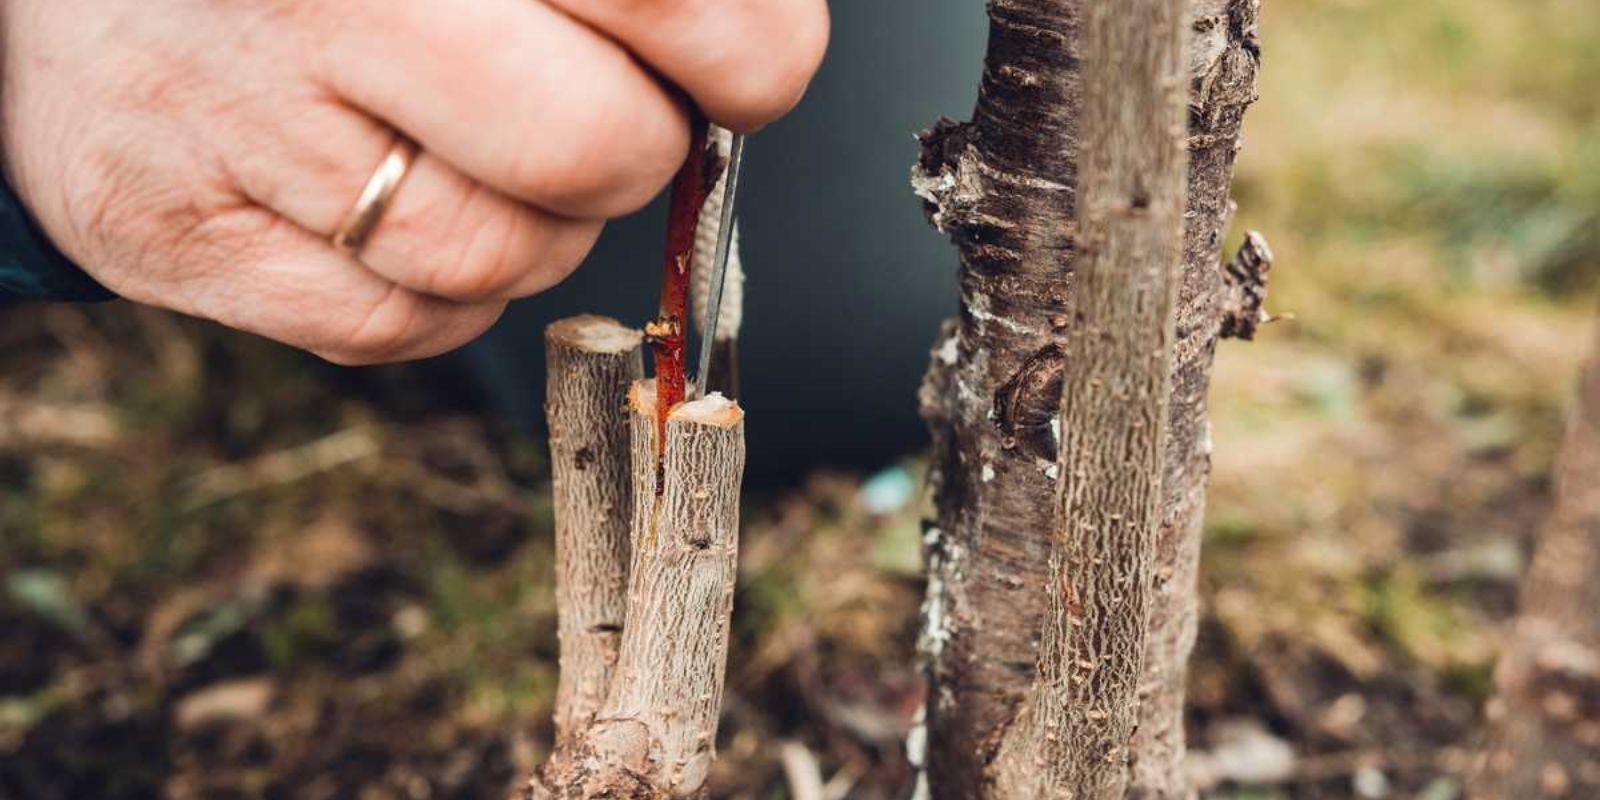
4. Making Clean Cuts
Use a sharp knife to create clean, angled cuts on both the rootstock and scion. Clean cuts ensure better contact between the cambium layers, which is essential for successful grafting.
5. Joining the Graft
Align the cambium layers of the scion and rootstock as closely as possible. This contact is crucial for nutrient and water transfer between the two parts.
6. Securing the Graft
Wrap the graft union tightly with grafting tape or parafilm to hold it in place. This wrapping helps to keep moisture in and prevent pests from accessing the graft.
7. Protecting the Graft
After grafting, place the plant in a shaded area to minimize stress. Water it adequately to ensure the soil remains moist but not soggy. This hydration helps reduce shock and promotes healing.
8. Monitoring Growth
Keep an eye on the grafted area for signs of growth. If the graft is successful, you’ll see new shoots emerging from the scion within a few weeks. Regularly check for any signs of disease or pests.
9. Removing Tape
Once you notice new growth, usually after a few weeks to a month, carefully remove the grafting tape. This will prevent the tape from constricting the growth of the plant.
Common Challenges in Grafting
While grafting can be a rewarding experience, several challenges may arise:
- Failed Grafts: Not all grafts will take. Factors like incompatibility, poor technique, or environmental stress can lead to failure.
- Pests and Diseases: Keep an eye out for pests and diseases, as the graft area can be vulnerable.
- Water Stress: Ensure consistent watering, as both the rootstock and scion need adequate moisture to thrive.
Conclusion
Grafting fruit trees is a fascinating and rewarding skill that can enhance your gardening experience. By mastering this technique, you can enjoy improved fruit production, healthier trees, and the satisfaction of growing unique varieties. Remember that practice makes perfect—don’t be discouraged by initial failures. With patience and persistence, you can become proficient in grafting and transform your garden into a fruitful oasis.
Ready to dive into the world of grafting? Share your experiences and tips with fellow gardeners using these hashtags!
FruitTreeGrafting #GardeningTips #TreeCare #HomeGardening #GrowYourOwnFood #PlantPropagation #GreenThumb #SustainableGardening #GardeningJoy #Horticulture
Grafting is a va