
Introduction
Making butter at home is not only a fun and rewarding culinary experience but also allows you to enjoy fresh, creamy butter without any additives or preservatives. With just one ingredient—heavy cream—you can whip up a batch of homemade butter that’s perfect for spreading on toast, baking, or enhancing your favorite dishes. This article explores the step-by-step process of making butter at home, its nutritional benefits, and why it’s worth trying this DIY approach.
Why Make Your Own Butter?
While store-bought butter is convenient, making your own butter at home offers several advantages. Firstly, you have full control over the ingredients, ensuring that your butter is free from artificial flavors, colors, and preservatives. Secondly, homemade butter tends to be creamier and richer in flavor compared to many commercial varieties. Additionally, making butter at home can be a cost-effective option, especially if you use high-quality heavy cream from local sources or organic farms.
Nutritional Benefits of Butter
Butter, when consumed in moderation, can be part of a balanced diet and provides several nutritional benefits. It is a good source of fat-soluble vitamins like vitamin A, D, E, and K2, which are important for various bodily functions including immune support, bone health, and vision. Butter from grass-fed cows also contains higher levels of omega-3 fatty acids and conjugated linoleic acid (CLA), which have been associated with health benefits such as reduced inflammation and improved heart health.
Steps to Make Homemade Butter
1. Get Your Ingredient: Heavy Cream
To make butter at home, you’ll need:
- Heavy cream (preferably organic or from grass-fed cows for enhanced flavor and nutritional benefits).
2. Whipping Process
- Pour the heavy cream into a food processor or blender. You can also use a stand mixer with a whisk attachment.
- Start blending or processing at medium speed. The cream will first turn into whipped cream.
3. Churning
- Continue blending or processing the cream. After a few minutes, the whipped cream will thicken further.
- Keep blending until you notice the mixture separating into solid clumps of butterfat and liquid buttermilk. This process typically takes about 10-15 minutes, depending on the speed and method used.
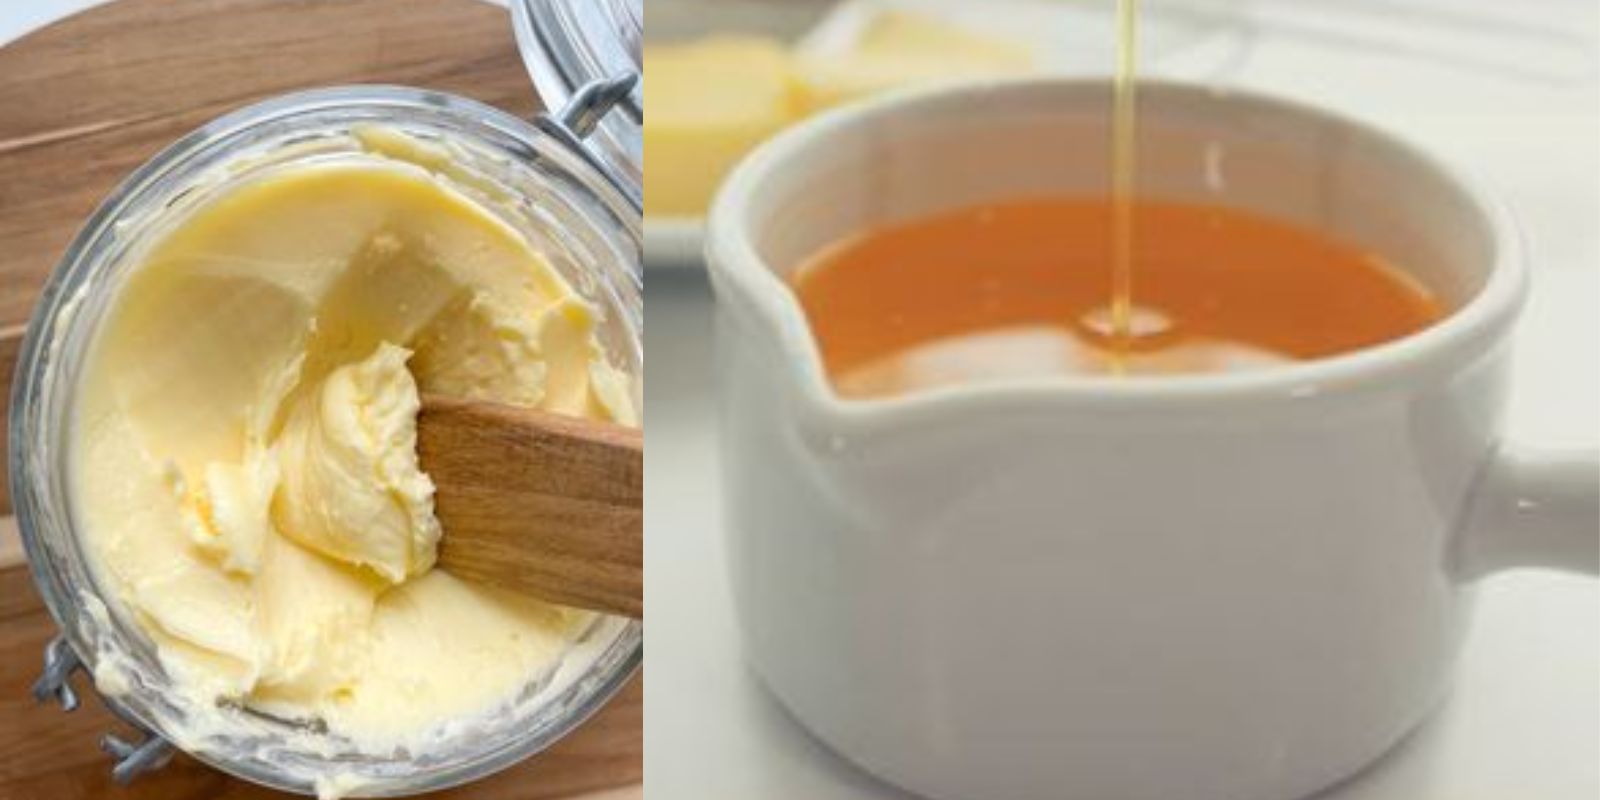
4. Separate and Rinse
- Once the butterfat has clumped together and separated from the buttermilk, stop blending.
- Pour off the buttermilk and save it for other recipes, such as pancakes or biscuits.
- Rinse the butter under cold water to remove any remaining buttermilk. This helps improve the butter’s shelf life and prevents it from spoiling quickly.
5. Shape and Store
- Shape the butter into a block, log, or use a butter mold for decorative shapes. You can also wrap it in parchment paper or plastic wrap to maintain its shape.
- Store the butter in the refrigerator in an airtight container to keep it fresh. Homemade butter typically lasts for about 1-2 weeks in the refrigerator.
Tips for Success
- Temperature: Ensure the heavy cream is cold when you begin whipping. This helps the butterfat separate more easily from the buttermilk.
- Quality: Use high-quality heavy cream for the best flavor and texture. Cream from grass-fed cows tends to produce butter with a richer taste and higher nutrient content.
- Patience: Churning butter takes time, so be patient and avoid rushing the process. The results will be worth the wait!
Culinary Uses of Homemade Butter
Homemade butter can be used in a variety of culinary applications, enhancing both sweet and savory dishes:
- Spreading: Enjoy freshly made butter on toast, muffins, or scones for a delicious breakfast or snack.
- Cooking: Use homemade butter for sautéing vegetables, frying eggs, or searing meats. Its rich flavor adds depth to dishes.
- Baking: Incorporate homemade butter into cookies, cakes, and pastries for a superior taste and texture.
- Flavoring: Customize your butter by adding herbs, spices, or honey during the churning process for flavored butter variations.
Health and Sustainability
Making butter at home not only allows you to control the ingredients but also promotes sustainability. By using heavy cream from local farms or organic sources, you support sustainable farming practices and reduce your carbon footprint. Homemade butter eliminates the need for excessive packaging and transportation associated with store-bought products, contributing to environmental conservation efforts.
Motivation to Interact
Have you ever tried making your own butter at home? Share your experience, tips, or favorite recipes in the comments below! Let’s inspire each other to explore the joys of homemade culinary creations and healthier eating habits.
Conclusion
Making butter at home is a simple yet rewarding process that anyone can try. By using just one ingredient—heavy cream—you can create creamy, flavorful butter that surpasses many store-bought varieties. Whether you enjoy it on freshly baked bread, use it in cooking and baking, or experiment with flavored variations, homemade butter offers a delightful addition to your kitchen repertoire. Embrace the satisfaction of DIY culinary adventures and discover the joys of homemade butter today. Your taste buds—and possibly your health—will thank you for it!