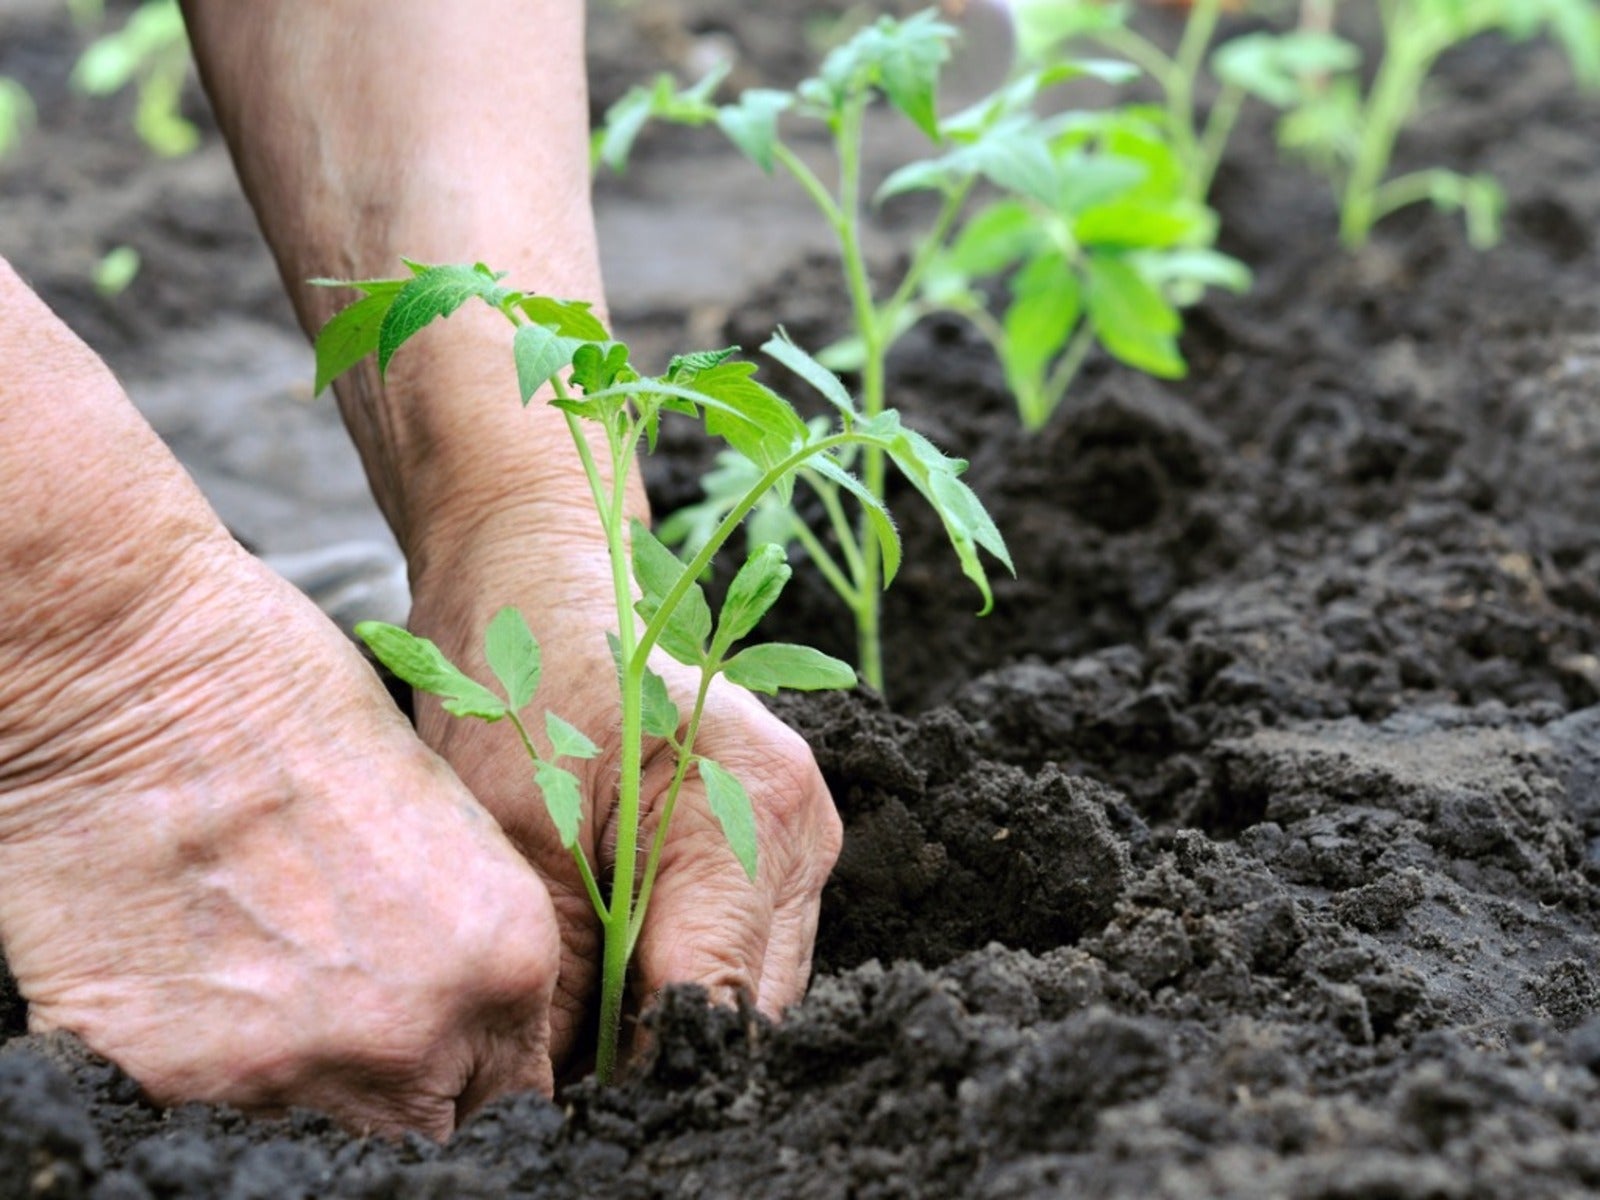
Tomatoes are the heart of many home gardens — vibrant, flavorful, and surprisingly easy to grow once you understand the basics. Whether you dream of slicing a fresh tomato for a summer sandwich or making your own rich pasta sauce, learning how to plant tomatoes the right way can make all the difference.If you’ve ever wondered where to begin, this guide will walk you through everything you need to know — from choosing the best tomato varieties to caring for your plants through harvest. So let’s dive into Make it easy: How to plant tomatoes! and discover how even beginners can grow a healthy, abundant crop.Why Grow Your Own Tomatoes?Before getting your hands dirty, it’s worth knowing why homegrown tomatoes are worth the effort. Unlike the store-bought versions that are often picked green and ripened artificially, tomatoes grown in your garden are:Richer in flavor — sun-ripened fruits are juicy, sweet, and full of taste.Healthier — they’re free from preservatives and harmful chemicals.Cost-effective — one plant can yield dozens of tomatoes in a season.Satisfying — there’s nothing quite like harvesting your own produce.When you make it easy: how to plant tomatoes!, you’re setting yourself up for a rewarding gardening experience and fresher meals right from your backyard or balcony.Step 1: Choose the Right Tomato VarietyTomatoes come in countless shapes, sizes, and colors — from tiny cherry tomatoes to hefty beefsteaks. Choosing the right type depends on your space, climate, and cooking preferences.Determinate vs. IndeterminateDeterminate tomatoes (bush types) grow to a set height, produce fruit all at once, and are ideal for containers or smaller spaces. Varieties include Roma, Patio Princess, and Celebrity.Indeterminate tomatoes (vining types) grow continuously and produce fruit throughout the season. These need staking or cages for support. Popular varieties include Better Boy, Brandywine, and Sungold.Climate Tip:If you live in a cooler region like Canada or northern U.K., look for early-maturing or cold-tolerant varieties such as Sub Arctic Plenty or Early Girl. In warmer U.S. climates, heat-tolerant types like Heatmaster thrive.Step 2: Start with Healthy Seedlings or SeedsYou can begin by sowing tomato seeds indoors about 6–8 weeks before the last frost date, or you can buy healthy young plants from a nursery.Starting from SeedsFill seed trays or small pots with a light, well-draining seed-starting mix.Plant seeds about ¼ inch deep and lightly cover with soil.Keep the soil moist but not soggy.Place in a warm location (70–75°F / 21–24°C) with good light.Once seedlings develop two sets of true leaves, transplant them into larger pots.Buying SeedlingsIf you’re short on time, purchase sturdy, green seedlings with thick stems and no flowers yet. This ensures they’ll establish strong roots once planted.Either way, you’re off to a great start with Make it easy: How to plant tomatoes!Step 3: Prepare the SoilHealthy soil equals healthy tomatoes. Tomatoes love well-drained, nutrient-rich soil packed with organic matter.Location: Choose a sunny spot — tomatoes need at least 6–8 hours of direct sunlight daily.Soil Type: Loamy soil enriched with compost or aged manure works best.pH Level: Slightly acidic soil (pH 6.0–6.8) encourages optimal nutrient absorption.Fertilization: Mix a slow-release fertilizer or balanced organic compost into the soil before planting.💡 Smart Tip: Rotate your crops! Avoid planting tomatoes in the same spot where other nightshade plants (like peppers, potatoes, or eggplants) grew last year to prevent disease buildup.Step 4: Transplanting Tomatoes the Right WayOnce your soil is ready and frost danger has passed, it’s time to plant your tomato seedlings outdoors. Here’s how to make it easy: how to plant tomatoes the smart way.Dig Deep: Tomatoes develop roots along their buried stems. Dig a hole deep enough to bury two-thirds of the plant, removing the lower leaves first.Spacing: Keep plants 18–24 inches apart to allow airflow and reduce disease.Water Well: Water the hole before placing the seedling to encourage root contact.Mulch: After planting, add a layer of mulch or straw to retain moisture and keep soil temperature stable.Container PlantingIf space is limited, tomatoes grow beautifully in containers at least 16–18 inches in diameter. Use quality potting soil and ensure proper drainage.Step 5: Support and CareTomatoes grow fast and need support to keep fruits off the ground and prevent stem breakage.Staking OptionsCages: Easy to use and great for beginners.Stakes: Tie plants loosely with soft ties as they grow.Trellises: Ideal for indeterminate varieties; keep vines upright and healthy.WateringKeep soil consistently moist but not soggy. Deep watering encourages strong root systems.Avoid watering the leaves to prevent fungal diseases.Water early in the day so the foliage can dry before nightfall.FeedingFeed every 2–3 weeks with a tomato-specific fertilizer high in potassium and phosphorus but low in nitrogen. Too much nitrogen causes lush foliage but fewer fruits.Step 6: Protect Against Pests and DiseasesEven the most diligent gardener can encounter pests, but with a proactive approach, you can make it easy: how to plant tomatoes without major setbacks.Common PestsAphids: Use neem oil or introduce ladybugs to control them naturally.Tomato Hornworms: Handpick or spray with organic insecticidal soap.Whiteflies: Hang yellow sticky traps around plants.Common DiseasesBlight: Avoid overhead watering and remove affected leaves immediately.Fusarium wilt: Choose resistant varieties labeled “F” or “V.”Cracking: Happens due to irregular watering — maintain steady moisture levels.Companion planting also helps — basil, marigold, and garlic repel pests and improve tomato health.Step 7: Pruning and MaintenanceProper pruning can significantly improve airflow, sunlight exposure, and fruit quality.Remove suckers: These are small shoots that appear between the main stem and branches. Removing them directs energy to fruit production.Trim lower leaves: Keep the bottom 12 inches of the plant leaf-free to prevent soil-borne diseases.Monitor growth: Tie up vines regularly and remove yellowing or damaged foliage.This simple maintenance routine keeps your plants thriving and your harvest strong.Step 8: Harvesting TomatoesAfter all your effort, it’s finally time to enjoy the fruits of your labor!Timing: Most varieties mature in 60–90 days after transplanting.Ripeness: Tomatoes are ready when they’re firm yet slightly soft, with rich, even color.Harvesting Tip: Twist gently or snip with scissors to avoid damaging the plant.If frost approaches before all fruits ripen, pick green tomatoes and let them ripen indoors in a warm, dry spot.Practical Tips for SuccessMulch early to control weeds and retain soil moisture.Feed your plants consistently — tomatoes are heavy feeders.Pinch off flowers during the first few weeks after transplanting so plants focus on root growth.Harvest regularly to encourage continuous fruiting.Use Epsom salt (magnesium sulfate) occasionally to prevent blossom-end rot and boost flavor.These easy-to-follow tricks make your gardening journey smoother, helping you grow smarter and tastier tomatoes season after season.Conclusion: Make It Easy — How to Plant Tomatoes!Tomatoes are one of the most rewarding crops to grow, offering both beauty and bounty to your garden. From selecting the right variety and preparing rich soil to watering, feeding, and harvesting, each step brings you closer to that perfect, sun-ripened tomato.Whether you’re gardening in a backyard, on a balcony, or in raised beds, you can absolutely make it easy: how to plant tomatoes! With the right care and attention, your plants will reward you with juicy, flavorful fruits that outshine anything from the supermarket.So roll up your sleeves, grab your gardening gloves, and start planting — because the best tomato you’ll ever taste is the one you grow yourself.