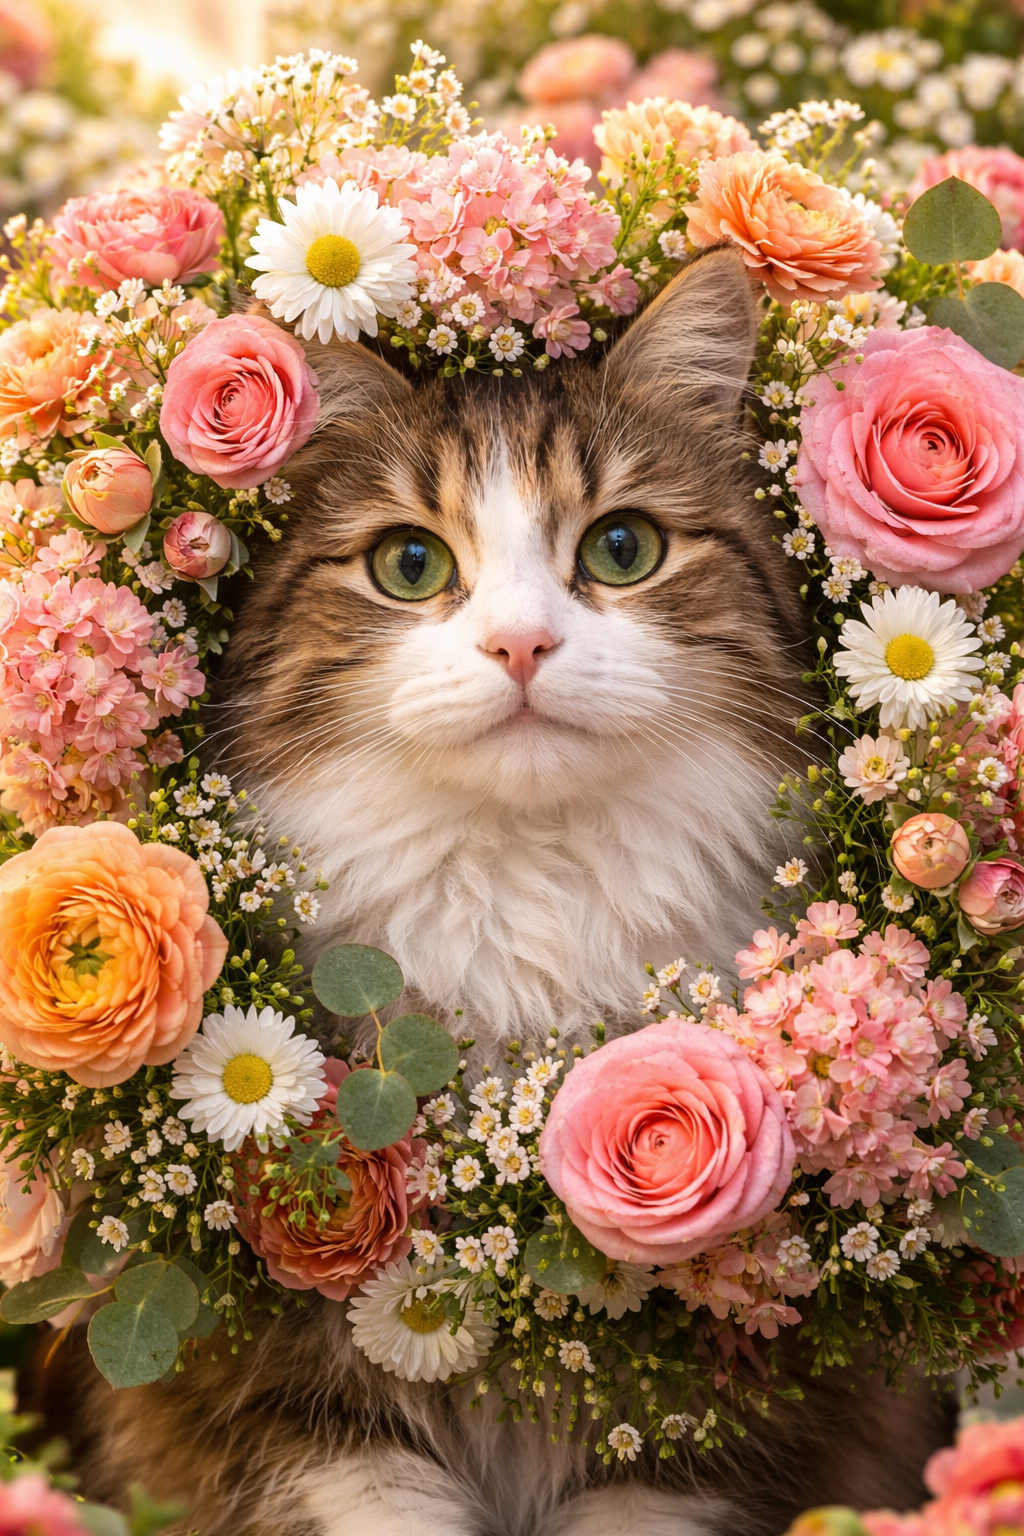
Creating a cat with flowers—as an illustration, craft, or photo setup—is a charming idea that works for art projects, gifts, décor, or social media. Below is a clear, beginner-friendly step-by-step guide focused on drawing/illustrating a cat with flowers, with tips you can adapt for painting, digital art, or mixed media.Step 1: Choose Your Style and MoodBefore you start, decide the look you want:Cute & cartoon (round shapes, big eyes)Realistic (detailed fur, soft shading)Minimalist (simple lines, pastel flowers)Whimsical (floral crowns, fantasy colors)This choice guides your shapes, colors, and level of detail.Step 2: Sketch the Basic Cat ShapeStart light—use a pencil or low-opacity brush.Draw a circle or oval for the headAdd a small oval below for the body (or just the head for a portrait)Sketch two triangles for earsAdd a curved line for the neck and shoulders👉 Keep lines loose—you’ll refine them later.Step 3: Add Facial FeaturesBring your cat to life:Draw almond-shaped eyes (or big circles for a cute look)Add a small triangle noseDraw a soft “W” shape for the mouthPlace whisker dots and light whiskers💡 Tip: Cats look gentler when eyes sit lower on the face.Step 4: Refine the Cat’s OutlineNow clean up:Smooth the head and ear shapesAdd subtle fur edges (small zigzags or short strokes)Define the body posture (sitting, peeking, or lying down)Erase or hide rough sketch lines.Step 5: Plan the Flower PlacementDecide how flowers interact with the cat:🌼 Flower crown on the head🌸 Flowers around the neck like a garland🌷 Cat sitting among flowers🌹 One flower held in the mouth or pawLightly sketch circles where flowers will go.Step 6: Draw the FlowersChoose simple flowers if you’re a beginner:Daisies: circle + petalsRoses: spiral center + layered petalsTulips: cup shape with 2–3 petalsWildflowers: small clustersAdd leaves and stems for balance.Step 7: Add Details and TextureThis is where your artwork shines:Add fur lines around cheeks and earsLayer petals for depthSlight overlaps between flowers and fur make it naturalDon’t overdo it—suggestion works better than perfection.Step 8: Color Your Cat and FlowersChoose a soft, harmonious palette.Popular Color Combos:Gray or cream cat + pink flowersOrange cat + white & yellow flowersBlack cat + pastel floralsColoring Tips:Shade lightly under the chin and earsUse darker tones at flower centersAdd highlights to eyes and petalsWorks for colored pencils, watercolors, acrylics, or digital tools.Step 9: Add Background (Optional)Keep it simple:Soft pastel washMinimal dots or sparklesLight greeneryPlain background for stickers or printsA clean background keeps focus on the cat and flowers.Step 10: Final TouchesOutline lightly (or not at all for a soft look)Add tiny highlights to eyes and petalsSign your artwork 🎨Step back and admire your cat with flowers creation!Extra Tips for Best ResultsUse reference photos of cats and flowersPractice flowers separately firstLess detail = cuter resultSoft colors feel more romantic and calmDigital artists: use layers for sketch, line, and colorCreative Uses for “Cat with Flowers”Wall art or printsGreeting cardsStickers or plannersPhone wallpapersGifts for cat loversFinal ThoughtsCreating a cat with flowers is a joyful, relaxing project that blends nature and personality. Whether you’re a beginner or experienced artist, following these steps helps you build confidence and creativity—one petal and whisker at a time 🌸🐾