
The Hobbit Bush, scientifically known as Crassula Ovata ‘Hobbit,’ is a unique, low-maintenance succulent that appeals to gardeners of all levels. Its whimsical appearance, reminiscent of the iconic Tolkien fantasy, gives it the name “Hobbit.” Perfect for small gardens, indoor spaces, and containers, this plant is adaptable and charming. If you’re looking for a plant that will provide both beauty and ease, the Hobbit Bush is the answer.
This article will guide you through everything you need to know to grow and care for this fascinating plant, ensuring it thrives in your garden for years to come.
What is the Hobbit Bush?
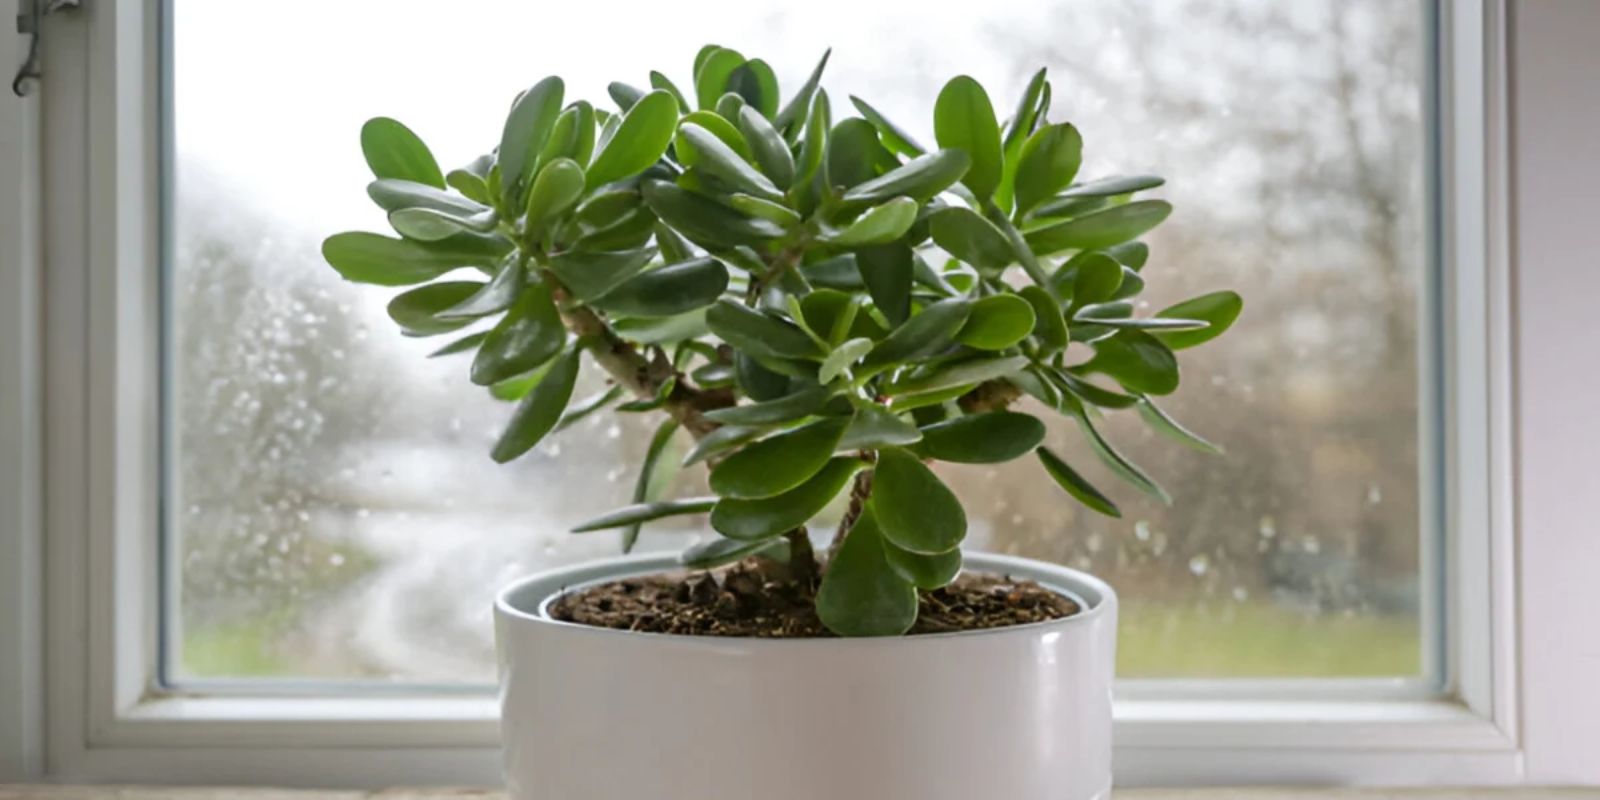
The Hobbit Bush belongs to the Crassula family, which is a type of succulent. Its thick, tube-shaped leaves are its most distinguishing feature, giving it a look that’s different from other succulents. The leaves start off a light green but can develop red tips when exposed to full sunlight. One of its best traits is its hardiness and ability to thrive with minimal care.
In addition to its unique aesthetic, the Hobbit Bush can grow into a small tree-like structure when mature, making it a striking centerpiece in a garden or a decorative indoor plant.
Why Choose the Hobbit Bush?
- Low-maintenance: It doesn’t need frequent watering or special soil.
- Decorative: Its quirky, tubular leaves add personality to any space.
- Hardy: It can withstand various environments and conditions.
- Container-friendly: Ideal for small spaces and pots.
- Slow growth: It doesn’t need constant pruning or shaping.
Getting Started: Choosing the Right Environment
Before planting, it’s important to understand the environmental needs of the Hobbit Bush. While it’s not fussy, providing the right conditions will ensure healthy growth and a long life for your plant.
Light
The Hobbit Bush thrives in bright, indirect light. If grown indoors, place it near a window where it can get plenty of sunlight, but not too much direct sun, which can cause leaf burn. Outdoors, the plant does well in partial shade, although it can tolerate full sunlight in cooler climates. The more sunlight it gets, the more likely the tips of the leaves will turn a beautiful reddish hue.
Temperature
As a succulent, the Hobbit Bush prefers warmer temperatures. It thrives in temperatures between 60°F and 75°F (16°C to 24°C). If you live in an area with cold winters, it’s best to bring the plant indoors, as it doesn’t tolerate frost well. Indoors, make sure it’s not exposed to cold drafts from windows or doors.
Soil
The Hobbit Bush prefers well-drained, sandy soil. Since it’s a succulent, its roots are prone to rotting if left in waterlogged soil. Use a cactus or succulent potting mix, or create your own by mixing regular potting soil with sand or perlite to improve drainage. If planting outdoors, choose a spot with sandy or rocky soil that doesn’t retain water.
Planting the Hobbit Bush
Now that you know the best conditions for the plant, it’s time to plant your Hobbit Bush.
1. Choose Your Spot or Container
The Hobbit Bush can be planted directly into your garden or in a container. If you’re using a container, choose one with drainage holes to prevent water from accumulating in the soil. The size of the container depends on the size of your plant; a small container will keep the plant more compact, while a larger one will allow it to grow larger.
2. Prepare the Soil
If you’re planting in a garden, make sure the soil is well-drained. Amend heavy clay soil with sand or perlite to improve drainage. For container planting, use a succulent or cactus mix. Adding a layer of gravel or small stones at the bottom of the pot will further improve drainage.
3. Plant the Hobbit Bush
Dig a hole slightly larger than the root ball of the plant. If you’re planting in a container, fill the bottom with some soil before placing the plant inside. Place the plant in the hole and fill the surrounding space with soil, pressing down gently to remove air pockets. Water the plant lightly after planting to help settle the soil.
Caring for the Hobbit Bush
Once your Hobbit Bush is planted, caring for it is simple. Its low-maintenance nature makes it a perfect choice for busy or beginner gardeners.
1. Watering
Succulents like the Hobbit Bush don’t require frequent watering. Water the plant when the top inch of soil feels dry to the touch. Over-watering can lead to root rot, so it’s better to underwater than to overwater. In the winter months, reduce watering even further as the plant enters a dormant phase.
Tip: If you’re unsure whether it’s time to water, wait another day or two. The Hobbit Bush is drought-tolerant and can survive longer periods without water.
2. Fertilizing
While the Hobbit Bush doesn’t need much fertilizer, you can encourage healthy growth by feeding it a balanced, water-soluble fertilizer during the growing season (spring and summer). Dilute the fertilizer to half the recommended strength, and apply it once a month. Avoid fertilizing in the winter months when the plant isn’t actively growing.
3. Pruning
The Hobbit Bush is a slow-growing plant, so pruning is minimal. However, occasional pruning helps maintain its shape and encourages new growth. Remove any dead or damaged leaves, and trim back overgrown branches if necessary. Use clean, sharp pruning shears to prevent disease transmission.
Common Problems and How to Solve Them
Although the Hobbit Bush is hardy and generally pest-resistant, it can still encounter some issues.
1. Overwatering and Root Rot
The most common issue with the Hobbit Bush is overwatering. If the leaves start turning yellow or mushy, or if the plant wilts despite having enough water, root rot may be the problem. To fix this, remove the plant from the soil, cut away the rotten roots, and replant it in fresh, well-drained soil.
2. Pests
While pests are rare, mealybugs and aphids can occasionally attack the Hobbit Bush. These pests can be controlled with insecticidal soap or neem oil. Wipe down the leaves with a soft cloth soaked in the solution and repeat the treatment every few days until the pests are gone.
3. Leaf Drop
If your Hobbit Bush is losing leaves, it could be due to environmental stress, such as changes in light, temperature, or watering. Make sure the plant is in a stable environment with consistent care.
Propagating the Hobbit Bush
One of the best things about the Hobbit Bush is that it’s easy to propagate. This means you can create more plants for yourself or to give as gifts.
1. Leaf Cuttings
To propagate by leaf cutting, simply twist off a healthy leaf from the plant, let it dry for a few days, and then place it on top of well-drained soil. Water lightly until roots and new leaves start to form.
2. Stem Cuttings
Take a stem cutting from the plant and let it dry for a few days before planting it in soil. Once it’s planted, water it sparingly until it establishes roots.
Conclusion: A Whimsical and Worry-Free Plant
The Hobbit Bush is a delightful, easy-to-care-for plant that adds character to any garden or home. With its charming appearance and minimal maintenance needs, it’s perfect for both beginners and experienced gardeners. Whether you’re looking for a plant to brighten up your indoor space or a hardy outdoor feature, the Hobbit Bush is sure to deliver.
Take the first step to growing your own Hobbit Bush and enjoy its quirky charm for years to come!
Motivate: Ready to add a touch of whimsy to your garden? Start growing your very own Hobbit Bush today! 🌿✨