Introduction
Orchids are celebrated for their stunning, exotic blooms and delicate foliage, making them a popular choice for indoor gardening. However, to keep these beautiful plants thriving indoors, it’s crucial to provide the right lighting conditions. Unlike many houseplants, orchids have specific light requirements that, when met, can lead to healthier growth and more vibrant blooms. This guide will walk you through essential lighting tips to ensure your orchids receive the optimal light they need to flourish.
Understanding Orchid Lighting Needs
Orchids are native to various environments, from tropical rainforests to subtropical regions, where they often receive filtered light through tree canopies. Replicating these conditions indoors can be challenging but is essential for their well-being. Here’s a closer look at what your orchids need:
- Brightness: Orchids generally require bright, indirect light. They can tolerate lower light conditions, but this may result in fewer blooms and slower growth.
- Light Intensity: The intensity of light is crucial. Too much direct sunlight can lead to leaf burn, while too little light can cause weak growth and reduced flowering.
- Light Duration: Orchids typically need around 12-14 hours of light each day. This can be achieved with natural sunlight and/or supplemental artificial lighting.
Lighting Tips for Orchids
1. Provide Bright, Indirect Light
Orchids thrive in bright, indirect light. Direct sunlight can be too intense and may scorch the leaves. Here’s how to achieve the right lighting:
- Place Near a Window: Position your orchids near a window that receives bright, filtered light. East or west-facing windows are often ideal as they provide strong morning or afternoon light without the harshness of midday sun.
- Use Sheer Curtains: If direct sunlight is unavoidable, use sheer curtains or blinds to diffuse the light. This will create a softer light that mimics the natural dappled light orchids would receive in the wild.
- Monitor Leaf Color: Healthy orchid leaves should be light green. Dark green leaves often indicate insufficient light, while yellow or brown spots can signal too much direct sunlight.
2. Adjust for Light Intensity
Adjusting the placement of your orchids based on light intensity helps ensure they receive the right amount of light:
- Too Much Light: If you notice that the leaves are getting sunburned, with spots or discoloration, the light is too intense. Move the orchid to a spot with less direct sunlight or use a sheer curtain to diffuse the light.
- Too Little Light: Orchids with long, leggy growth or minimal blooms may be getting insufficient light. Try moving them to a brighter location or closer to the light source.
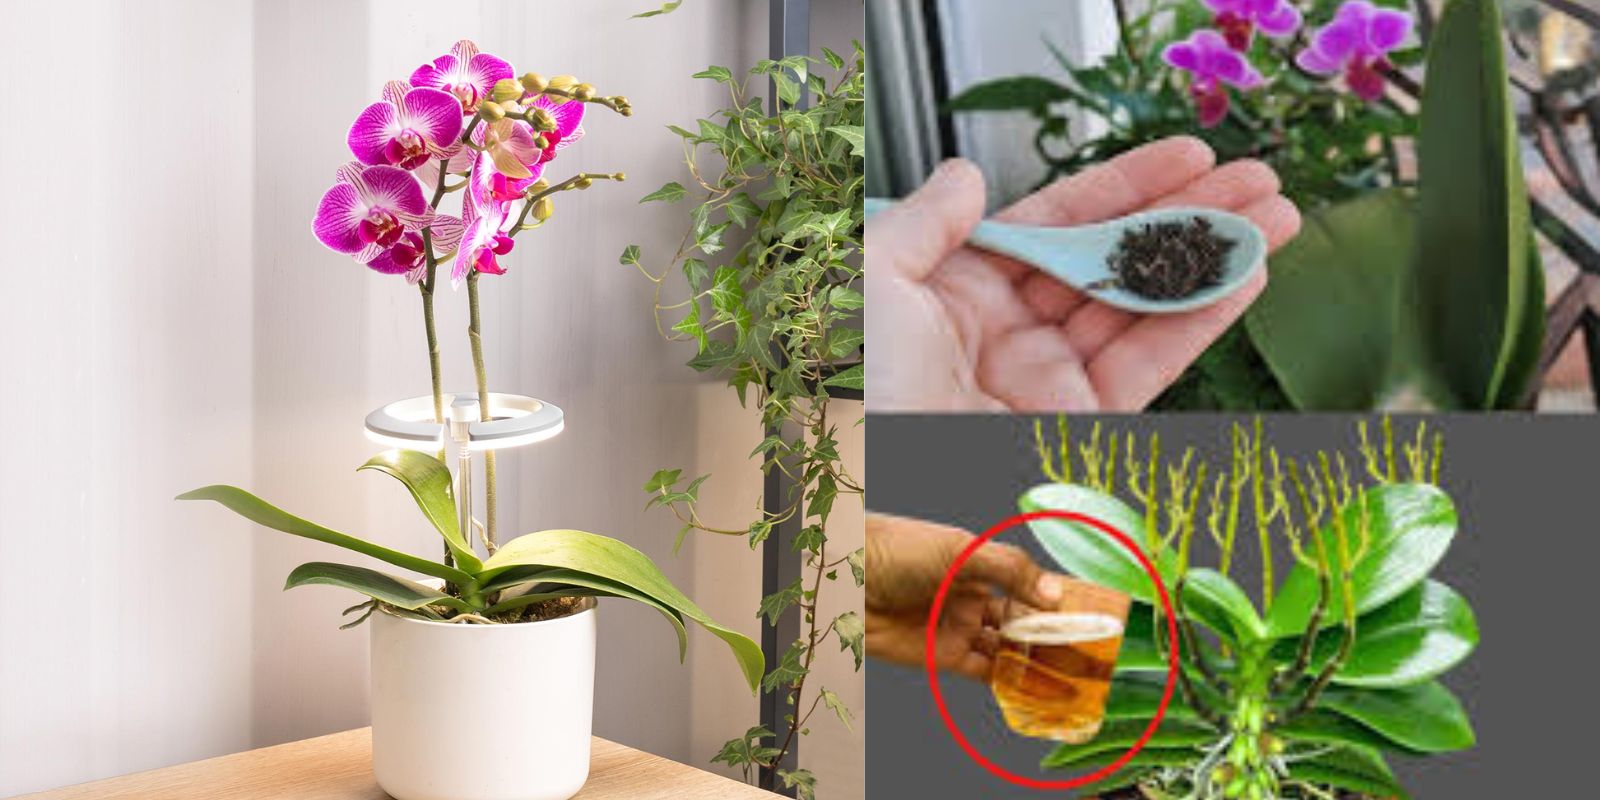
3. Use Grow Lights
In indoor environments with limited natural light, grow lights can supplement your orchids’ needs. Here’s how to use them effectively:
- Choose the Right Grow Lights: Look for full-spectrum grow lights designed for orchids or other flowering plants. These lights provide a balanced spectrum that mimics natural sunlight, promoting healthy growth and blooming.
- Position Grow Lights Properly: Place grow lights about 6-12 inches above the orchids. Adjust the height as needed based on the intensity and distance from the plants.
- Set a Lighting Schedule: Mimic natural light cycles by providing 12-14 hours of light each day. Many grow lights have timers that can help maintain a consistent schedule.
Additional Tips for Orchid Lighting
1. Rotate Your Orchids
To ensure even growth, rotate your orchids regularly. This prevents them from growing unevenly towards the light source and promotes balanced, symmetrical growth.
2. Use Reflective Surfaces
If natural light is limited, use reflective surfaces like white walls or mirrors to maximize light distribution. These surfaces can help bounce light onto your orchids, improving their exposure.
3. Monitor and Adjust
Regularly monitor your orchids for signs of light stress. Adjust their location or the intensity of supplemental lighting as needed to keep them healthy and happy.
Common Lighting Mistakes to Avoid
1. Overexposure to Direct Sunlight: Placing orchids in direct sunlight can cause leaf burn and stress. Always use filtered or diffused light to protect your plants.
2. Inconsistent Light Levels: Sudden changes in light intensity or duration can shock orchids. Gradually adjust their light conditions to avoid stress.
3. Using Incorrect Grow Lights: Not all grow lights are created equal. Ensure you select lights that provide a full spectrum of light suitable for orchids.
4. Neglecting Seasonal Changes: Light levels change with the seasons. In winter, natural light may be less intense, so be prepared to adjust supplemental lighting accordingly.
Conclusion
Providing the right lighting is essential for keeping your orchids healthy and encouraging beautiful blooms. By offering bright, indirect light, adjusting for light intensity, and supplementing with grow lights as needed, you can create an ideal environment for your orchids to thrive. Remember to monitor your plants regularly and make adjustments based on their needs. With these lighting tips, you’ll be well on your way to enjoying the stunning beauty of flourishing orchids in your home.
What are your go-to lighting tips for orchids? Share your experiences and let’s help each other create the perfect environment for these exquisite plants! 🌟

