
Orchids are among the most beautiful and diverse flowering plants in the world. With their stunning blooms and exotic appearance, they can bring elegance and charm to any home or garden. However, many gardeners find it challenging to keep orchids thriving, leading to frustration and the eventual decision to stop growing them. If you’ve ever wondered how to achieve non-stop blooms and make your orchids the envy of your friends, you’re in the right place! This comprehensive guide will walk you through the essential steps to keep your orchids flourishing all year round.
Understanding Your Orchids
Before diving into care tips, it’s essential to understand the nature of orchids. With over 25,000 species and numerous hybrids, orchids exhibit a wide range of colors, shapes, and sizes. Some of the most popular varieties include:
- Phalaenopsis: Also known as the moth orchid, this variety is popular for its long-lasting blooms and ease of care.
- Dendrobium: These orchids are known for their vibrant colors and growth habits.
- Cattleya: Famous for their large and fragrant flowers, Cattleyas can be more challenging to grow but are well worth the effort.
- Vanda: These orchids thrive in warm climates and are known for their vibrant colors.
Understanding the specific needs of your orchid variety is crucial for successful care.
Step 1: Choosing the Right Orchid Variety
When starting your orchid journey, it’s important to select the right variety for your environment and experience level. For beginners, Phalaenopsis is an excellent choice due to its forgiving nature and adaptability. As you gain experience, you can explore other varieties that may require a bit more expertise.
Step 2: Proper Watering Techniques
Watering is one of the most critical aspects of orchid care. Overwatering is a common mistake that can lead to root rot, while underwatering can cause your orchids to dry out and drop their blooms. Here are some essential tips for watering:
- Frequency: Water your orchids approximately once a week. However, this may vary depending on environmental factors such as humidity, temperature, and the type of potting medium used.
- Method: Allow your orchids to dry out slightly between waterings. Check the moisture level by inserting your finger into the potting medium; if it feels dry a couple of inches down, it’s time to water.
- Water Amount: Consider using about one cup of water per month for orchids planted in bark. Water should flow out of the drainage holes, indicating that the roots are adequately hydrated.
Step 3: Providing Adequate Light
Light is essential for healthy orchid growth and flowering. Different orchid species have varying light requirements, so understanding these needs is key:
- Bright, Indirect Light: Most orchids thrive in bright, indirect light. A location near a window that receives filtered sunlight is ideal.
- Signs of Too Much or Too Little Light: If your orchids’ leaves turn yellow or develop brown spots, they may be getting too much light. Conversely, dark green leaves and slow growth could indicate insufficient light.
Step 4: Maintaining Humidity Levels
Orchids are native to tropical environments, which means they prefer higher humidity levels. Here’s how to maintain the right humidity for your orchids:
- Ideal Humidity: Aim for a humidity level of 40-70%. You can measure humidity using a hygrometer.
- Humidity Trays: Place a shallow tray filled with water and pebbles under your orchid pots. As the water evaporates, it will increase humidity around the plants.
- Misting: Misting your orchids can also help maintain humidity, but be cautious not to overdo it, as excessive moisture on the leaves can lead to fungal issues.
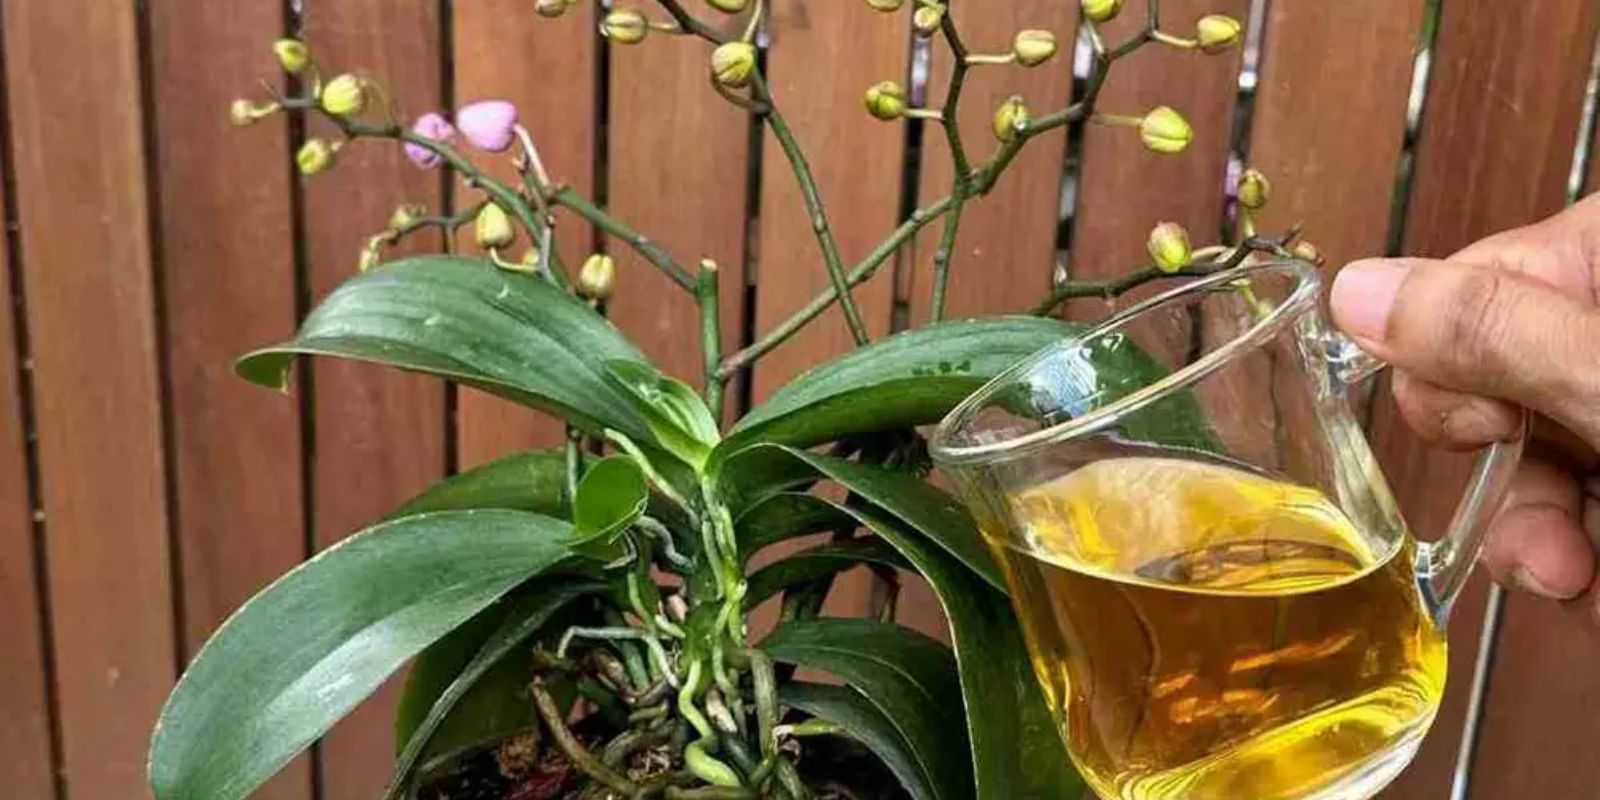
Step 5: Fertilization Techniques
Fertilizing your orchids is crucial for promoting growth and encouraging blooms. Here’s how to do it right:
- Type of Fertilizer: Use a balanced orchid fertilizer that contains equal parts nitrogen, phosphorus, and potassium (NPK). A fertilizer with a 30-10-10 ratio is also effective.
- Frequency: Fertilize every 2-4 weeks during the growing season (spring and summer). During the fall and winter, you can reduce the frequency to once a month.
- Dilution: Dilute the fertilizer to half-strength to prevent root burn and over-fertilization.
Step 6: Repotting for Growth
Repotting your orchids every 1-2 years is essential to provide fresh growing medium and encourage new root growth. Here’s when and how to repot:
- Signs to Repot: If you notice that your orchid has outgrown its pot, is root-bound, or the potting medium has broken down, it’s time to repot.
- Choosing the Right Medium: Use a well-draining potting mix designed for orchids, which may include bark, moss, or coconut coir.
- Repotting Process: Carefully remove the orchid from its pot, trim any dead or damaged roots, and place it in a new pot with fresh potting medium.
Step 7: Pruning for Health
Pruning your orchids helps promote new growth and keeps your plants healthy. Here are some tips:
- Removing Dead Flower Spikes: Cut back any spent flower spikes to encourage new blooms. For Phalaenopsis, cut just above a node.
- Trimming Yellow Leaves: Remove any yellowing leaves to prevent disease and redirect energy to healthy parts of the plant.
Step 8: Temperature Control
Maintaining stable temperatures is essential for orchid health. Here’s how to create the right environment:
- Ideal Temperature Range: Orchids generally prefer temperatures between 65°F and 75°F (18°C – 24°C) during the day. Nights can be slightly cooler, around 60°F to 65°F (15°C – 18°C).
- Avoid Temperature Fluctuations: Keep orchids away from drafts, heaters, or air conditioning vents that could cause sudden temperature changes.
Step 9: Patience and Observation
Caring for orchids requires patience and close observation. Take time to observe your plants for any signs of stress, pests, or diseases. Regularly checking your orchids can help you catch issues before they become severe.
Step 10: Share Your Success
Once you’ve mastered the art of orchid care and have successfully kept your plants blooming all year round, consider sharing your journey with fellow gardening enthusiasts. Document your successes, challenges, and tips on social media platforms. This not only helps you connect with other plant lovers but also encourages others to embark on their orchid-growing adventures.
Conclusion
Orchids may seem intimidating at first, but with the right care and attention, you can achieve beautiful, non-stop blooms that bring joy and beauty to your space. By understanding their specific needs regarding watering, light, humidity, fertilization, repotting, and temperature, you’ll set your orchids up for success. Remember, every gardener’s journey is unique, so be patient and enjoy the process!
Engage with the Community
With just a little care and attention, your orchids can thrive and bloom continuously! Join the conversation and share your tips for orchid success using these viral gardening hashtags: #OrchidCare #BloomingOrchids #GardeningTips #FlowerPower #PlantParents #OrchidAddict #GreenThumbMagic!