
Introduction
Geraniums, known for their bright and cheerful blooms, are a favorite among gardeners for their beauty and ease of care. Typically propagated through stem cuttings, there’s an incredible technique that allows you to reproduce geraniums from just a single leaf. This method can be a game-changer for gardeners looking to expand their collection without much hassle. This article will guide you through the process step-by-step, providing tips and tricks to ensure your success.
Understanding Geranium Propagation
Propagation is the process of creating new plants from existing ones. While stem cuttings are the most common method for geraniums, leaf propagation is a lesser-known but highly effective technique. This method involves growing a new plant from a single leaf, which can be particularly useful if you’re short on stem cuttings or want to experiment with a different approach.
Step-by-Step Guide to Leaf Propagation
1. Choose a Healthy Leaf
The first step in propagating geraniums from a leaf is selecting the right leaf. Choose a healthy, mature leaf from your geranium plant. It should be free from any diseases, discoloration, or damage. A vibrant, green leaf with a sturdy stem portion attached is ideal.
Tip: Morning is the best time to take cuttings as the plant is well-hydrated and full of nutrients.
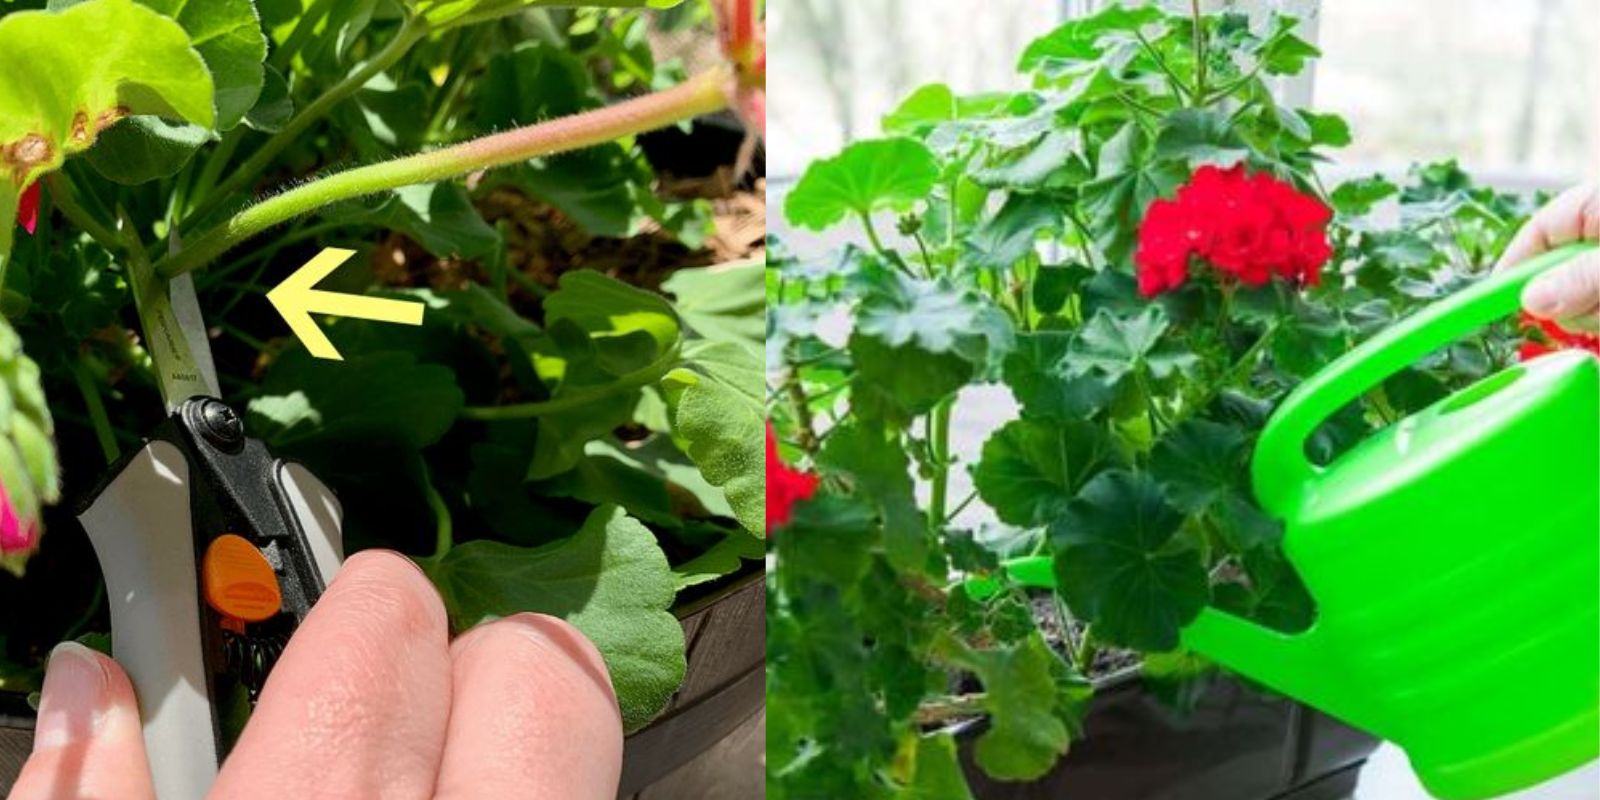
2. Cut the Leaf
Using a clean, sharp knife or pair of scissors, cut the leaf along with a small portion of the stem. This stem portion, also known as the petiole, is crucial as it will serve as the base for new root development.
Tip: Sterilize your cutting tool before use to prevent the spread of diseases.
3. Prepare the Leaf
After cutting, let the leaf sit in a dry, warm place for a few hours to callous over. This step is essential as it helps prevent rot when the leaf is planted. The callous forms a protective barrier, allowing the leaf to heal and prepare for root growth.
Tip: Avoid placing the leaf in direct sunlight during this period, as it can cause wilting.
4. Plant the Leaf
Once the leaf has calloused, it’s time to plant it. Choose a small pot with good drainage and fill it with a well-draining soil mix, such as a blend of potting soil and perlite or sand. Make a small hole in the soil and insert the calloused end of the leaf.
Tip: Ensure the leaf is planted at a slight angle to increase surface contact with the soil.
5. Water Lightly
Water the soil lightly to moisten it, but be careful not to overwater. The soil should be damp but not waterlogged, as excessive moisture can lead to rot. A spray bottle can be useful for this step to avoid over-saturating the soil.
Tip: Maintain a consistent moisture level by checking the soil regularly.
6. Provide Indirect Light
Place the pot in a location where it will receive bright, indirect sunlight. Direct sunlight can be too intense and may cause the leaf to dry out before it has a chance to develop roots. A windowsill with filtered light or a shaded spot outdoors works well.
Tip: If indoor light is insufficient, consider using a grow light to provide the necessary illumination.
7. Monitor Growth
Over the next few weeks, keep an eye on your geranium leaf cutting. Check for signs of new growth, such as small roots or shoots emerging from the base of the leaf. This indicates that the propagation process is successful and that the plant is establishing itself.
Tip: Be patient, as root development can take several weeks. Avoid disturbing the leaf by frequently moving or inspecting it.
Additional Tips for Successful Propagation
- Humidity: Increasing humidity can aid in the rooting process. You can create a mini greenhouse effect by covering the pot with a plastic bag or a clear plastic container. Ensure there is some ventilation to prevent mold growth.
- Soil Quality: Using a high-quality, well-draining soil mix is crucial. Avoid heavy soils that retain too much moisture, as they can cause the leaf to rot.
- Temperature: Maintain a warm environment for the cutting, ideally between 65-75°F (18-24°C). Geraniums thrive in moderate temperatures, and keeping the cutting in a stable environment will support root growth.
- Pest Control: Keep an eye out for pests such as aphids or spider mites, which can hinder the propagation process. If you notice any pests, treat the plant promptly with insecticidal soap or neem oil.
- Rooting Hormone: Although not necessary, using a rooting hormone can enhance the chances of successful propagation. Dip the calloused end of the leaf in rooting hormone powder before planting it in the soil.
Common Challenges and Solutions
Even with the best care, propagating geraniums from a leaf can come with challenges. Here are some common issues and their solutions:
- Leaf Wilting: If the leaf begins to wilt, it may be receiving too much or too little water. Adjust your watering schedule accordingly and ensure the soil is well-draining.
- No Root Growth: If there are no signs of root growth after several weeks, the leaf may not have been healthy enough, or the environment may not be suitable. Try again with a fresh leaf and ensure optimal conditions.
- Rotting: Rotting can occur if the leaf is overwatered or the soil is too dense. Ensure proper drainage and allow the soil to dry slightly between waterings.
Conclusion
Propagating geraniums from a single leaf is a fascinating and rewarding technique that allows you to expand your garden with minimal effort. By following the steps outlined in this guide, you can successfully grow new geranium plants and enjoy their vibrant blooms year after year. Whether you’re a seasoned gardener or a beginner, this method offers a unique way to multiply your plants and share the beauty of geraniums with friends and family.
Ready to try it out? Start propagating your geraniums today with this simple yet effective technique and watch your garden flourish. Engage with fellow gardeners, share your experiences, and discover the joy of growing new plants from a single leaf. Happy gardening!