
If you’re serious about growing a garden, especially in raised beds, you’ve likely heard the term “cover crops.” These unsung heroes of gardening can have a transformative effect on your soil’s health, making it more fertile, productive, and resilient to pests and disease. In this comprehensive guide, we’ll walk you through everything you need to know about using cover crops in raised beds—from choosing the right types to planting, maintaining, and harvesting them. Whether you’re a beginner or a seasoned gardener, this practice can bring remarkable benefits to your raised bed gardening setup.
What Are Cover Crops?
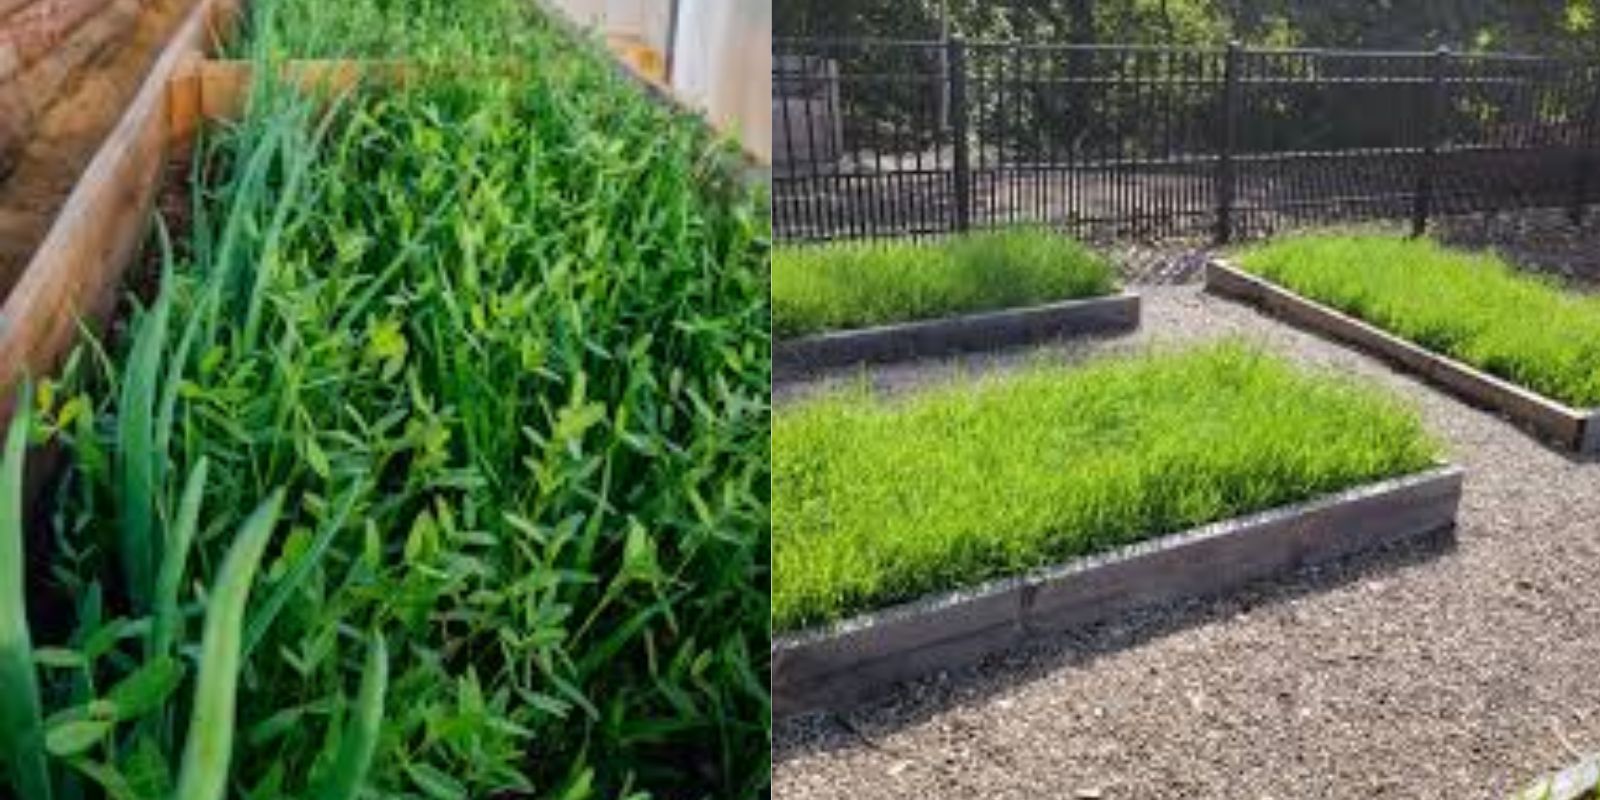
Cover crops are plants grown primarily to improve the soil quality, prevent erosion, and enrich the soil with organic matter. They are typically planted in the off-season when your beds are not actively growing vegetables or flowers. Instead of leaving your soil exposed and vulnerable, cover crops shield it, promote biodiversity, and can even attract beneficial insects.
In raised beds, cover crops act as a natural way to manage soil health. They provide several benefits to the garden, such as improving soil structure, preventing weeds, controlling pests, and increasing nutrient levels. These crops can also reduce water runoff, improve soil aeration, and suppress the growth of harmful weeds.
Why Use Cover Crops in Raised Beds?
Before diving into how to plant and manage cover crops, let’s first examine why you should consider adding them to your garden:
- Improved Soil Health: Cover crops enrich your soil with organic matter, which boosts microbial activity, enhances soil structure, and improves water retention.
- Weed Control: By planting cover crops, you can prevent weeds from taking over your raised beds during the off-season. The dense canopy of the cover crop can shade out weeds and suppress their growth.
- Erosion Prevention: Cover crops help to protect the soil from erosion, especially in raised beds where the soil is often more vulnerable to wind and water runoff.
- Enhanced Nutrient Cycling: Some cover crops, like legumes (e.g., clover and peas), fix nitrogen in the soil, which is essential for healthy plant growth. Others help break down organic material, releasing nutrients that can be used by future crops.
- Pest and Disease Management: Certain cover crops attract beneficial insects, such as ladybugs and bees, which help control pests. Additionally, they can disrupt pest cycles by breaking the habitat that pests use for overwintering.
How to Use Cover Crops in Raised Beds: Step-by-Step Guide
Using cover crops effectively in your raised beds involves more than just sowing seeds. Here’s a step-by-step guide to help you use them successfully:
Step 1: Select the Right Cover Crop
The first step is choosing the right cover crop based on your goals and the growing conditions in your area. Not all cover crops are suitable for every garden, so it’s important to consider the following:
- Legumes (e.g., clover, peas, vetch) are excellent for nitrogen fixation. They work well if your soil is deficient in nitrogen and you’re growing heavy-feeding plants.
- Grasses (e.g., rye, barley) are great for preventing erosion, improving soil structure, and adding organic matter.
- Brassicas (e.g., mustard, radish) are known for their deep roots that help break up compacted soil and improve drainage.
- Buckwheat is fast-growing, suppresses weeds, and attracts pollinators, making it a good option if you’re looking for quick coverage.
The best time to plant cover crops depends on your region and growing season. In most temperate climates, late summer to early fall is ideal, as cover crops can be grown while other plants are winding down.
Step 2: Prepare Your Raised Bed
Before sowing your cover crop seeds, you’ll need to prepare the raised bed. Start by removing any remaining weeds, dead plants, and debris from the bed. If you plan to plant a legume cover crop, it’s helpful to inoculate the seeds with the appropriate rhizobial bacteria to help them fix nitrogen more effectively.
Next, loosen the top layer of soil with a garden fork or rake to create a good seedbed. This will improve seed-to-soil contact and help your cover crop establish itself.
Step 3: Plant the Cover Crop
Once the bed is prepared, it’s time to plant your cover crop. Follow the seed packet’s instructions for the correct planting depth and spacing. In most cases, you’ll want to scatter the seeds evenly across the soil surface and lightly rake them in.
- For small seeds like clover, broadcast them evenly and then gently press them into the soil with a roller or your hands.
- For larger seeds like peas or vetch, plant them at the recommended depth (typically 1 to 2 inches) to ensure they get a good start.
After planting, lightly water the area to help the seeds settle in. Be sure to keep the bed moist until the seeds have germinated and the cover crop begins to grow.
Step 4: Water and Maintain the Cover Crop
Once planted, the cover crop will need consistent moisture, especially during dry spells. However, be careful not to overwater, as some cover crops (like rye) can become waterlogged if the soil doesn’t drain well.
Most cover crops will grow quickly, so regular observation is important to ensure they’re thriving. If the growth gets too dense, you may need to thin out the crop to allow proper airflow and reduce the risk of fungal disease.
Step 5: Monitor for Pests and Diseases
While cover crops can help reduce pests, they may also attract certain unwanted insects, like aphids or slugs. If you notice pests on your cover crops, consider using organic pest control methods like insecticidal soap, neem oil, or handpicking.
Additionally, check for any signs of fungal infections or disease. Healthy cover crops are less likely to fall prey to disease, but it’s always a good idea to keep an eye out for potential problems.
Step 6: Terminate the Cover Crop
Once the cover crop has grown to maturity, it’s time to terminate it. The best way to terminate a cover crop depends on the type of crop and your goals:
- Mow or cut down tall crops like rye or barley. Let them sit on the bed for a few days to decompose.
- Till or dig in legumes like clover and peas to incorporate their nitrogen-rich roots and stems into the soil.
- If you plan to leave the cover crop as mulch, simply chop it up and spread it evenly over the bed.
Be mindful of the timing when terminating your cover crop. Doing so too late can delay your planting of the next crop, but terminating it too early may not allow enough time for it to contribute fully to soil health.
Step 7: Use the Benefits of the Cover Crop in Your Next Season
Once the cover crop is incorporated into the soil or used as mulch, the nutrients it provided will be available to your next set of plants. Your raised bed will be enriched with organic matter, improved structure, and a host of beneficial microorganisms that will support healthy growth for years to come.
Cover crops like legumes will have increased the nitrogen available in the soil, while grasses and brassicas will have added valuable organic material and helped with drainage.
Tips for Success with Cover Crops in Raised Beds
- Choose the right crop for your region: Some cover crops may not survive winter in cold climates, while others may bolt (flower prematurely) in warmer climates.
- Avoid using diseased plants: Don’t plant cover crops that have shown signs of disease to prevent transferring it to your new plants.
- Crop rotation: Consider rotating your cover crops each season to prevent the buildup of pests and diseases.
- Use cover crops as mulch: If you don’t want to till your cover crop into the soil, you can chop it up and leave it as a protective mulch layer.
Conclusion: The Power of Cover Crops
Using cover crops in your raised bed garden is a sustainable and effective way to improve soil health, reduce maintenance, and set the stage for healthier, more productive crops. Whether you’re a beginner or an experienced gardener, incorporating cover crops into your gardening routine can pay off in spades. So, choose your crops, plant them wisely, and let nature’s soil-enhancing secrets work their magic.
Start using cover crops today and enjoy healthier, more fertile soil tomorrow!
Share your experience with cover crops in raised beds! What are your go-to varieties? #GardenTips #SustainableGardening #RaisedBedGardening #CoverCrops #HealthySoil #EcoFriendlyGarden #GardenMaintenance #SoilHealth #GreenThumb