
Gardening can be a delightful and fulfilling experience, but it often comes with its fair share of challenges. One of the most persistent issues gardeners face is dealing with weeds. Weeds can steal nutrients, water, and space from your beloved plants, reducing the overall health and aesthetic of your flowerbeds. While traditional methods of weed control, such as herbicides and constant weeding, can be time-consuming and harsh on the environment, there’s a simple, effective, and eco-friendly solution: using cardboard.
Cardboard, a material most people throw away, can be repurposed into a powerful weapon against weeds. By using cardboard as a weed barrier, you can significantly reduce weed growth without harming your plants or the environment. This article will guide you through the process of using cardboard to stop weeds in your flowerbeds, explain why this method works so well, and offer tips for optimal results.
Why Use Cardboard to Stop Weeds?
Before diving into the how-to steps, it’s essential to understand why cardboard is such an effective tool in weed control. Here’s why you should consider using it in your flowerbeds:
1. Blocks Light to Prevent Weed Germination
Weeds need sunlight to grow, and by placing cardboard over the soil, you can block the light from reaching the seeds buried beneath the surface. With no light, the weed seeds cannot germinate, and the growth of weeds is significantly slowed down or even stopped.
2. Suppresses Weed Growth Without Chemicals
Unlike chemical herbicides, which can be harmful to the environment, pets, and beneficial insects, cardboard provides a natural and non-toxic method of weed control. This makes it an excellent choice for gardeners looking to adopt a more sustainable and eco-friendly approach.
3. Improves Soil Health
Cardboard is biodegradable, so as it breaks down, it adds organic matter to the soil. This improves soil health by increasing its ability to retain moisture, providing food for earthworms and microbes, and enhancing soil structure.
4. Cost-Effective and Readily Available
Cardboard is free and easy to find. Unlike many commercially available weed barriers, it doesn’t require a financial investment, and you can repurpose cardboard from packaging materials, making it an environmentally conscious option.
5. Retains Moisture
When placed over the soil, cardboard helps to retain moisture by preventing evaporation. This can be especially beneficial during dry periods, reducing the need for frequent watering.
Now that you know why cardboard works, let’s take a look at how to use it effectively in your flowerbeds.
Steps to Use Cardboard to Stop Weeds in Flowerbeds
1. Prepare the Flowerbed
Start by preparing the flowerbed. Remove any existing weeds, dead plants, and debris from the area. If you are working in an established flowerbed, it may be helpful to lightly dig into the soil to loosen it and make it easier for the cardboard to lay flat.
Next, water the soil thoroughly. Cardboard works best when the soil underneath is moist, as it helps to keep the cardboard in place and promotes decomposition. Wetting the soil also ensures that any remaining weed seeds are kept dormant.
2. Lay Down the Cardboard
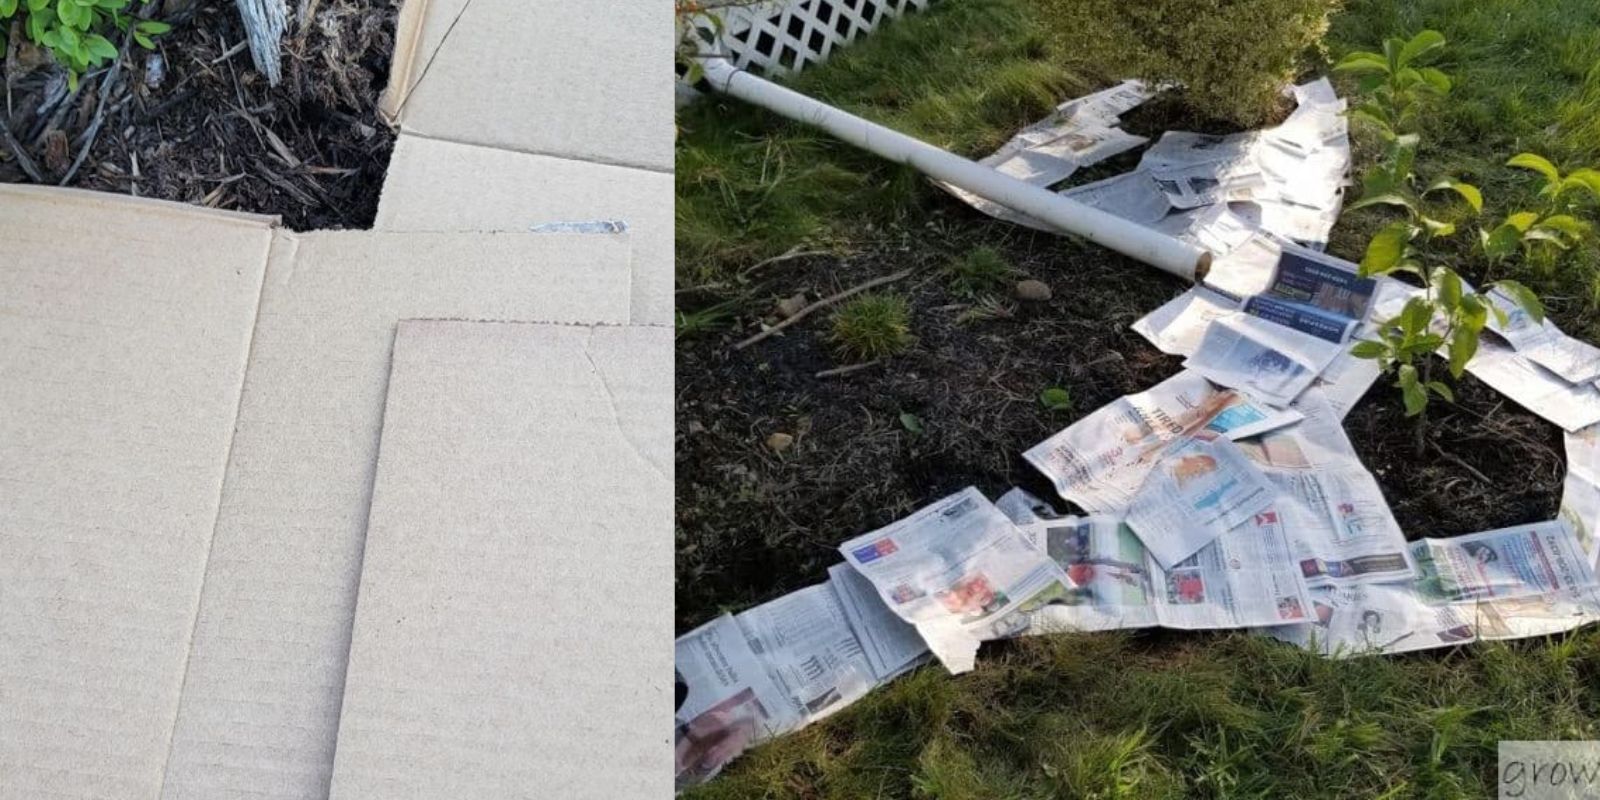
After preparing the flowerbed, start laying down the cardboard. Use large sheets of cardboard to cover the area. You can also break down larger boxes into smaller sections if necessary, but ensure that the cardboard covers the entire bed. Overlap the edges of the cardboard by about 4-6 inches to ensure that no gaps are left where weeds can grow through.
Be sure to remove any tape, labels, or glossy areas from the cardboard, as these can contain chemicals that might harm the soil. You want the cardboard to be as natural as possible to maintain a healthy garden environment.
3. Cut Holes for Plants
If your flowerbed is already planted, you can still use cardboard as a weed barrier. Simply cut holes in the cardboard where your plants are located. The holes should be just big enough to allow the plant stems to poke through but not so large that weeds can grow through them. If you are planting new flowers, wait until you’ve planted them, and then lay down the cardboard around them, cutting holes for each plant.
Be careful not to damage the plant roots while cutting the cardboard. The idea is to let your plants grow through the cardboard without hindering their development.
4. Cover the Cardboard
To keep the cardboard in place and ensure it doesn’t blow away, cover it with a layer of mulch, compost, or soil. A 2-4 inch layer of mulch is ideal. Not only does the mulch help to anchor the cardboard, but it also provides additional benefits:
- Moisture Retention: It helps retain moisture in the soil, which is especially useful during hot, dry months.
- Temperature Regulation: Mulch helps to keep the soil cool in the summer and warm in the winter, which can benefit plant growth.
- Nutrient Enrichment: As the mulch breaks down, it adds organic matter to the soil, which is good for your plants.
You can use organic mulch, such as wood chips, straw, or leaves, or opt for an alternative like compost, which can enrich the soil further.
5. Water and Monitor
After covering the cardboard, water the entire flowerbed again. This will help to settle the cardboard and mulch into place and promote decomposition. Keep an eye on your flowerbed over the next few weeks to ensure that the cardboard stays in place and continues to suppress weeds.
If you notice any weeds attempting to grow through the cardboard, simply pull them out by hand. The cardboard should eventually break down, but it might take a few months to a year, depending on the thickness of the cardboard and the weather conditions.
Tips for Optimal Results
- Layering: For best results, you can layer the cardboard with newspaper or other natural materials to create an even thicker barrier against weeds. The more layers you add, the more effective the weed suppression will be.
- Using Wet Cardboard: If possible, soak the cardboard overnight before laying it down. Wet cardboard will be easier to handle and mold into the contours of the soil, ensuring better weed control.
- Choose the Right Mulch: Some mulches, such as shredded leaves, are better at breaking down quickly and feeding your soil. Others, like wood chips, may take longer to decompose but still provide excellent weed suppression.
- Monitor the Soil: If your plants seem to be struggling after the cardboard has been applied, make sure the cardboard is not too thick and that your plants have enough access to air and nutrients. In such cases, you can remove or adjust the cardboard for better airflow.
- Composting: As the cardboard breaks down, it will add valuable organic matter to the soil. If you use compost over the cardboard, make sure to add enough nitrogen-rich materials like grass clippings to ensure proper decomposition.
Conclusion
Using cardboard to stop weeds in flowerbeds is an incredibly simple, cost-effective, and environmentally friendly gardening technique. It not only reduces the need for chemical weed killers but also improves soil health and retains moisture, making it a win-win for gardeners. By following the steps outlined in this guide, you can create a weed-free, thriving flowerbed without the hassle of constant weeding. With a little patience and a bit of cardboard, you’ll be able to enjoy beautiful, healthy flowers all season long.
Start using cardboard in your garden today and reap the benefits of a cleaner, healthier flowerbed! 🌸🌱