
As gardeners, we are always on the lookout for creative and sustainable ways to nurture our plants. Sometimes, the solution is right in front of us—waiting to be repurposed. Instead of discarding your old bed sheet bags, why not turn them into a perfect mini greenhouse? This eco-friendly project not only reduces waste but also provides a nurturing environment for your plants to grow, especially in colder climates or during the early stages of growth.
In this article, we’ll explore the benefits of using a bed sheet bag as a mini greenhouse, step-by-step instructions for transforming it, and how this simple setup can enhance your gardening experience. Whether you’re a seasoned gardener or just getting started, this practical project will help you maximize your space and improve your plant’s health.
The Concept of a Mini Greenhouse
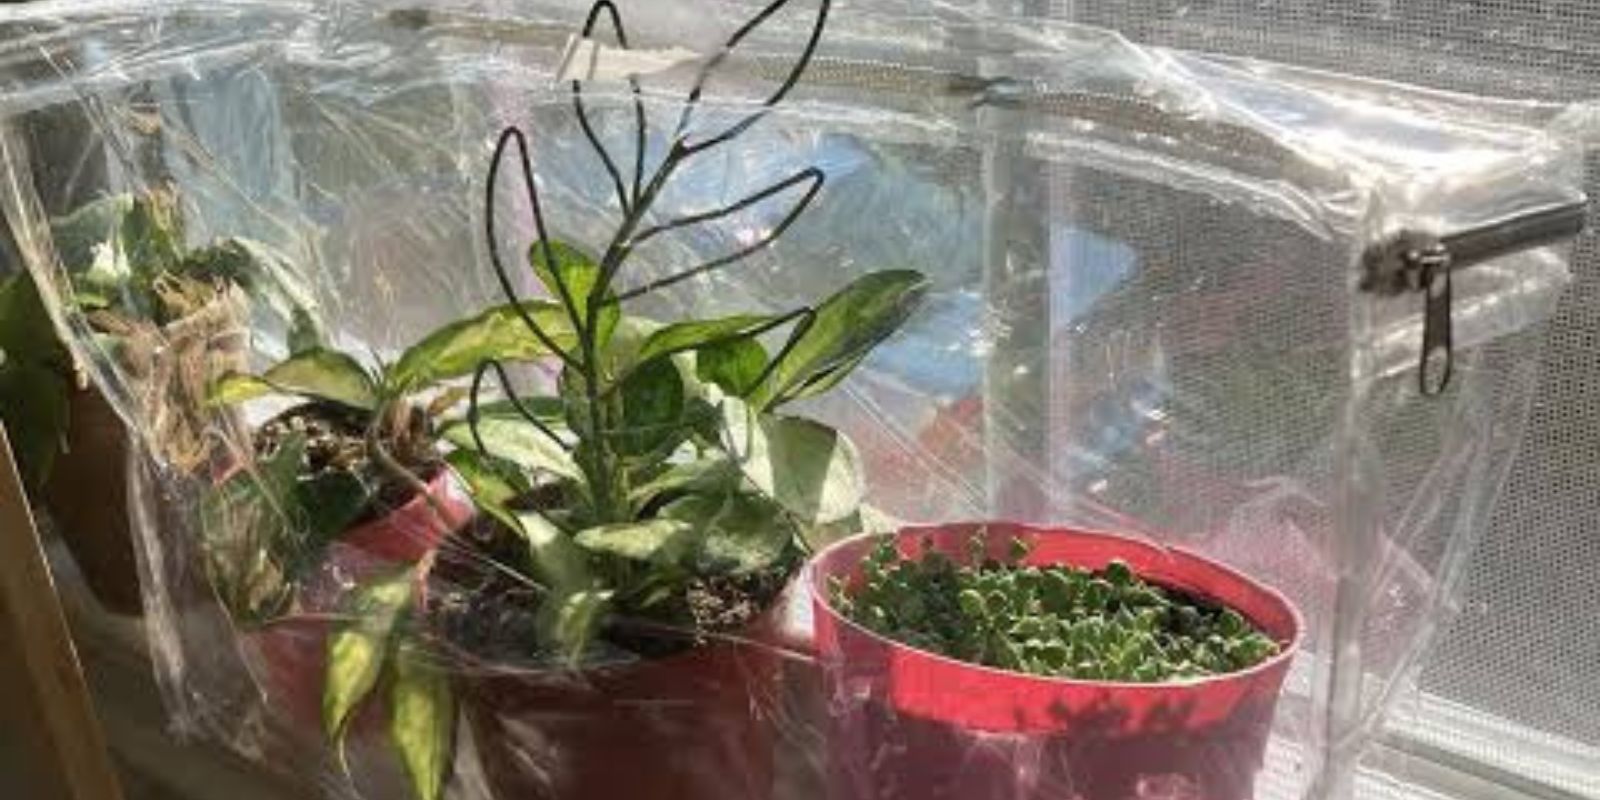
A mini greenhouse is a small structure designed to create a controlled environment for plants. It’s particularly beneficial for seedlings, tender plants, or those that need extra warmth and humidity to thrive. By providing a sheltered environment, a mini greenhouse can protect plants from frost, extend the growing season, and improve germination rates. Traditionally, gardeners buy specialized mini greenhouses, but a simple bed sheet bag can serve the same purpose at a fraction of the cost.
Why Use a Bed Sheet Bag?
Before we dive into the details of turning a bed sheet bag into a mini greenhouse, let’s look at the reasons why it’s such a great idea:
- Recycling and Waste Reduction: Bed sheet bags are often made from durable, breathable fabric, making them perfect for reuse. Instead of throwing them away, you can repurpose them to benefit your garden.
- Cost-Effective: Purchasing a ready-made mini greenhouse can be expensive, especially for small-scale gardening. A bed sheet bag offers a low-cost, readily available solution that works just as well.
- Easy to Customize: Bed sheet bags come in various sizes and materials, so they’re easy to adjust to your gardening needs. You can use larger bags for multiple plants or smaller ones for individual seed trays.
- Ideal for Germinating Seeds: The humidity and warmth inside the bag create the perfect environment for seed germination. This method is particularly useful during the early spring months or in areas with colder temperatures.
- Provides Protection: A bed sheet bag mini greenhouse offers shelter from the elements, keeping your plants safe from frost and wind, while still allowing air to flow through.
Step-by-Step Guide: How to Turn a Bed Sheet Bag into a Mini Greenhouse
Materials Needed:
- An old, clean bed sheet bag (preferably a sturdy, breathable material like cotton or linen)
- Seed trays or pots (optional, but helpful for organizing your plants)
- Plants or seeds that require warmth and humidity to grow
- A sunny, indirect light spot in your home or garden
- Watering can or spray bottle for regular watering
Step 1: Choose the Right Bed Sheet Bag
The first step is to select a bed sheet bag that’s large enough for the plants you want to grow. It should be made of a material that allows for airflow while still maintaining a humid environment. Cotton or linen works well, as these fabrics are breathable and will prevent the plants from suffocating inside.
Ideally, choose a bag that can be opened and closed easily. A bag with a zipper or drawstring closure works best because you can adjust the level of ventilation depending on your plants’ needs.
Step 2: Prepare the Plants or Seed Trays
Next, gather your plants or seed trays. If you are starting from seed, fill a seed tray with potting mix and plant your seeds according to the package instructions. If you’re propagating plants or moving seedlings, place them in small pots that can fit comfortably inside the bag.
If you plan on growing multiple plants, consider organizing them in a way that allows for good air circulation. You don’t want the plants to be overcrowded, as this could result in poor growth or fungal diseases.
Step 3: Set Up the Mini Greenhouse
Place your seed trays or pots inside the bed sheet bag. Arrange them so that there’s enough space between them for air circulation. You want the plants to have room to grow without being squished together.
Once your plants are inside, close the bag loosely. Don’t seal it too tightly—leaving a little room for airflow will help prevent mold and allow the plants to breathe. If the bag has a zipper, you can leave it slightly open to regulate airflow. If it’s a drawstring bag, loosely tie the top to ensure it’s not completely sealed.
Step 4: Place the Mini Greenhouse in a Sunny Spot
For optimal growth, your mini greenhouse should be placed in a spot with indirect sunlight. Direct sunlight can cause the inside of the bag to overheat, which could harm your plants. A bright, shaded area or near a south-facing window is ideal.
If you’re using the mini greenhouse indoors, be mindful of temperature fluctuations. A temperature range of 65-75°F (18-24°C) is ideal for most plants. If you’re using it outdoors, place it in a spot that will receive sunlight for several hours each day, but not so much that the plants become too hot.
Step 5: Maintain Humidity and Moisture
One of the key advantages of using a mini greenhouse is its ability to maintain high humidity, which is essential for seed germination and plant growth. To maintain the moisture levels, water the plants regularly, but avoid over-watering. A spray bottle is a great tool for misting the plants and providing consistent moisture without flooding the soil.
Check the plants every few days to ensure they’re not getting too dry. If you notice that the bag is becoming too humid or the plants are getting moldy, simply open the top of the bag for a few hours to allow for ventilation. On the other hand, if the plants seem too dry, lightly mist them with water.
Step 6: Monitor Growth and Transplant When Necessary
As your plants grow, you’ll notice that they become more robust and begin to develop roots. Once the plants have established a healthy root system, they can be transplanted into larger pots or directly into the garden.
If you are growing from seed, be sure to transplant your seedlings once they have developed their first set of true leaves. Gently remove the plants from the seed tray and place them in larger pots or your outdoor garden, depending on the season.
Benefits of Using a Bed Sheet Bag as a Mini Greenhouse
1. Cost-Effective and Eco-Friendly
Repurposing a bed sheet bag is a great way to save money and reduce waste. Rather than purchasing a commercial greenhouse, you can make your own using materials you already have at home.
2. Sustainable Gardening
Using a mini greenhouse made from repurposed materials helps to reduce your environmental footprint. This is an easy way to incorporate sustainability into your gardening practices and support a greener future.
3. Enhanced Seed Germination
A mini greenhouse creates the ideal environment for seeds to sprout by providing warmth, humidity, and protection from the elements. This is particularly helpful in colder climates or during the early spring months when conditions are less than ideal.
4. Protection from Pests and Weather
The bed sheet bag offers protection from common garden pests like aphids and slugs, as well as from inclement weather like rain or wind. This means your plants can grow in a controlled, safe environment until they’re ready for transplanting.
Conclusion: A Simple and Effective Gardening Solution
Transforming a bed sheet bag into a mini greenhouse is a simple, sustainable, and cost-effective way to nurture your plants. Whether you’re germinating seeds, propagating cuttings, or protecting tender plants, this DIY greenhouse offers a practical solution that can be customized to suit your needs. By recycling an everyday item, you not only benefit your garden but also reduce waste and support sustainable gardening practices.
So, the next time you find yourself with an old bed sheet bag, don’t throw it away. Turn it into a mini greenhouse and watch your plants thrive! Happy gardening!
#GardeningTips #SustainableGardening #MiniGreenhouse #EcoFriendlyGardening #Upcycling #GreenThumb #HomeGardening #DIYProjects