
Introduction
Poinsettias are more than just beautiful holiday decorations; they’re a symbol of warmth and festivity, cherished in many households each year. While many people discard them after the season, with the right approach, you can turn a single poinsettia cutting into a flourishing plant. Propagating poinsettias from cuttings not only helps you cultivate your own indoor garden but also allows you to share the holiday spirit by gifting homegrown poinsettias to friends and family.
In this article, we’ll walk you through everything you need to know to propagate poinsettias successfully—from selecting a healthy cutting to nurturing it into a thriving plant.
Understanding the Poinsettia Plant
Poinsettias, or Euphorbia pulcherrima, are native to Central America, where they grow as wild shrubs in tropical forests. They are known for their vibrant bracts, often mistaken for flowers, which can be red, pink, white, or even variegated. In their natural environment, poinsettias can grow up to 10 feet tall. Indoors, however, they’re usually kept much smaller.
These plants have a unique propagation cycle, making them an exciting challenge for gardeners. Rather than growing from seeds, poinsettias are best propagated from cuttings—a practice that gives you a genetically identical clone of the parent plant.
Step-by-Step Guide to Propagating Poinsettias from Cuttings
1. Gather the Right Tools
Before you begin, gather all the necessary materials. Having these tools ready will make the process smoother and increase your chances of successful propagation. You’ll need:
- A healthy, mature poinsettia plant
- Sharp, sterilized scissors or pruning shears
- Rooting hormone powder or gel (optional, but recommended)
- Small pots or containers with drainage holes
- Well-draining potting soil (a mix of perlite, peat moss, and standard potting soil works well)
- Clear plastic bags or a mini greenhouse dome to maintain humidity
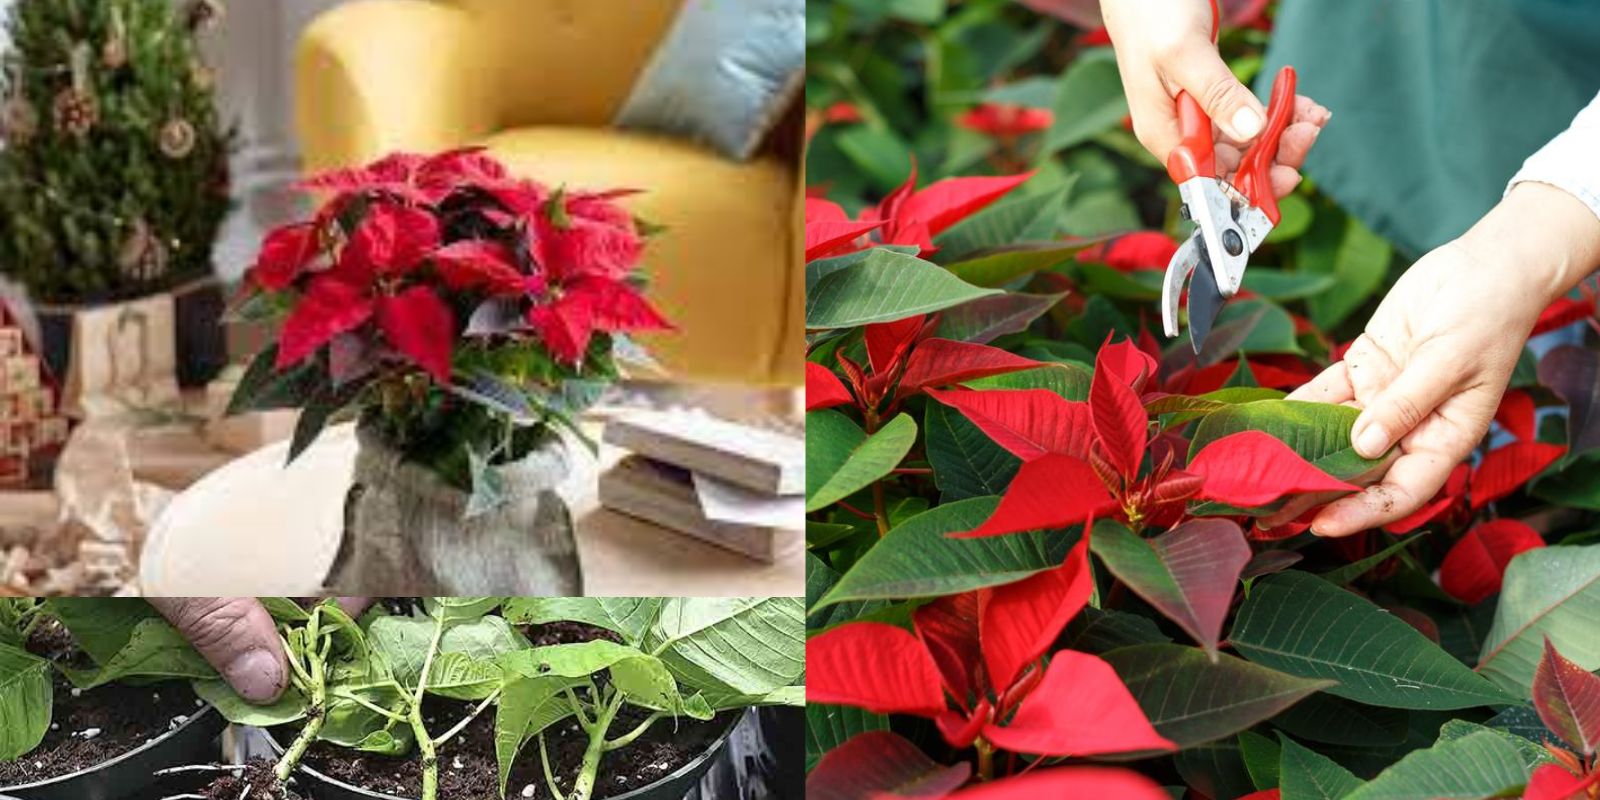
2. Select and Prepare the Cutting
Choose a cutting from a healthy poinsettia plant. Look for a stem that is about 4-6 inches in length and has at least a few sets of leaves. Avoid stems with any signs of disease, such as browning or wilting.
Once you have a suitable stem, remove the leaves on the lower half of the cutting. This helps the plant focus its energy on developing roots rather than maintaining extra leaves. If you wish to use rooting hormone, dip the bottom end of the cutting into the powder or gel to encourage faster root growth.
3. Prepare the Potting Soil and Plant the Cutting
Use a pot with drainage holes to prevent water from accumulating, which can lead to root rot. Fill it with a well-draining potting mix. Gently press the soil around the cutting to secure it in place. Plant the cutting about 1-2 inches deep, ensuring it stands upright.
The key to successful poinsettia propagation is providing an environment with both high humidity and adequate airflow. Place a clear plastic bag over the pot to create a greenhouse effect. This retains moisture around the cutting, essential for early root development.
4. Position and Water the Cutting
Position your newly potted cutting in a location that receives bright, indirect sunlight. Avoid direct sunlight, as it can dry out or even scorch the delicate cutting.
Water the cutting lightly, ensuring the soil is damp but not waterlogged. Consistent moisture is crucial during the initial stages of root development. Check the soil daily, misting or lightly watering as needed to keep it moist.
5. Maintain Humidity and Monitor Growth
The plastic bag covering or mini greenhouse dome should be left in place for several weeks to maintain high humidity. If you see condensation inside the bag, that’s a good sign! Lift the cover periodically to allow for some air circulation, which helps prevent mold and mildew.
During this period, you may notice new growth emerging from the top of the cutting, a sign that roots are forming below. After about 4-6 weeks, gently tug on the cutting; if it resists, roots have likely developed. At this point, you can remove the plastic cover and gradually acclimate the plant to lower humidity.
Caring for Your Young Poinsettia Plant
Once your poinsettia cutting has rooted, you can start treating it like a regular plant. Here are some tips for ongoing care:
- Light: Poinsettias need bright, indirect light to grow. During the winter months, place them near a south-facing window to ensure they receive enough sunlight.
- Watering: Poinsettias prefer slightly moist soil, so water when the top inch feels dry to the touch. Avoid overwatering, as poinsettias are susceptible to root rot.
- Temperature: These plants thrive in temperatures between 65-75°F. Keep them away from drafts or sudden temperature changes, as this can stress the plant.
- Fertilizing: After a few months, start fertilizing with a balanced, water-soluble fertilizer once a month to support healthy growth.
Promoting Poinsettia Bract Color
To encourage those vibrant holiday colors, you’ll need to simulate short-day conditions in the fall. Starting in early October, place your poinsettia in complete darkness for 12-14 hours each night, moving it to bright, indirect sunlight during the day. Repeat this process daily for about 8-10 weeks, and you should see the colorful bracts start to appear, just in time for the holidays!
Common Issues in Poinsettia Propagation and How to Overcome Them
- Wilting: If your cutting starts to wilt, it may be getting too much direct sunlight or not enough moisture. Adjust its location and water level accordingly.
- Yellowing Leaves: This often indicates overwatering. Make sure the soil is well-draining and only water when the top inch is dry.
- Slow or No Root Growth: Propagation may be slower in cooler conditions. Keep your cutting warm, ideally around 70°F, to encourage root formation.
Why Propagate Your Own Poinsettias?
Propagating poinsettias from cuttings is both rewarding and sustainable. Instead of purchasing new plants each year, you can grow your own poinsettias at home. This not only saves money but also gives you a deeper connection to your plants. By sharing cuttings with friends and family, you can spread joy and holiday cheer in a truly personal way.
Plus, with your own poinsettia plants, you have the opportunity to explore different growing techniques, colors, and sizes, cultivating unique and beautiful varieties to decorate your home year-round.
Conclusion: Bringing Holiday Cheer to Life, One Cutting at a Time
Propagating poinsettias from cuttings might seem daunting, but it’s easier than you think with the right steps and care. By selecting healthy cuttings, maintaining proper humidity, and nurturing the roots, you’ll soon have a thriving poinsettia plant. This holiday season, bring your garden indoors and experience the joy of cultivating your very own poinsettias.
🌺 Happy Gardening and Happy Holidays! 🌺
#PoinsettiaPropagation #GardeningTips #HolidayPlants #GrowYourOwn #GreenThumb #PlantCare