
Growing peppers from seeds is an incredibly fulfilling gardening project that combines patience and care with the promise of a delicious, colorful harvest. Whether you’re aiming to grow sweet bell peppers or fiery chili varieties, the process is similar and straightforward when you follow the right steps. In this guide, we’ll walk you through every detail, from selecting seeds to harvesting vibrant peppers. Let’s dive in!
1. Why Grow Peppers from Seeds?
Starting peppers from seeds offers numerous benefits:
- Variety: You can choose from a wide range of pepper types, including heirlooms and rare varieties.
- Cost-Effective: Growing from seeds is cheaper than purchasing seedlings.
- Healthier Plants: You have full control over the growing conditions, ensuring healthier plants without pesticides.
With these advantages in mind, let’s get started.
2. Choosing and Preparing Your Pepper Seeds
The first step is selecting the right seeds. Consider your growing conditions and culinary preferences.
- Variety Matters: For milder options, go for bell peppers or sweet varieties. If you love spice, jalapeños, habaneros, or cayenne are excellent choices.
- Quality Seeds: Purchase from a reputable supplier to ensure high germination rates.
Soaking Seeds for Better Germination
To give your seeds a boost, soak them in warm water for 12–24 hours before planting. This softens the seed coat and speeds up germination.
3. Preparing the Soil
Peppers thrive in well-draining, nutrient-rich soil. The ideal soil pH is between 6.0 and 6.8.
- DIY Soil Mix: Combine garden soil with compost and a handful of perlite or sand for better drainage.
- Sterilize: If using garden soil, sterilize it by baking in the oven at 180°F for 30 minutes to kill any pests or pathogens.
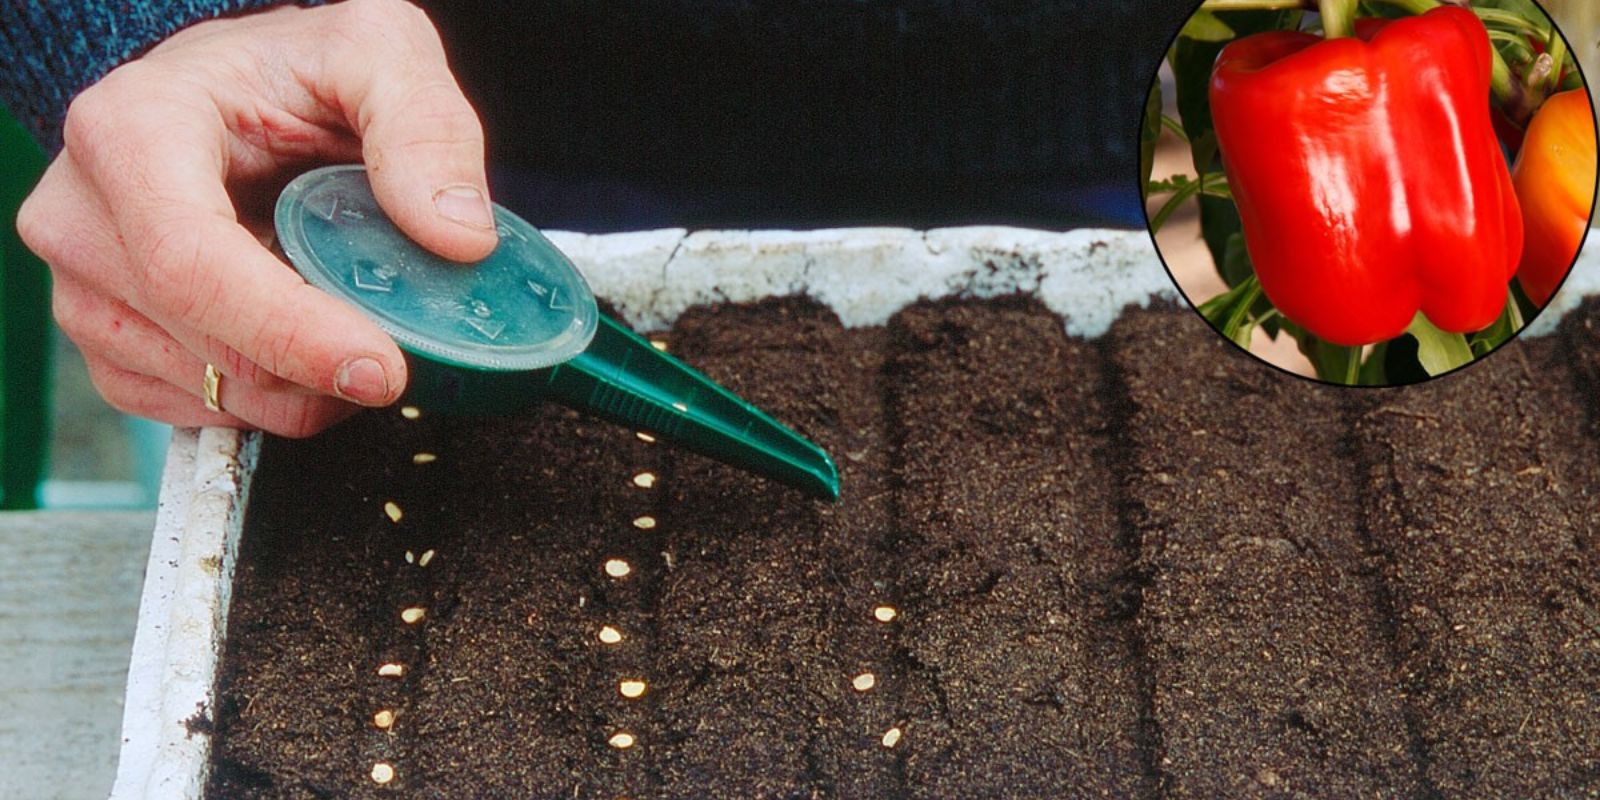
4. Starting Seeds Indoors
Since peppers require warm temperatures to germinate, starting them indoors ensures they get the head start they need before the growing season begins.
Step-by-Step Process:
- Timing: Start seeds 8–10 weeks before the last frost date in your region.
- Containers: Use seed trays, biodegradable pots, or small plastic containers with drainage holes.
- Planting Depth: Sow seeds about 1/4 inch deep in the soil. Cover lightly and pat gently.
- Watering: Mist the soil to keep it moist but avoid overwatering.
- Heat & Light: Place the containers in a warm spot (70–85°F). If needed, use a heat mat. Provide 12–16 hours of light daily using grow lights or a sunny windowsill.
5. Caring for Seedlings
Once the seeds germinate (usually within 7–14 days), caring for the seedlings is crucial to their development.
Key Tips:
- Thinning: If multiple seedlings sprout in the same pot, thin them out by snipping the weaker ones at soil level.
- Hardening Off: Before transplanting, gradually expose seedlings to outdoor conditions over 7–10 days.
6. Transplanting to the Garden or Pots
When seedlings are 6–8 inches tall and have at least 3–4 true leaves, they’re ready to be transplanted. Ensure the danger of frost has passed.
Garden Transplanting:
- Spacing: Space plants 18–24 inches apart in rows 24–36 inches apart.
- Depth: Plant them at the same depth they were in their pots.
- Soil Preparation: Enrich the planting area with compost or aged manure.
Container Growing:
- Pot Size: Use containers at least 10–12 inches deep with good drainage.
- Soil: Fill with a quality potting mix enriched with compost.
7. Watering & Feeding
Peppers are not drought-tolerant but also dislike soggy roots. Proper watering and feeding are essential for their growth.
Watering:
- Keep the soil consistently moist, especially during flowering and fruiting stages.
- Water early in the morning to allow leaves to dry before evening, reducing the risk of disease.
Feeding:
- Use a balanced fertilizer (10-10-10) every 2–3 weeks during the growing season.
- Once fruit sets, switch to a low-nitrogen fertilizer to promote better fruiting.
8. Supporting and Pruning Your Pepper Plants
Taller pepper varieties may require staking or cages to support the weight of the fruit. Pruning can also improve air circulation and light penetration.
- Remove Bottom Leaves: Trim the lower leaves to prevent soil-borne diseases.
- Encourage Branching: Pinch off the first few flowers to encourage more branches and a larger yield.
9. Pest and Disease Management
Peppers can be vulnerable to pests like aphids, whiteflies, and spider mites. Diseases such as blossom end rot and fungal infections may also occur.
Natural Solutions:
- Aphids: Spray with a mixture of water and a few drops of dish soap.
- Fungal Issues: Ensure proper spacing and avoid overhead watering. Use neem oil as a preventive measure.
10. Harvesting Your Peppers
The most rewarding part of growing peppers is the harvest. Knowing when and how to harvest ensures the best flavor and plant health.
- Timing: Harvest when peppers are fully grown and have reached their mature color.
- Method: Use sharp scissors or pruners to cut the peppers off the plant, leaving a small portion of the stem intact.
Pro Tip:
For sweeter peppers, allow them to stay on the plant longer to ripen fully.
11. Troubleshooting Common Problems
- Blossom Drop: Caused by temperature stress. Provide shade during hot afternoons or mulch to regulate soil temperature.
- Slow Growth: Ensure adequate warmth and light. Consider side-dressing with compost for a nutrient boost.
12. Storing and Using Your Peppers
After harvesting, store peppers in the refrigerator for up to two weeks or preserve them by drying, freezing, or pickling. Use them in salads, stir-fries, or sauces for a fresh and flavorful addition to your meals.
Conclusion
Growing peppers from seeds is an exciting and rewarding journey that connects you to nature and provides delicious results. With proper care, attention, and a bit of patience, you can enjoy a bountiful harvest of peppers that are perfect for your kitchen and garden.
🌟 Join the Gardening Conversation: What’s your favorite pepper variety to grow? Share your tips, questions, and pepper stories in the comments below! 🌶️ #GrowYourOwn #PepperPlants #GardeningJourney