
Ginger is a beloved spice known for its robust flavor and numerous health benefits. Cultivating ginger at home can be a rewarding experience, offering a fresh, aromatic addition to your culinary and wellness routines. Whether you’re a seasoned gardener or just starting out, this guide will walk you through the steps to successfully grow ginger at home.
Understanding Ginger
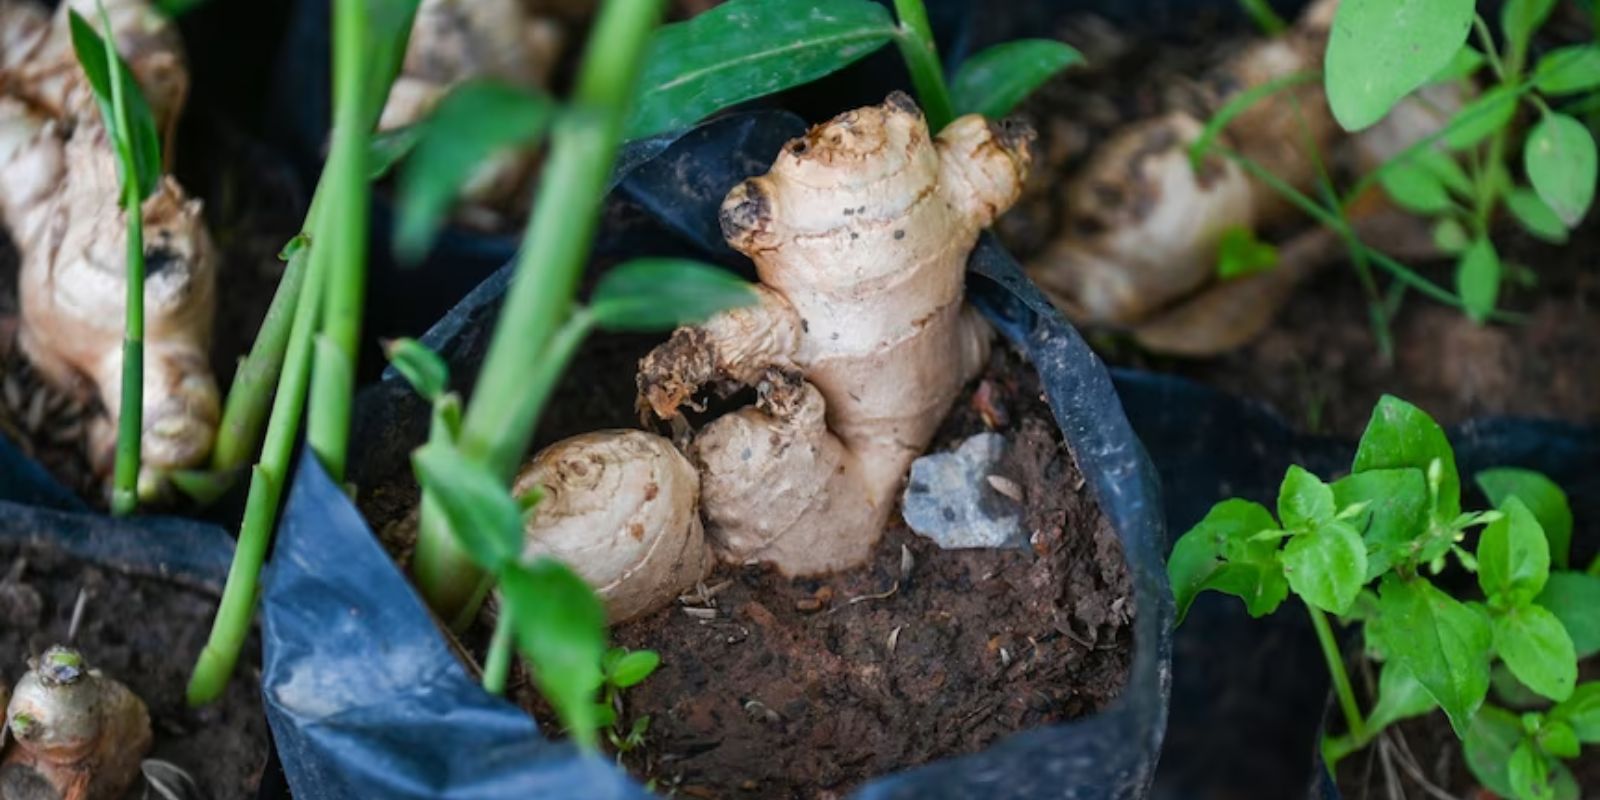
Ginger (Zingiber officinale) is a tropical plant grown for its rhizomes, which are used as a spice and medicine. It thrives in warm, humid conditions and can be grown in containers or garden beds. With the right care and conditions, ginger can flourish even in non-tropical climates.
1. Selecting the Right Ginger Rhizomes
The first step in growing ginger is selecting high-quality rhizomes. Here’s how to choose the best ones:
- Look for Freshness: Opt for plump, firm rhizomes that are free of mold or soft spots. Avoid shriveled or dry pieces.
- Check for Buds: Choose rhizomes with visible buds or “eyes.” These are the points from which new shoots will grow.
- Source: You can purchase ginger rhizomes from a garden center, farmer’s market, or grocery store. Organic rhizomes are often a good choice as they are less likely to be treated with growth inhibitors.
2. Preparing the Soil
Ginger prefers well-draining, loamy soil. Here’s how to prepare it:
- Choose the Right Soil: Use a rich, loamy soil with good drainage. A mixture of garden soil, compost, and sand can work well.
- Enhance with Compost: Incorporate compost into the soil to improve its fertility and structure.
- pH Level: Aim for a soil pH between 5.5 and 6.5. Ginger prefers slightly acidic soil.
3. Soaking the Rhizomes
Soaking the rhizomes before planting helps to stimulate sprouting.
- Preparation: Soak the ginger rhizomes in water for 12-24 hours before planting. This helps to kickstart the growth process.
- Drain Well: After soaking, allow the rhizomes to drain and dry for a few hours before planting to prevent rot.
4. Planting Ginger
Ginger can be grown in garden beds or containers. Here’s how to plant it:
- Container Planting: Choose a container with good drainage holes. A large pot or planter is ideal, as ginger requires space to grow.
- Garden Bed Planting: If planting in a garden bed, ensure it is well-prepared and free of weeds.
Planting Steps:
- Depth and Spacing: Plant the rhizomes 1-2 inches deep in the soil, with the buds facing upwards. Space them about 8 inches apart to allow for growth.
- Covering: Lightly cover the rhizomes with soil and water gently to settle them in.
5. Providing Optimal Conditions
Ginger thrives in specific environmental conditions. Here’s how to create the perfect environment:
- Temperature: Ginger prefers warm temperatures between 70-85°F (21-29°C). It can be grown indoors during colder months or in areas with mild winters.
- Humidity: Ginger requires high humidity. If growing indoors, use a humidity tray or mist the plants regularly to maintain moisture levels.
- Light: Ginger needs bright, indirect light. Place it in a sunny spot or under grow lights if growing indoors.
6. Watering and Fertilizing
Proper watering and fertilizing are crucial for healthy ginger growth.
- Watering: Keep the soil consistently moist but not waterlogged. Water regularly, especially during dry periods. Allow the top inch of soil to dry out between waterings.
- Fertilizing: Feed ginger with a balanced, all-purpose fertilizer every 4-6 weeks. Avoid over-fertilizing, which can lead to excessive leaf growth and poor rhizome development.
7. Mulching and Weeding
Mulching and weeding help maintain soil moisture and reduce competition for nutrients.
- Mulching: Apply a layer of mulch around the base of the plants to retain moisture, regulate soil temperature, and suppress weeds.
- Weeding: Regularly check for weeds and remove them to prevent competition for resources.
8. Managing Pests and Diseases
Ginger is relatively pest-resistant, but occasional issues may arise.
- Common Pests: Watch out for aphids, spider mites, and fungal gnats. Use organic insecticidal soap or neem oil to manage pests.
- Diseases: Avoid overwatering to prevent fungal diseases like root rot. Ensure good air circulation around the plants.
9. Harvesting Ginger
Ginger takes about 8-10 months to mature. Here’s how to know when it’s time to harvest:
- Signs of Maturity: The leaves will start to yellow and die back. This indicates that the rhizomes are ready for harvest.
- Harvesting: Gently dig up the rhizomes using a garden fork or shovel. Handle them carefully to avoid damage.
10. Storing and Using Ginger
After harvesting, store ginger properly to maintain its freshness.
- Storage: Keep fresh ginger rhizomes in a cool, dry place. They can also be refrigerated to extend their shelf life.
- Usage: Use freshly harvested ginger in cooking, teas, or as a natural remedy. You can also preserve it by drying or freezing.
Conclusion
Growing ginger at home is a gratifying endeavor that rewards you with fresh, aromatic rhizomes. By following these steps, you can successfully cultivate ginger and enjoy its flavor and health benefits throughout the year. Happy gardening!
Motivation: Ready to elevate your kitchen with homegrown ginger? Start your ginger-growing journey today and savor the taste of freshness! 🌱🌿 #GrowGinger #HomeGardening #HerbGarden #FreshGinger #GardenTips #DIYGardening #UrbanFarming