
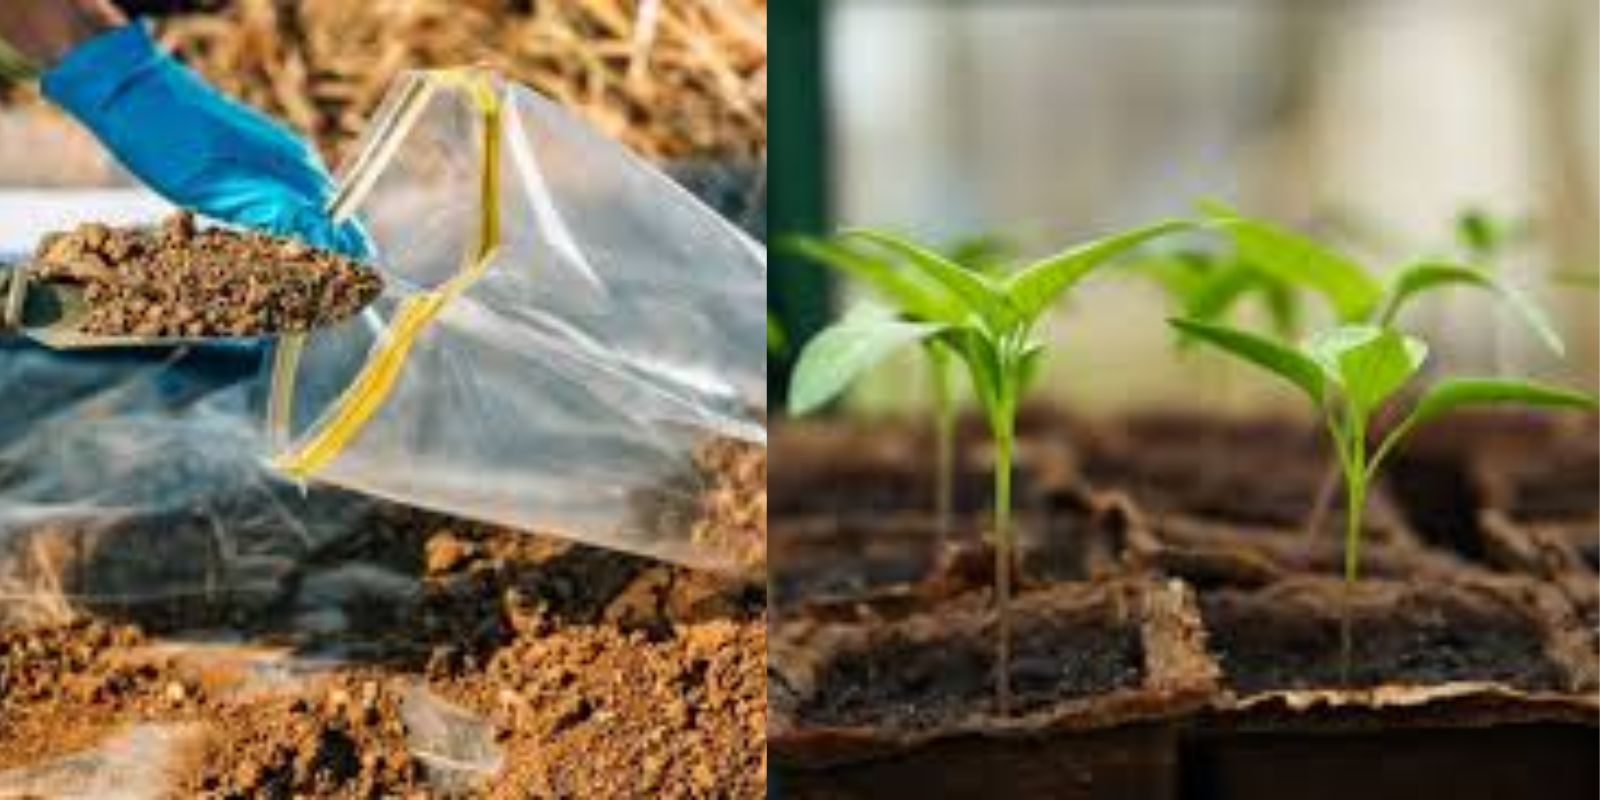
Sterilizing soil is a crucial gardening practice that eliminates harmful pathogens, pests, and weeds, creating an optimal growing environment for your plants. Whether you’re reusing old soil or preparing a fresh batch for your garden or indoor plants, sterilization ensures your plants are safe from diseases and other issues. This comprehensive guide explores various soil sterilization methods, tips, and the benefits of keeping your soil clean and healthy.
Why Sterilize Soil?
Healthy soil is the foundation of a thriving garden. Over time, soil can accumulate pests, fungi, bacteria, and weed seeds that hinder plant growth. Sterilizing soil eliminates these threats and provides several advantages:
- Prevents plant diseases by removing harmful pathogens.
- Eliminates pests that can damage roots and foliage.
- Stops weed growth by killing dormant seeds.
- Ensures a balanced soil ecosystem by resetting the soil’s microbial content.
Preparation for Soil Sterilization
Before starting, gather your materials and prepare the soil:
- Choose Your Soil: Decide whether you’re working with potting soil, garden soil, or compost.
- Remove Debris: Sift through the soil to remove sticks, rocks, and large organic matter.
- Moisture Check: Ensure the soil is slightly damp for even sterilization.
Methods for Sterilizing Soil
1. Solarization
This eco-friendly method uses the sun’s heat to sterilize large amounts of soil. It’s ideal for garden beds.
Steps:
- Spread soil in a thin layer across the desired area.
- Cover it tightly with clear plastic sheeting.
- Seal the edges with soil or stones to trap heat.
- Leave it under direct sunlight for 4-6 weeks during hot weather.
Pros: Chemical-free and cost-effective.
Cons: Time-consuming and weather-dependent.
2. Oven Sterilization
This method is perfect for smaller quantities of soil and ensures thorough sterilization.
Steps:
- Preheat your oven to 180°F (82°C).
- Spread soil evenly on a baking tray and cover it with aluminum foil.
- Bake for 30 minutes or until the soil reaches 160°F (71°C).
- Let the soil cool before use.
Pros: Reliable and precise.
Cons: Odorous; ventilate the area well.
3. Steaming Method
Steam sterilization is effective for killing pests and pathogens without chemicals.
Steps:
- Place soil in a heat-safe container or a steamer basket.
- If using a pressure cooker, add 1 inch of water and set the soil container inside.
- Steam for 30 minutes at high pressure.
- Allow the soil to cool completely.
Pros: Quick and efficient.
Cons: Requires specialized equipment.
4. Microwave Sterilization
This is a fast method for sterilizing small batches of soil.
Steps:
- Place moist soil in a microwave-safe container.
- Cover with a microwave-safe lid but leave a small vent.
- Heat on high for 90 seconds per 2 pounds of soil.
- Let the soil cool before planting.
Pros: Convenient for small-scale gardening.
Cons: Limited capacity per batch.
5. Chemical Sterilization
For extreme cases where other methods are impractical, chemical sterilization can be an option.
Steps:
- Mix hydrogen peroxide (3%) or diluted bleach (1 part bleach to 9 parts water) into the soil.
- Allow the soil to sit for 24-48 hours.
- Rinse thoroughly and let it air out for several days before planting.
Pros: Effective for persistent pathogens.
Cons: May alter soil properties; requires careful handling.
Tips for Success
- Monitor Soil Temperature: Use a thermometer to ensure proper sterilization, especially when using heat-based methods.
- Replenish Nutrients: Sterilized soil loses beneficial microbes and nutrients. Add compost, organic matter, or fertilizers to restore balance.
- Avoid Overheating: Excessive heat can damage soil structure and release harmful compounds.
- Test Soil pH: Sterilization can affect soil acidity, so check and adjust pH levels as needed.
Benefits of Sterilized Soil
Sterilized soil provides a clean slate for planting, ensuring your plants have the best possible start. Here’s what you gain:
- Enhanced Plant Health: Reduced risk of diseases promotes vigorous growth.
- Improved Crop Yield: Plants thrive in pest-free soil.
- Cleaner Gardening: Weed-free soil saves time and effort.
Common Mistakes to Avoid
- Skipping Soil Testing: Test the soil’s health and nutrient content after sterilization to avoid imbalances.
- Recontamination: Store sterilized soil in clean containers to prevent exposure to pests and pathogens.
- Ignoring Soil Additives: Enrich sterilized soil with compost or fertilizers before planting.
Conclusion
Sterilizing soil is an essential step for gardeners who want to ensure a healthy and productive growing environment. With methods ranging from solarization to steaming and even microwaving, there’s an option for every scale and need. By investing time in soil sterilization, you pave the way for thriving plants and bountiful harvests.
💬 Which soil sterilization method do you prefer? Share your tips below and let’s grow together! 🌱