
Seed saving is an age-old practice that allows gardeners to preserve their favorite plants, reduce gardening costs, and promote biodiversity. Whether you’re an experienced gardener or just starting, understanding how to save seeds can be incredibly rewarding. This comprehensive guide will walk you through the importance of seed saving, the best practices to follow, and practical steps to get started.
The Importance of Seed Saving
1. Preservation of Heirloom Varieties
Heirloom seeds are open-pollinated varieties that have been passed down through generations. Saving seeds from these plants ensures their continued existence and maintains genetic diversity in our gardens. Many heirlooms are known for their unique flavors, colors, and resistance to diseases, making them valuable to both gardeners and food security.
2. Cost Savings
Purchasing seeds every year can add up, especially if you have a large garden. By saving seeds, you can significantly reduce your gardening expenses. After your initial investment in seeds, you can cultivate new plants each year without spending a dime on seeds.
3. Adaptation to Local Conditions
Plants that are grown from saved seeds often adapt better to local growing conditions over time. This is particularly true for heirloom varieties, which may have developed unique traits suited to your specific climate and soil conditions.
4. Sustainability and Biodiversity
Seed saving contributes to biodiversity by preserving a wide range of plant varieties. This practice helps maintain ecosystems and can protect against crop failures caused by disease or climate changes.
Choosing the Right Seeds to Save
Not all seeds are suitable for saving. Here’s what to consider:
1. Heirloom vs. Hybrid Seeds
- Heirloom Seeds: These seeds are open-pollinated and will produce plants similar to the parent. They are ideal for seed saving.
- Hybrid Seeds: Hybrid seeds are created by cross-breeding two different varieties. While they may produce high yields, their seeds often do not replicate the parent plants’ characteristics, making them unsuitable for saving.
2. Health and Vitality
Choose seeds from healthy plants that exhibit desirable traits such as disease resistance, flavor, and yield. This practice increases the likelihood of producing strong plants in the future.
3. Maturity and Ripeness
Only save seeds from fully mature and ripe plants. Immature seeds may not germinate well, leading to disappointing results in the next growing season.
Step-by-Step Guide to Saving Seeds
Now that you understand the importance of seed saving and how to choose the right seeds, let’s delve into the practical steps to get started.
Step 1: Select Your Plants
- Choose Wisely: Begin by selecting a few plants from which you want to save seeds. Popular choices include tomatoes, peppers, beans, and herbs.
- Observe Traits: Look for plants that exhibit strong growth, good health, and desirable traits. Avoid saving seeds from diseased or pest-infested plants.
Step 2: Allow Seeds to Mature
- Timing: Allow your chosen plants to grow until they reach full maturity. This may mean letting fruits ripen longer on the vine or allowing flowers to go to seed.
- Watch for Signs: For fruits, look for signs like color change or wrinkling. For flowers, wait until the seed heads turn brown and dry out.
Step 3: Harvest the Seeds
- Collecting Seeds from Fruits: For fruits like tomatoes and peppers:
- Cut the fruit open and scoop out the seeds.
- Place the seeds in a container, cover with water, and let them ferment for a few days to help remove the gel surrounding the seeds.
- Collecting Seeds from Vegetables: For beans and peas:
- Wait until the pods are dry and brown on the plant.
- Shell the pods and collect the seeds.
- Collecting Seeds from Flowers: For flowers like sunflowers and zinnias:
- Wait until the flower heads turn brown and dry.
- Cut the heads off and gently rub to release the seeds.
Step 4: Clean the Seeds
- Remove Debris: Rinse seeds under running water to remove any pulp, chaff, or debris. Use a strainer for small seeds.
- Dry Thoroughly: Spread seeds out on a clean paper towel or a mesh screen to dry. Ensure they are completely dry to prevent mold during storage.
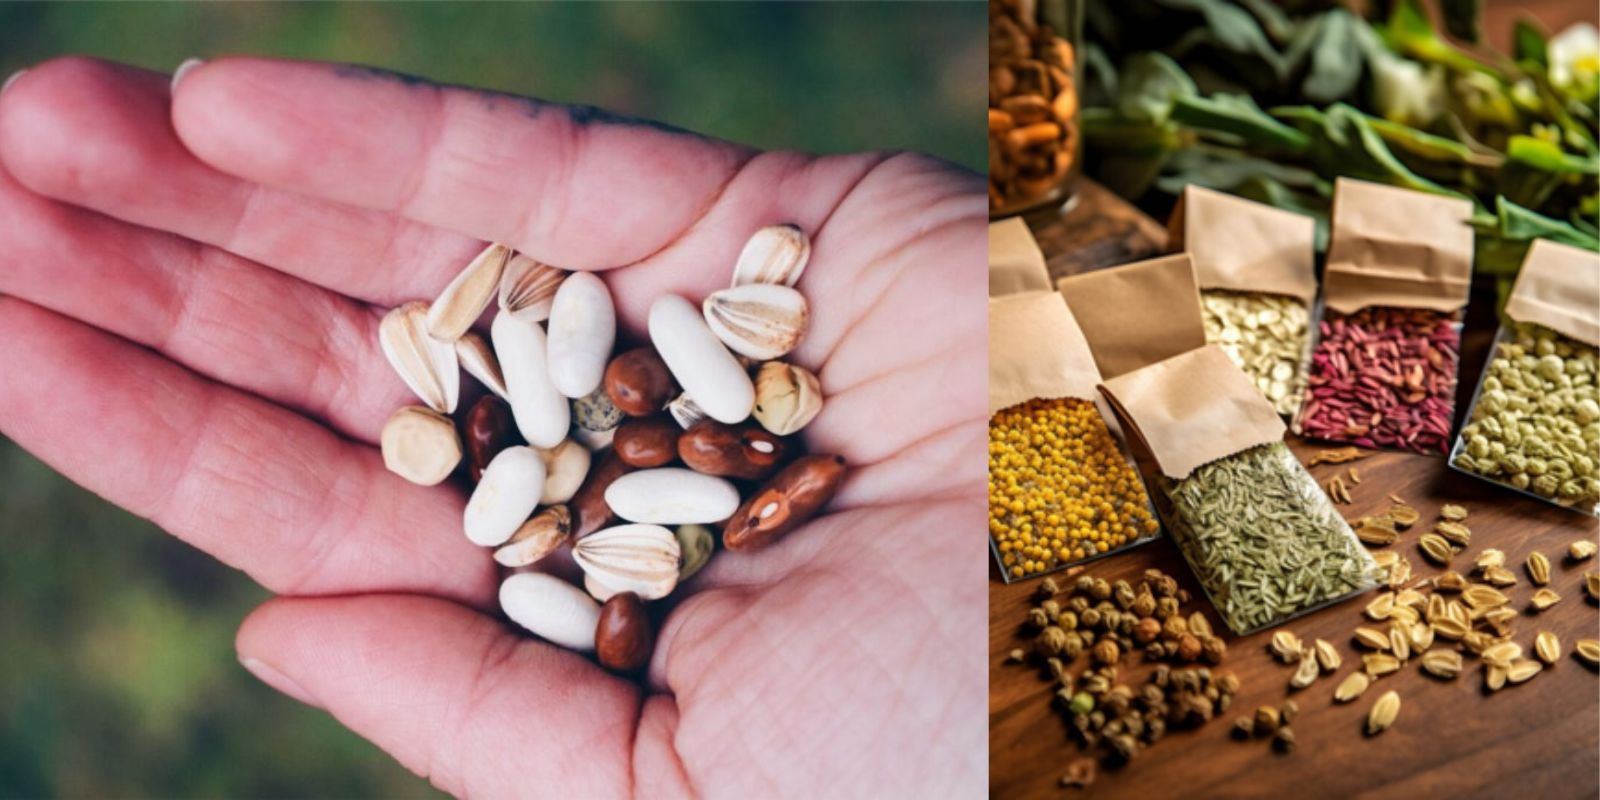
Step 5: Store the Seeds
- Labeling: Use envelopes, small jars, or seed packets to store your seeds. Label each container with the plant name, variety, and date of harvest.
- Ideal Conditions: Store seeds in a cool, dark, and dry place. A refrigerator or a climate-controlled area works well. Keep seeds away from moisture and heat, as these factors can reduce germination rates.
Step 6: Test Seed Viability (Optional)
Before planting your saved seeds, it’s a good idea to test their viability.
- Take a Sample: Choose 10-20 seeds from your saved batch.
- Moisten a Paper Towel: Dampen a paper towel and place the seeds on one half.
- Fold and Seal: Fold the towel over the seeds and place it in a plastic bag or container to retain moisture.
- Wait: Keep the towel in a warm area for about a week.
- Check for Germination: After a week, check how many seeds have sprouted. If 70% or more germinate, your seeds are viable and ready for planting!
Tips for Successful Seed Saving
- Practice Crop Isolation: To prevent cross-pollination, especially with plants like tomatoes and peppers, ensure that plants are adequately spaced apart or grow different varieties in separate areas.
- Choose Open-Pollinated Varieties: Stick to open-pollinated plants to guarantee that saved seeds will produce plants true to the parent.
- Stay Organized: Keep a garden journal to track which plants you’ve saved seeds from, including notes on growth habits and other important details.
- Share with Friends: Seed saving can be even more rewarding when shared with fellow gardeners. Consider exchanging seeds with friends or participating in local seed swaps.
- Embrace Learning: Every gardening season is a learning opportunity. Don’t be discouraged by mistakes; instead, use them to improve your seed-saving techniques.
Conclusion
Saving seeds is a sustainable and rewarding practice that connects us to our food sources while promoting biodiversity and self-sufficiency. By following the steps outlined in this guide, you can cultivate your garden from saved seeds, preserve heirloom varieties, and contribute to a more sustainable future.
Get Started Today!
Are you ready to dive into the world of seed saving? Share your seed-saving adventures on social media and inspire others to join in this fulfilling practice! Use hashtags like #SeedSaving #SustainableGardening #HeirloomSeeds #GardeningTips #GrowYourOwnFood #EcoFriendlyGardening to connect with fellow gardening enthusiasts. Happy gardening!