
Introduction
For avid gardeners, the importance of high-quality potting soil cannot be overstated. It provides the essential nutrients and drainage needed for plants to thrive. However, after a season of growth, many gardeners are left with old potting soil from hanging baskets and containers, often unsure of what to do with it. Rather than discarding it, savvy gardeners can rejuvenate and repurpose this soil, transforming it into a valuable resource for future gardening endeavors. This article will delve into the steps and methods for saving and revitalizing old potting soil, ensuring it remains an asset in your gardening toolkit.
Understanding Potting Soil
Before we dive into the steps to save old potting soil, it’s crucial to understand what potting soil is and its components. Unlike garden soil, potting soil is a blend of organic materials designed to provide excellent drainage and aeration. Typical components include:
- Peat moss: Retains moisture and provides some nutrients.
- Coconut coir: A sustainable alternative to peat, offering similar moisture retention.
- Perlite or vermiculite: Enhances aeration and drainage.
- Compost: Supplies nutrients and beneficial microorganisms.
Over time, these components can degrade, leading to compacted soil that may no longer support healthy plant growth. However, with the right techniques, old potting soil can be refreshed and reused effectively.
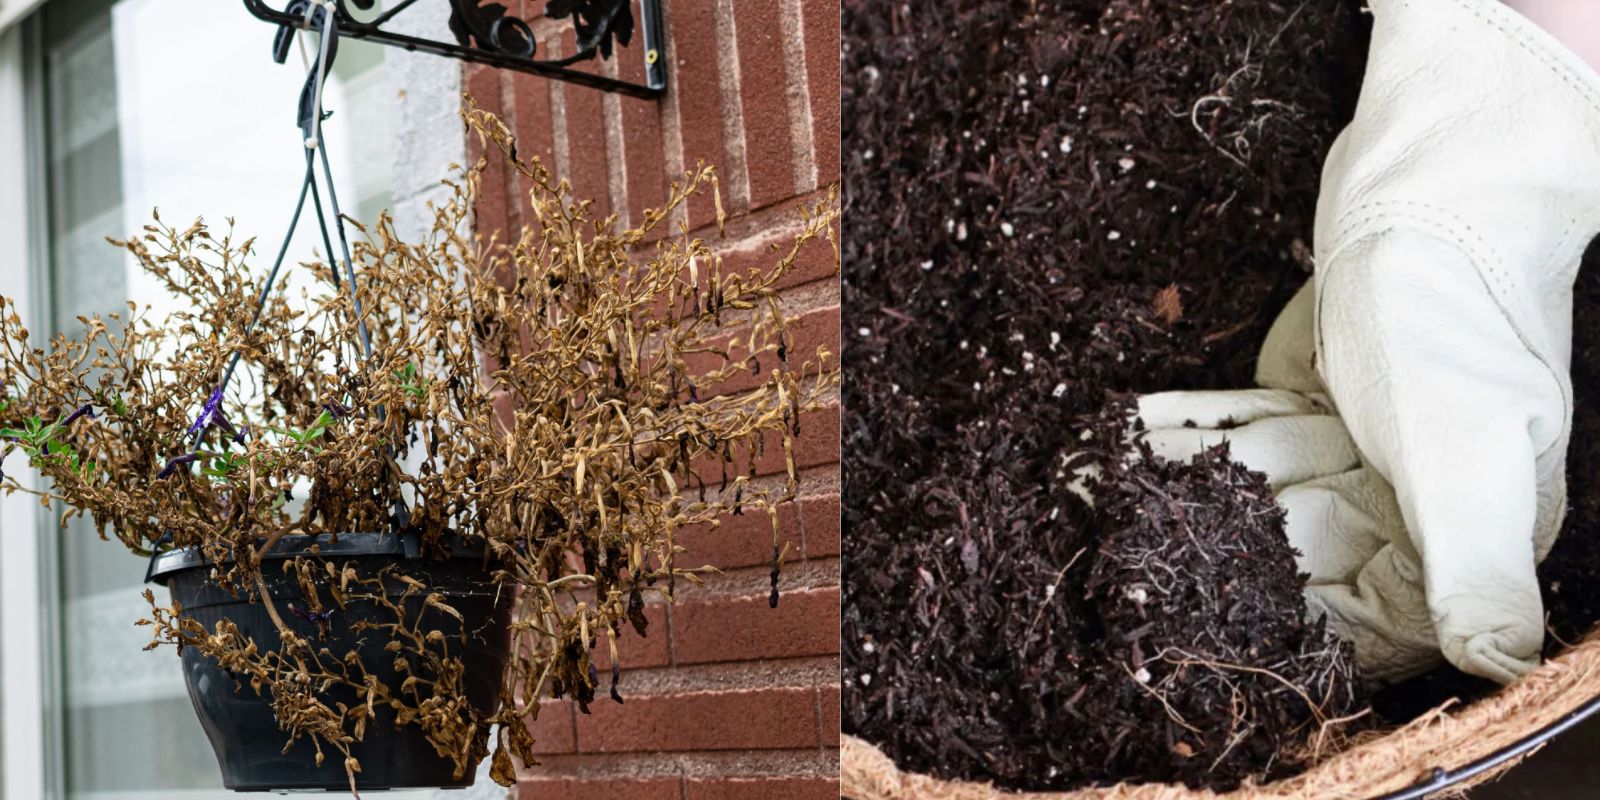
Step 1: Empty the Containers
Start by carefully removing the old potting soil from your hanging baskets and containers. If you’re dealing with a hanging basket, you may want to do this outside to minimize mess. Use your hands or a small trowel to gently remove the soil, ensuring you don’t disturb any remaining roots too much.
Tip: If you’re planning to reuse the same containers, rinse them out with water to remove any residual soil or organic matter before reusing them.
Step 2: Remove Debris
Once you’ve emptied the soil, sift through it to remove any debris. Look for:
- Dead plant material: This includes roots and leaves that have decayed.
- Weeds: Pull out any weed roots to prevent them from regrowing in your new plants.
- Pest remnants: Be on the lookout for any signs of pests or disease.
Removing this debris is essential for maintaining soil health and preventing the spread of diseases in future plantings.
Step 3: Check for Pests
Before you decide to reuse your old potting soil, it’s important to check for pests. Look for signs of insects like aphids, gnats, or spider mites. If you notice any pests, you will need to take action to eliminate them.
Dealing with Pests
- Manual removal: For larger pests, remove them by hand or use a strong stream of water.
- Neem oil: This natural insecticide can help control pest populations without harming beneficial organisms.
- Beneficial insects: Consider introducing beneficial insects like ladybugs that prey on common garden pests.
Step 4: Add Nutrients
After cleaning the soil, it’s time to replenish the nutrients that may have been depleted during the previous growing season.
Nutrient-Rich Additives
- Compost: Mixing in fresh compost adds nutrients and beneficial microorganisms that improve soil structure.
- Organic fertilizers: Options like bone meal, blood meal, or fish emulsion can provide essential nutrients for your plants.
- Worm castings: Adding worm castings is an excellent way to boost soil health and fertility.
Mix these additives thoroughly into your old potting soil to create a nutrient-rich blend suitable for future plantings.
Step 5: Sterilize (Optional)
If you suspect that your old potting soil may harbor diseases or pests, consider sterilizing it. This process will kill harmful pathogens while preserving the soil’s structure.
How to Sterilize Soil
- Oven method:
- Preheat your oven to 180°F (82°C).
- Spread the soil on a baking sheet in a thin layer.
- Bake for about 30 minutes, monitoring the temperature with an oven thermometer.
- Allow the soil to cool before using.
- Solarization method:
- Place the moist soil in clear plastic bags or containers.
- Seal them and place them in direct sunlight for 4-6 weeks. The heat will kill pests and diseases.
Both methods are effective, but be cautious with the oven method, as overheating can destroy beneficial microorganisms.
Step 6: Store Properly
If you’re not using the rejuvenated soil immediately, proper storage is essential to maintain its quality.
Storage Tips
- Sealed containers: Store the soil in airtight containers or bags to keep out pests and moisture.
- Cool, dry place: Keep the stored soil in a cool, dry area away from direct sunlight.
- Labeling: If you have multiple batches of soil, label them with the date and any amendments added.
This way, you’ll be able to easily access and use your saved potting soil when needed.
Step 7: Reuse
Now that your old potting soil has been cleaned, amended, and stored, it’s time to put it to use. You can use it in various gardening projects:
- Container gardening: Refill your pots and containers with the rejuvenated soil for new plantings.
- Seed starting: Use the nutrient-rich soil to start seeds indoors or outdoors.
- Garden beds: Mix the old soil into your garden beds to improve drainage and nutrient content.
Benefits of Reusing Old Potting Soil
- Cost-effective: Saving and reusing soil reduces the need to purchase new potting mix, saving you money.
- Environmental impact: Repurposing soil is an eco-friendly practice that reduces waste and promotes sustainability in gardening.
- Soil health: Regularly amending and reusing soil can improve its structure and fertility over time.
Conclusion
Reviving old potting soil from hanging baskets and containers is an excellent way to contribute to sustainable gardening practices. By following these steps—cleaning, checking for pests, adding nutrients, sterilizing (if needed), and storing properly—you can ensure that your potting soil remains a valuable resource for future gardening endeavors. So, next time you empty your containers, remember that your old potting soil still holds potential for new growth! Happy gardening!
Call to Action
Have you ever repurposed old potting soil? Share your experiences and tips in the comments below! Let’s inspire each other to make sustainable gardening choices! 🌱💚 #GardeningTips #SustainableGardening #Reuse #EcoFriendlyGardening #GardenLife