
Introduction
Sansevierias, also known as snake plants or mother-in-law’s tongue, are beloved for their resilience, low maintenance, and striking appearance. However, even these hardy plants can fall victim to root rot, especially when overwatered or planted in poorly draining soil. A new, trending method involving the use of a brush has been gaining popularity on the Internet for its effectiveness in saving rotting sansevierias. This article will provide a detailed guide on how to use this brush trick to revive your sansevieria and ensure it thrives.
Understanding Root Rot
What is Root Rot?
Root rot is a condition caused by overwatering and poor drainage, leading to the roots’ decay and inability to absorb nutrients effectively. Signs of root rot include yellowing leaves, a mushy base, and a foul smell emanating from the soil.
Why Does it Happen?
Root rot occurs when the roots sit in waterlogged soil, creating an environment where harmful fungi and bacteria thrive. Common causes include:
- Overwatering: Watering too frequently or allowing the plant to sit in water.
- Poor Drainage: Using pots without drainage holes or soil that retains too much moisture.
- Inadequate Light: Lack of sufficient light can slow down water absorption, leading to waterlogged soil.
The Brush Trick: A Step-by-Step Guide
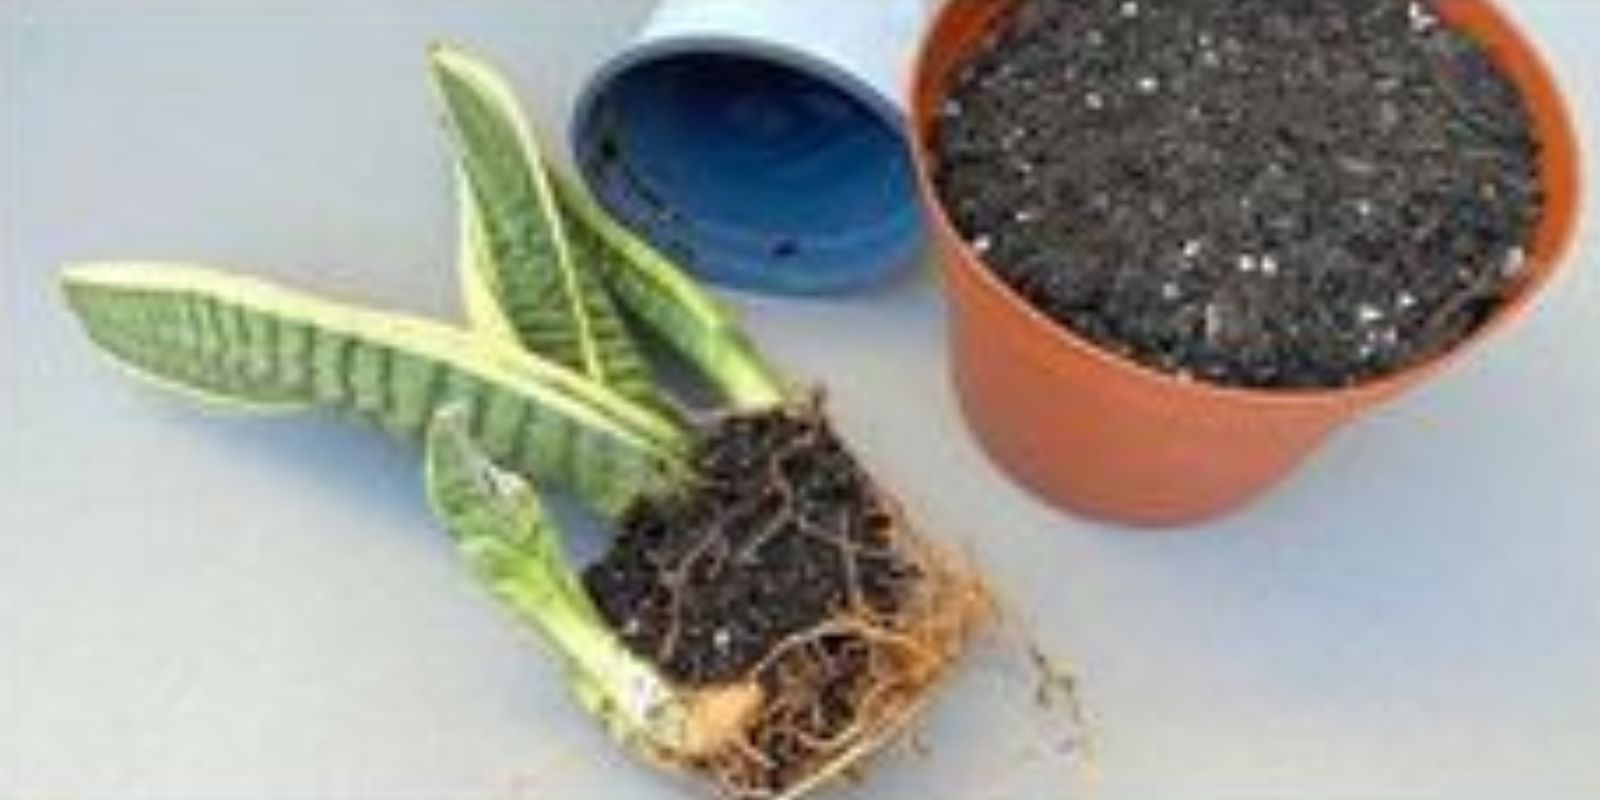
Step 1: Remove the Plant from Its Pot
- Gently Remove the Plant: Carefully take the sansevieria out of its pot to avoid damaging the already fragile roots. Shake off any excess soil from the root ball.
Step 2: Clean the Roots
- Use a Soft Brush: Employ a soft-bristled brush, such as a paintbrush or toothbrush, to gently remove the soil from the roots. This helps to expose the healthy roots while identifying the rotting ones.
- Be Gentle: Avoid applying too much pressure as the roots are delicate and can easily break.
Step 3: Trim Damaged Parts
- Sterilize Scissors: Use sterilized scissors or pruning shears to cut away the rotted roots and any mushy or discolored leaves. This prevents the spread of rot to healthy parts of the plant.
- Cut Cleanly: Make clean cuts to avoid further damage and ensure the remaining roots and leaves are healthy.
Step 4: Apply Fungicide
- Brush on Fungicide: Dip your brush in a fungicide solution and carefully apply it to the cut ends of the roots. This step helps to eliminate any remaining fungi and prevent future rot.
- Follow Instructions: Use the fungicide according to the manufacturer’s instructions for the best results.
Step 5: Repot the Sansevieria
- Choose the Right Soil: Use a well-draining soil mix specifically designed for succulents or cacti. This type of soil prevents water from pooling around the roots.
- Prepare the Pot: Select a pot with drainage holes to allow excess water to escape. Place a layer of gravel or mesh at the bottom to enhance drainage.
- Plant Carefully: Place the sansevieria in the pot and fill it with the prepared soil, ensuring the plant is stable and upright.
Step 6: Water Moderately
- Initial Watering: After repotting, water the plant lightly to settle the soil. Avoid soaking the soil completely.
- Future Watering: Allow the soil to dry out between waterings. Sansevierias are drought-tolerant and prefer to be on the dry side.
Long-Term Care Tips for Healthy Sansevieria
1. Watering Schedule
- Less is More: Water sansevierias sparingly. In general, water them every 2-3 weeks, or when the top inch of soil feels dry.
- Seasonal Adjustments: Reduce watering in the winter months when the plant’s growth slows down.
2. Light Requirements
- Bright, Indirect Light: Place your sansevieria in a location where it receives bright, indirect light. They can tolerate low light conditions but thrive in brighter environments.
- Avoid Direct Sunlight: Prolonged exposure to direct sunlight can scorch the leaves.
3. Soil and Potting
- Well-Draining Soil: Always use well-draining soil to prevent water retention. Mixing sand or perlite with regular potting soil can improve drainage.
- Proper Potting: Ensure the pot has drainage holes. If using decorative pots without holes, consider placing the plant in a plastic pot with holes first, then placing it inside the decorative one.
4. Regular Inspections
- Check for Signs of Rot: Regularly inspect your plant for signs of overwatering or root rot. Early detection can save the plant from severe damage.
- Healthy Leaves: Look for firm, upright leaves. Soft, mushy, or discolored leaves indicate potential problems.
Troubleshooting Common Issues
1. Persistent Root Rot
- Reevaluate Watering: If root rot persists, reassess your watering habits and soil mix.
- Improve Drainage: Ensure the pot has adequate drainage and consider repotting with a more suitable soil mix.
2. Slow Growth
- Check Light Levels: Insufficient light can slow down growth. Move the plant to a brighter location.
- Fertilize Sparingly: Use a balanced, diluted fertilizer during the growing season to provide essential nutrients.
3. Pests
- Inspect Regularly: Look for signs of pests like spider mites or mealybugs. These pests can weaken the plant and make it more susceptible to rot.
- Natural Remedies: Use insecticidal soap or neem oil to treat infestations.
Conclusion
Sansevierias are hardy plants, but they are not immune to root rot. By employing the brush trick and following the steps outlined above, you can rescue your rotting sansevieria and restore it to health. Remember to maintain proper watering practices, provide adequate light, and use well-draining soil to prevent future issues. With a little care and attention, your sansevieria will thrive, adding beauty and greenery to your home. Try this simple yet effective method today and enjoy the renewed vigor and stunning appearance of your sansevieria! 🌿