
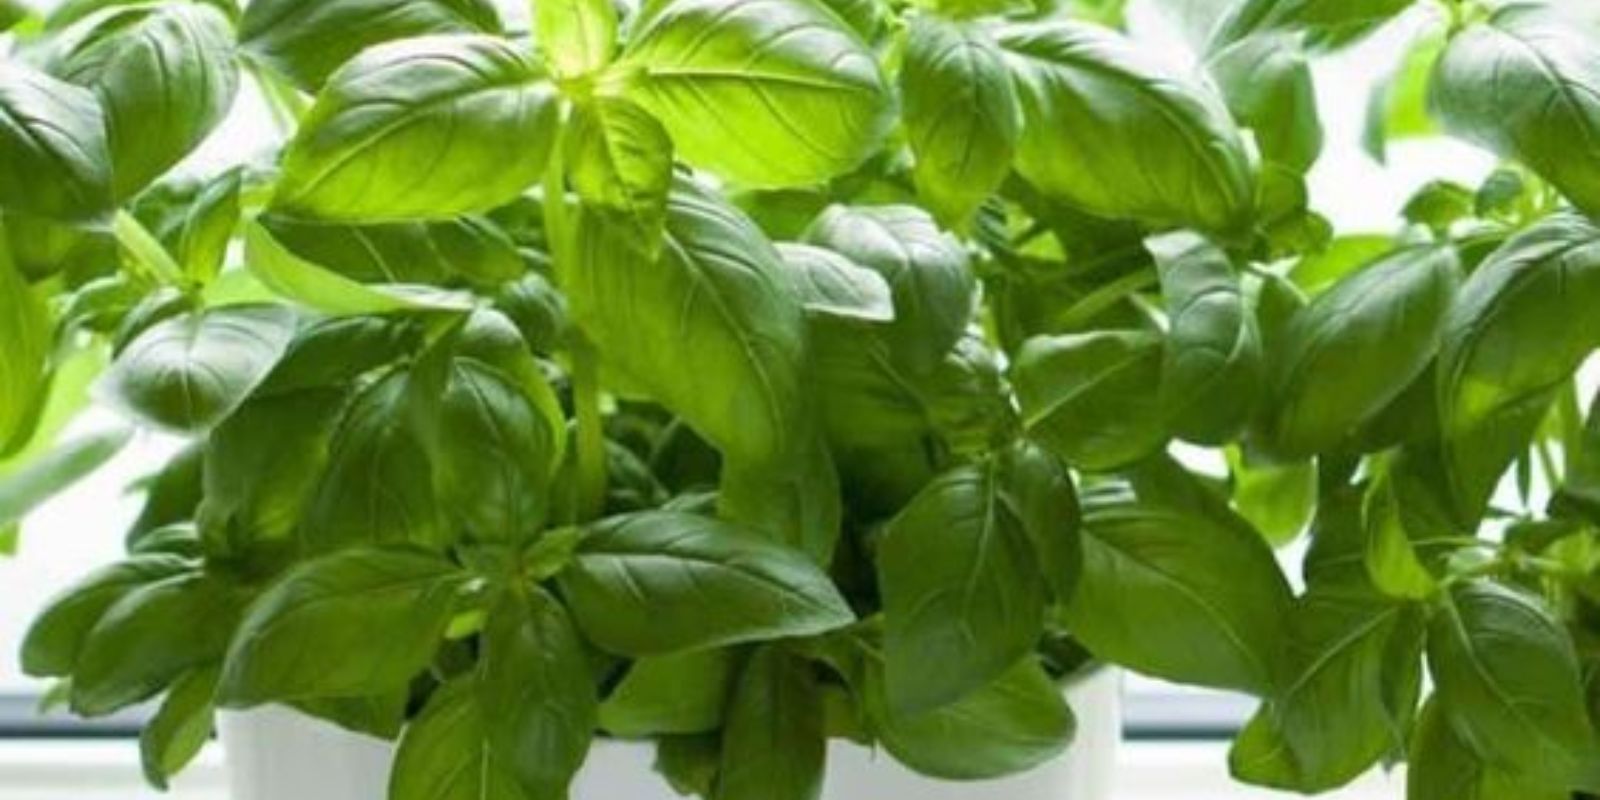
Basil is a beloved herb, treasured for its aromatic leaves and versatile use in many culinary dishes. However, like any plant, basil can sometimes fall into distress, showing signs of wilting, yellowing leaves, or stunted growth. Whether it’s due to improper watering, inadequate lighting, or pest infestation, there’s hope for your struggling basil plant. This guide will walk you through the steps to revive your basil, with the added fun of documenting its recovery through a time-lapse video.
Introduction
Basil (Ocimum basilicum) is a popular herb that’s easy to grow but can sometimes encounter health issues. Understanding the signs of distress and knowing how to address them can make the difference between a thriving plant and one that’s on its last legs. With patience and proper care, you can bring your basil plant back to vibrant health. Let’s dive into the step-by-step process of rescuing your basil plant, and consider capturing its revival in a time-lapse to see the remarkable transformation.
Step-by-Step Guide to Reviving a Basil Plant
1. Assess the Plant’s Condition
The first step in reviving your basil plant is to carefully assess its current state. Look for the following signs:
- Leaf Discoloration: Yellow or brown leaves can indicate nutrient deficiencies, overwatering, or pest problems.
- Wilting: This could be due to underwatering, overwatering, or root issues.
- Pest Infestation: Look for small insects or signs of damage on the leaves.
- Root Condition: Gently check the roots if possible. Healthy roots should be white and firm, not brown and mushy.
2. Prune Damaged Leaves and Stems
Using clean, sharp scissors, carefully trim away any damaged or diseased leaves and stems. This helps the plant focus its energy on new growth. Be sure to sterilize your scissors before and after pruning to prevent the spread of disease.
- Tip: Cut just above a leaf node (the point where leaves attach to the stem) to encourage new growth.
3. Repot the Plant
If your basil plant is root-bound (roots circling the inside of the pot) or if the soil quality is poor, consider repotting it:
- Choose a Pot: Select a pot that is slightly larger than the current one and has good drainage holes.
- Prepare the Soil: Use a high-quality potting mix that drains well. You can also add some perlite or sand to improve drainage.
- Transplant: Carefully remove the plant from its current pot, gently loosen the roots, and place it in the new pot with fresh soil.
4. Water Properly
Proper watering is crucial for the health of your basil plant. Here’s how to get it right:
- Check Soil Moisture: Stick your finger about an inch into the soil. If it feels dry, it’s time to water.
- Watering Technique: Water the plant thoroughly until water drains out of the bottom of the pot. Ensure the pot is not sitting in water, which can lead to root rot.
- Consistency: Keep the soil consistently moist but not waterlogged. Basil prefers evenly moist soil.
5. Provide Adequate Light
Basil plants need plenty of light to thrive. Ensure your plant gets enough:
- Natural Light: Place the basil plant in a spot that receives at least 6 hours of direct sunlight per day.
- Artificial Light: If natural light is insufficient, use a grow light to provide the necessary light spectrum. Position the grow light about 6-12 inches above the plant.
6. Fertilize
Regular feeding will supply the necessary nutrients to your recovering basil plant:
- Type of Fertilizer: Use a balanced, water-soluble fertilizer. Organic options like fish emulsion or compost tea are also beneficial.
- Frequency: Fertilize every 2-4 weeks, following the instructions on the fertilizer package.
7. Monitor and Adjust Care
Reviving a basil plant requires ongoing care and monitoring:
- Pest Control: Keep an eye out for pests like aphids or spider mites. Use organic insecticidal soap or neem oil to control infestations.
- Health Check: Regularly check the plant for signs of new growth and any recurring issues.
- Adjustments: Be prepared to make adjustments to watering, lighting, or fertilization based on the plant’s response.
Time-Lapse Documentation
Documenting the revival process with a time-lapse video can be both educational and rewarding. Here’s how to do it:
Setting Up the Time-Lapse
- Camera Placement: Position your camera to have a clear, stable view of the plant. Ensure consistent lighting throughout the filming period.
- Interval Settings: Set the camera to take a photo at regular intervals (e.g., every 15 minutes).
- Duration: Depending on the severity of the plant’s condition, it could take several days to weeks to see significant improvement. Be patient and let the camera run.
Creating the Time-Lapse Video
- Software: Use video editing software to compile the photos into a time-lapse video.
- Editing: Adjust the speed and add annotations or music to make the video more engaging.
- Sharing: Share your time-lapse video on social media or gardening forums to inspire and educate others.
Conclusion
Reviving a basil plant takes time, patience, and proper care, but the rewards are worth the effort. By following these steps, you can bring your basil back to health and enjoy its fresh, fragrant leaves in your culinary creations. Documenting the process with a time-lapse video adds an extra layer of satisfaction, allowing you to witness and share the transformation. Start today, and watch your basil plant thrive once again. 🌿✨
Engage with fellow gardeners by sharing your success stories and time-lapse videos. Your journey could be the inspiration they need to save their own plants. Happy gardening!