
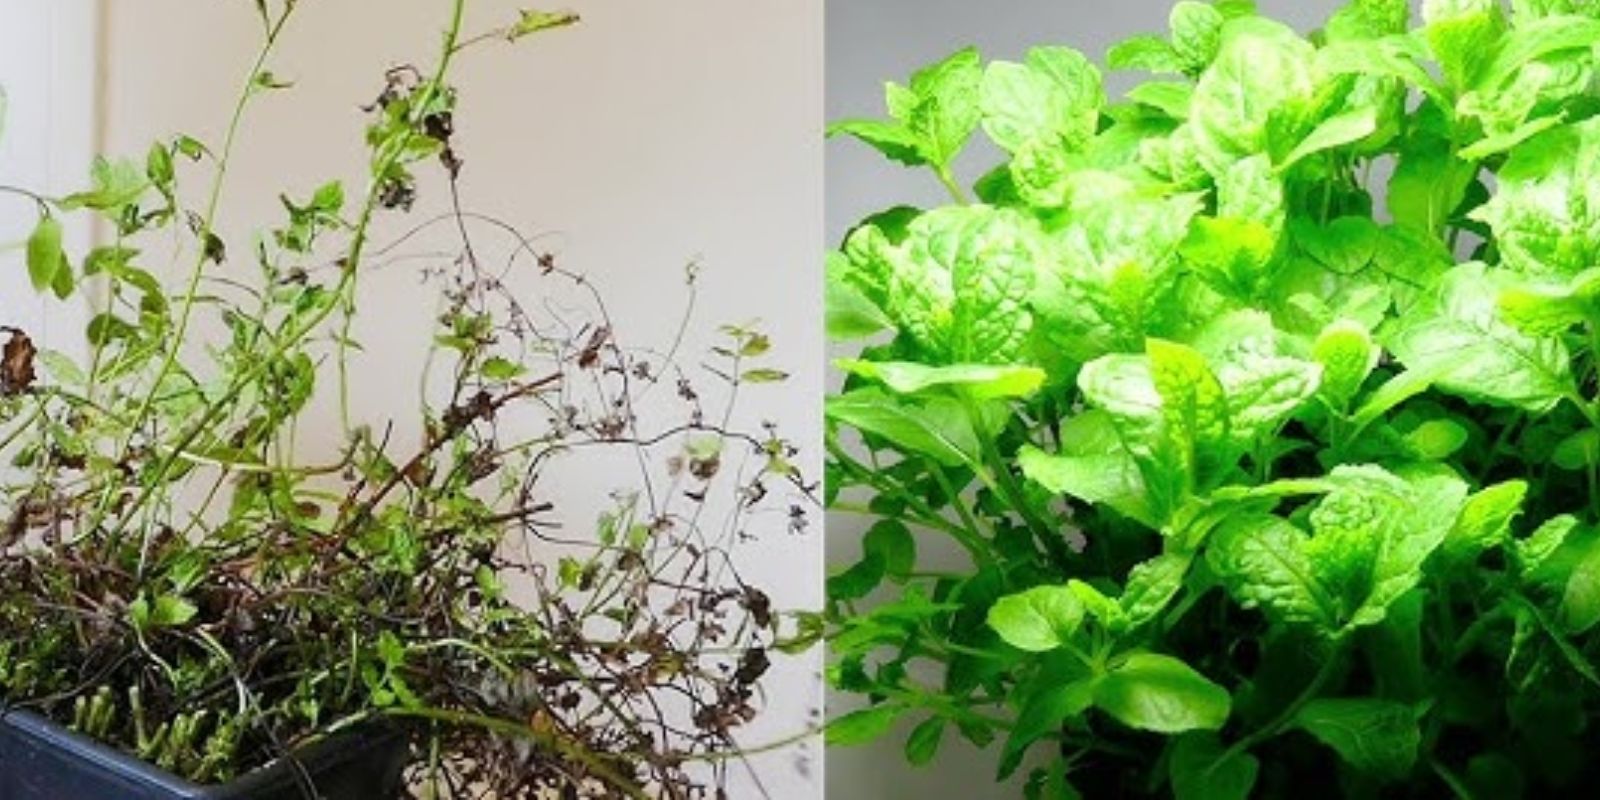
Mint is one of the most popular herbs around the world, known for its refreshing flavor and aroma. Whether used in culinary dishes, herbal teas, or cocktails, mint adds a delightful touch to a variety of recipes. If you’ve tried growing mint in your garden but faced challenges, you’re not alone! Many gardeners struggle with keeping this herb healthy and vibrant. In this article, we’ll explore the secrets to reviving or growing beautiful mint, ensuring you have a thriving supply for all your culinary needs.
The Importance of Mint
Mint (Mentha) is a perennial herb belonging to the Lamiaceae family. Its distinct aroma and flavor come from essential oils, primarily menthol, which can vary in concentration depending on the species. Common varieties include spearmint (Mentha spicata) and peppermint (Mentha × piperita). In addition to its culinary uses, mint has a rich history in traditional medicine, often employed for its digestive and calming properties.
Benefits of Growing Mint:
- Culinary Uses: Mint enhances the flavor of various dishes, desserts, and beverages, making it a staple in kitchens worldwide.
- Medicinal Properties: Mint is known for its soothing effects on the stomach, helping to alleviate indigestion and nausea.
- Aesthetic Appeal: With its lush green foliage and attractive flowers, mint adds beauty to any garden.
- Attracts Pollinators: Mint flowers attract bees and other beneficial insects, promoting biodiversity in your garden.
Step 1: Choose the Right Variety
The first step in successfully growing mint is selecting the right variety. There are over 30 species of mint, each with distinct flavors and uses. The two most commonly grown varieties are:
- Spearmint: Known for its sweet flavor, spearmint is often used in cooking, teas, and cocktails. It’s milder than peppermint and is a favorite for mint juleps and mojitos.
- Peppermint: Peppermint has a stronger flavor and is commonly used in candies, teas, and desserts. It has a higher menthol content, giving it a more pronounced aroma.
When choosing your mint variety, consider your culinary preferences and the climate in your area.
Step 2: Optimal Location
Mint thrives in a location that receives partial sunlight. Aim for a spot that gets about 4-6 hours of sunlight per day. However, mint can also tolerate some shade, making it a versatile plant for various garden layouts. If you live in a hotter climate, providing afternoon shade can prevent the leaves from scorching.
Step 3: Prepare Well-Draining Soil
Mint prefers rich, loamy soil that retains moisture but drains well. Good drainage is crucial, as mint is susceptible to root rot if left in soggy soil. To create the ideal environment for your mint:
- Amend the Soil: Mix in organic matter, such as compost or well-rotted manure, to improve soil structure and nutrient content.
- Check pH Levels: Mint prefers slightly acidic to neutral soil, with a pH range of 6.0 to 7.0. You can test your soil’s pH with a simple soil test kit.
Step 4: Water Wisely
Maintaining consistent moisture is key to growing healthy mint. Mint likes its soil to be kept consistently moist but not overly wet. Here are some tips for watering mint effectively:
- Check Soil Moisture: Before watering, check the top inch of soil. If it feels dry, it’s time to water.
- Watering Frequency: During hot summer months, you may need to water more frequently, while cooler months may require less.
- Avoid Overwatering: Ensure proper drainage to prevent water from pooling around the roots, as this can lead to root rot.
Step 5: Regular Pruning
Pruning is essential for keeping mint plants healthy and encouraging bushier growth. Here’s how to prune your mint effectively:
- Trim Regularly: Use clean, sharp scissors or shears to snip off the tips of the mint stems regularly. This encourages the plant to branch out and become fuller.
- Prevent Flowering: If you notice flower buds forming, pinch them off. While mint flowers are beautiful, they can make the leaves taste bitter and reduce overall growth.
- Harvest Leaves: You can start harvesting mint leaves once the plant is well-established. Regular harvesting will promote new growth and keep the plant vigorous.
Step 6: Fertilization
Fertilizing your mint plants will ensure they receive the nutrients needed for healthy growth. Here are some tips on how to fertilize mint effectively:
- Use Balanced Fertilizer: Apply a balanced, all-purpose fertilizer every 4-6 weeks during the growing season (spring and summer). Look for a fertilizer with an N-P-K ratio of 10-10-10 or similar.
- Organic Options: You can also use organic fertilizers like fish emulsion, seaweed extract, or compost tea. These will provide essential nutrients without chemical additives.
Step 7: Pest Control
Mint is generally pest-resistant, but it can still be affected by pests like aphids, spider mites, and whiteflies. Here’s how to keep pests at bay:
- Regular Inspections: Check your mint plants regularly for signs of pests. Early detection can prevent infestations.
- Natural Predators: Encourage beneficial insects like ladybugs and lacewings that prey on pests. Planting flowers like marigolds can attract these helpful insects.
- Organic Insecticidal Soap: If you notice a pest problem, use organic insecticidal soap to treat the affected areas. This is safe for edible plants and can effectively eliminate pests.
Step 8: Propagation
One of the easiest ways to expand your mint collection is through propagation. Here’s how to propagate mint successfully:
- Cuttings: Take a healthy cutting from an existing mint plant, ensuring it has at least 2-3 leaves. Remove the lower leaves and place the cutting in a glass of water, keeping it in indirect sunlight. Change the water every few days.
- Rooting in Soil: Alternatively, you can plant the cutting directly into moist soil. Keep the soil consistently moist until roots develop.
- Dividing Established Plants: If you have a mature mint plant, you can divide it into smaller sections and replant them. This method works best in early spring or fall.
Step 9: Container Gardening
Growing mint in containers is an excellent option, especially if you’re short on space or want to control its growth. Here are some tips for successful container gardening:
- Choose the Right Pot: Select a pot that is at least 12 inches deep and wide, with drainage holes at the bottom. Mint has a tendency to spread, so a larger pot allows for healthy root growth.
- Use Quality Potting Mix: Fill the pot with high-quality potting mix that retains moisture but drains well.
- Placement: Place your container in a location that receives adequate sunlight and is sheltered from strong winds.
Step 10: Harvesting
Harvesting mint is one of the most rewarding parts of growing it. Here’s how to do it properly:
- Timing: Harvest mint leaves once the plant is well-established and has enough foliage. The best time to harvest is in the morning when the oils are most concentrated.
- How to Harvest: Use scissors or pruning shears to cut the leaves. Aim to leave at least one-third of the plant intact to allow for continued growth.
- Storage: Fresh mint can be stored in the refrigerator in a damp paper towel or can be frozen for long-term use. You can also dry mint leaves for use in teas and cooking.
Conclusion
Growing beautiful mint at home is a rewarding experience that allows you to enjoy its fresh flavor and aroma. By following these steps—choosing the right variety, providing optimal conditions, and practicing proper care—you’ll have a thriving mint garden that enhances your culinary creations and elevates your gardening skills.
Whether you’re looking to revive a struggling mint plant or start fresh, these secrets will guide you to success. Share your mint-growing adventures with us in the comments below, and let’s inspire each other to cultivate beautiful gardens! 🌱✨
Call to Action
Have you tried growing mint at home? Share your tips, experiences, or ask any questions in the comments! Let’s create a thriving gardening community together!