
Gardening is one of the most rewarding hobbies, allowing you to grow everything from beautiful flowers to fresh vegetables. However, maintaining a healthy garden requires attention to detail, particularly when it comes to the soil. Over time, potting soil can become depleted of essential nutrients, making it less effective for plant growth. But before you rush to buy new soil, there’s a sustainable, cost-effective solution: you can recharge and reuse your old potting soil.
In this guide, we’ll explore the science behind recharging potting soil, the step-by-step process of revitalizing it, and why reusing old soil benefits not only your plants but also the environment.
Why Does Potting Soil Degrade Over Time?
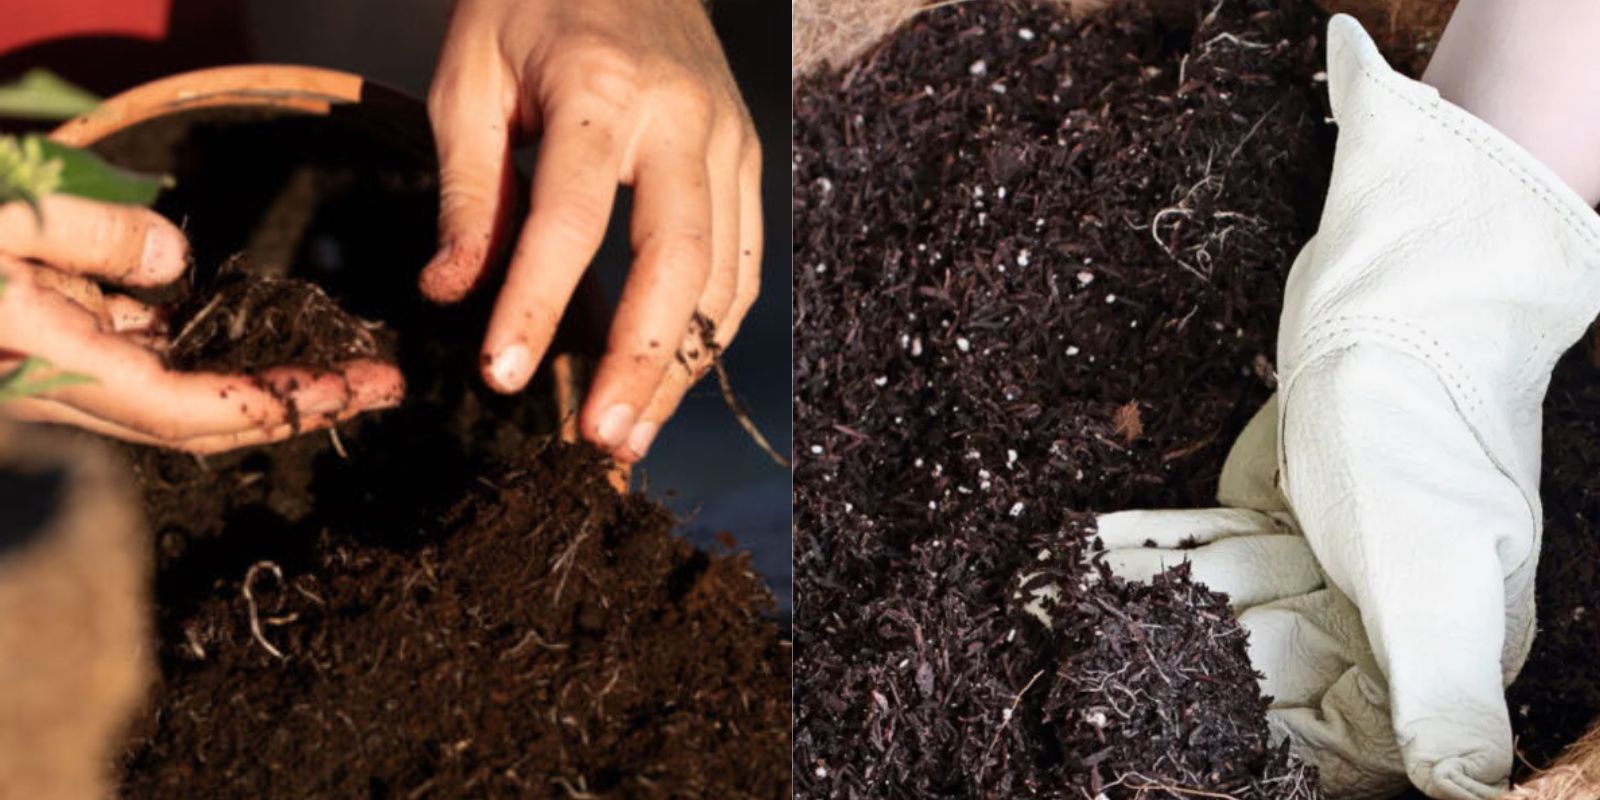
Potting soil is not like garden soil—it doesn’t regenerate nutrients naturally through cycles of decay and decomposition. Instead, the nutrients within it get used up by plants, especially if the same soil has been in use for a long time. Add to this the fact that watering can wash away nutrients, and you’re left with soil that may be light and fluffy but nutrient-deficient.
Other factors include:
- Compaction: Over time, soil compacts, making it harder for roots to spread.
- Loss of beneficial microorganisms: Old potting soil often loses the beneficial bacteria and fungi that help plants grow.
- Drainage issues: The organic material in potting soil can break down, leading to poor drainage and aeration.
Benefits of Reusing Potting Soil
Why should you consider reusing old soil instead of buying new? Here are a few compelling reasons:
- Cost-effective: Buying fresh potting soil for every planting season can get expensive. Recharging old soil saves you money.
- Environmentally friendly: Reusing old potting soil reduces waste and cuts down on the resources needed to produce new soil.
- Reduces landfill waste: Dumping used potting soil contributes to landfill build-up. By refreshing your old soil, you’re helping reduce waste.
The Step-by-Step Process of Recharging Old Potting Soil
Now that we’ve established why reusing potting soil is a great idea, let’s dive into the step-by-step process of how you can recharge it for the next growing season.
Step 1: Remove Old Plant Debris
The first step in recharging old soil is to remove any leftover plant material from previous seasons. This includes:
- Dead roots
- Old stems
- Leaves
These materials can harbor diseases and pests, so it’s essential to clear them out. Use a garden fork or your hands to gently sift through the soil, discarding any plant remnants.
Step 2: Loosen Compacted Soil
Once the soil is clear of debris, use a trowel or garden fork to break up any compacted areas. Over time, soil can become dense and hard, which restricts water drainage and root growth. Fluffing up the soil will improve its structure and make it easier for new plants to establish themselves.
Step 3: Mix in Organic Matter
One of the most crucial steps in recharging old potting soil is adding organic matter. Organic materials not only help to restore nutrients but also improve the texture and water-holding capacity of the soil.
Here’s what you can add:
- Compost: Rich in nutrients, compost is a natural way to replenish your soil’s fertility. Aim for a mix of about 25% compost to 75% old soil.
- Worm castings: Full of beneficial bacteria and nutrients, worm castings are an excellent addition to rejuvenate your potting soil.
- Well-rotted manure: If you have access to well-rotted manure, this can also be a great nutrient boost.
Step 4: Add Nutrients with Organic Fertilizers
Even with compost, your plants will need extra nutrients to thrive. Mixing in organic fertilizers ensures that your soil is nutrient-rich for an extended period. Some recommended organic fertilizers include:
- Blood meal or bone meal: Adds nitrogen and phosphorus to the soil.
- Fish emulsion: A good source of nitrogen.
- Kelp meal: Adds trace minerals and potassium.
Use these fertilizers according to package directions, and mix them thoroughly into the soil to ensure even distribution.
Step 5: Improve Soil Structure with Additives
To further enhance the structure of your soil, you can add certain ingredients that improve drainage, aeration, and water retention. These additives will keep your soil light and fluffy, which is essential for healthy root growth. Consider adding:
- Perlite: A volcanic glass that’s commonly added to potting soil to improve drainage.
- Vermiculite: A mineral that helps with both water retention and aeration.
- Sand: If your potting soil is too dense, adding sand can improve its drainage capabilities.
Step 6: Let the Soil Rest
Once you’ve mixed in your organic matter, fertilizers, and structural additives, it’s a good idea to let the soil rest for a few weeks before planting. This resting period allows the soil to settle and the nutrients to distribute evenly. During this time, you can lightly water the soil to help the organic materials start breaking down.
Step 7: Test the Soil
Before you begin planting, it’s a good idea to test the soil to ensure it has the proper pH balance and nutrient levels for your plants. You can purchase simple soil test kits online or at garden centers.
If your soil’s pH is too high or too low, you can adjust it using organic amendments:
- Lime: Raises the pH if your soil is too acidic.
- Sulfur: Lowers the pH if your soil is too alkaline.
Step 8: Reuse and Plant
Your revitalized potting soil is now ready to use! You can repot houseplants, start new container gardens, or use the refreshed soil in raised beds. The combination of organic matter, nutrients, and additives will give your plants a strong foundation for healthy growth.
How Often Should You Recharge Potting Soil?
Recharging potting soil once a year is generally sufficient, especially if you’re growing annuals or plants that require a nutrient-rich environment. However, for heavy feeders like tomatoes or cucumbers, you may want to recharge the soil more frequently, particularly if you’re noticing reduced plant growth or yellowing leaves.
Tips for Success
- Rotate your crops: If you’re using the same potting soil year after year, consider rotating the types of plants you grow to prevent nutrient depletion.
- Top-dress with compost: Adding a thin layer of compost to the top of your soil can help maintain its fertility between recharges.
- Mulch to retain moisture: Using mulch in your containers or raised beds helps retain moisture and reduces the need for frequent watering.
Why This Matters: Environmental Impact
Aside from the financial savings, recharging and reusing potting soil contributes to a more sustainable lifestyle. The production of new potting soil often requires the harvesting of peat, which can harm delicate ecosystems like peat bogs. By reusing your soil, you’re reducing your environmental footprint and promoting a more eco-friendly gardening approach.
Conclusion
Recharging and reusing old potting soil is a simple, sustainable way to maintain a healthy, thriving garden. Not only does it save you money, but it also helps reduce waste and environmental impact. By following these easy steps, you’ll have nutrient-rich soil ready to support your plants through the growing season.
Are you ready to give your old soil a new life? Start revitalizing your garden today and share your experience with us! 🌱✨
#SustainableGardening #EcoFriendlyGardening #SoilRecycling #GardeningTips #GreenLiving #GardenerLife #ReuseReduceRecycle #HealthySoilHealthyPlants #GrowYourOwnFood