Introduction
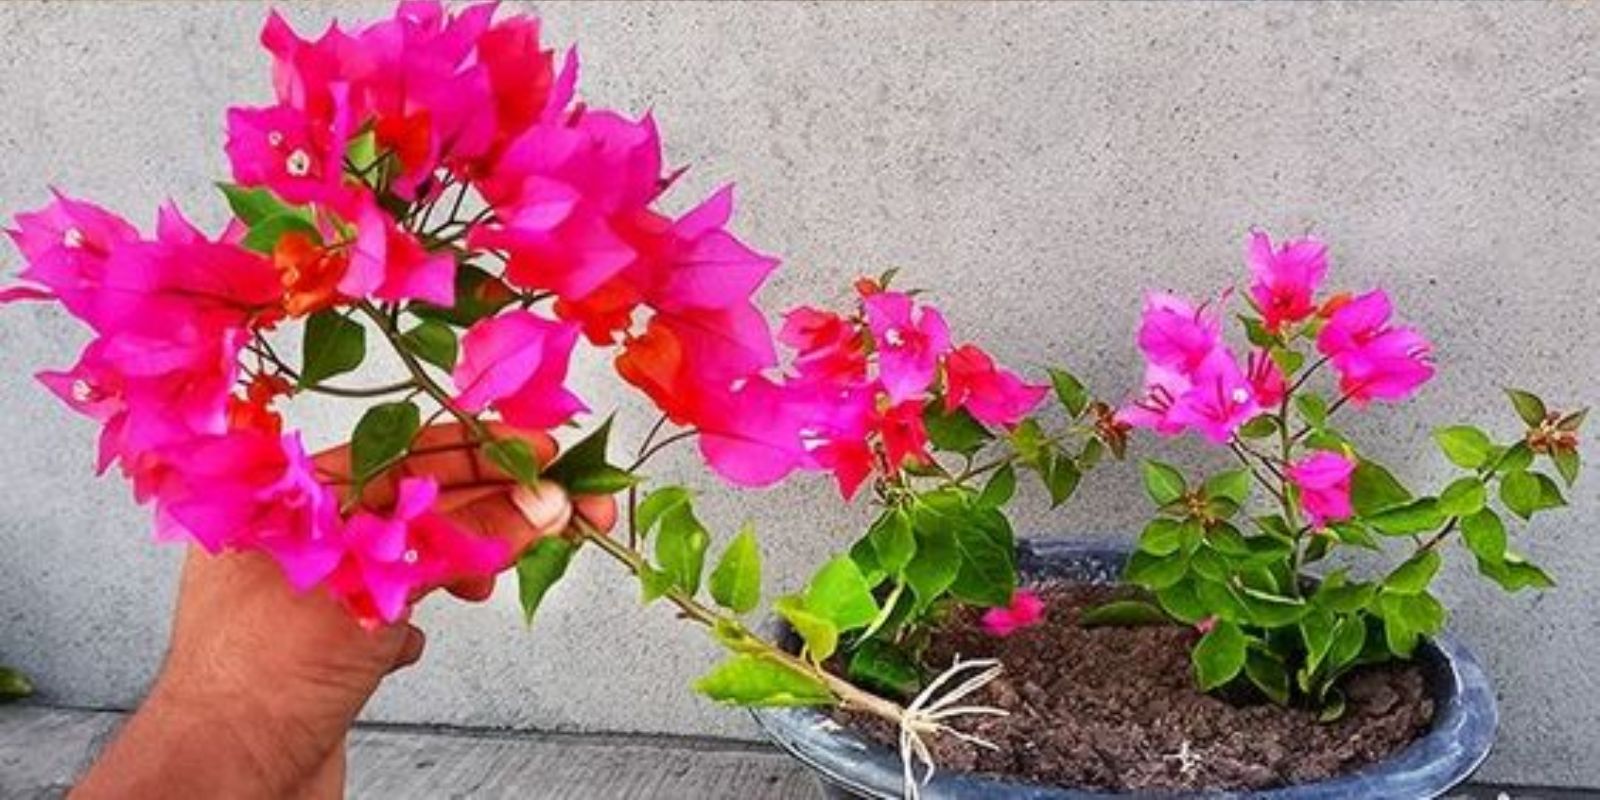
Bougainvillea, with its stunning array of vibrant colors, is a popular choice for adding beauty and color to balconies and gardens. Known for its hardy nature and prolific blooms, bougainvillea is also relatively easy to propagate, making it an ideal candidate for gardeners looking to expand their collection or share their plants with friends. By using a simple and effective propagation method, you can grow new bougainvillea plants from cuttings, ensuring that your outdoor spaces are always adorned with their spectacular flowers. In this article, we will walk you through the infallible method for propagating bougainvillea cuttings, providing you with the knowledge to successfully grow and nurture these beautiful plants.
Understanding Bougainvillea Propagation
Bougainvillea can be propagated through various methods, including seeds, layering, and cuttings. Among these, propagating from cuttings is the most straightforward and reliable method, particularly for gardeners who want quick results. Bougainvillea cuttings root relatively easily and grow into vigorous plants when the right techniques are applied.
Step-by-Step Guide to Propagating Bougainvillea Cuttings
1. Select Healthy Cuttings
- Choosing the Right Stems:
- Health and Maturity: Select healthy, non-flowering stems from the bougainvillea plant. Ideally, choose stems that are semi-hardwood, meaning they are neither too young nor too old.
- Avoid Diseases: Ensure the cuttings are free from diseases or pests, as this can affect their ability to root and grow.
- Cutting Preparation:
- Cutting Length: Use clean, sharp pruning shears to cut stems that are 6-8 inches long. Make sure each cutting has at least 3-4 nodes (the points where leaves attach).
- Leaf Removal: Remove any leaves from the bottom half of the cutting to reduce moisture loss and facilitate easier planting.
2. Apply Rooting Hormone
- Purpose of Rooting Hormone:
- Encouraging Root Development: Rooting hormone is a plant growth regulator that stimulates root formation. Applying it increases the likelihood of successful rooting.
- Application Process:
- Dip the Cut Ends: Dip the cut ends of the bougainvillea cuttings into rooting hormone powder or gel. Tap off any excess to avoid clumping.
3. Plant the Cuttings
- Prepare the Planting Medium:
- Soil Mix: Use a well-draining soil mix, such as a combination of sand and peat moss or a commercial cactus mix. Bougainvillea prefers soil that provides good aeration and drainage.
- Pot Choice: Select pots or containers with drainage holes to prevent waterlogging and root rot.
- Planting Process:
- Planting Depth: Insert the cut ends of the bougainvillea cuttings into the soil mix, burying them about 1-2 inches deep. Space the cuttings a few inches apart to allow room for growth.
- Firming the Soil: Gently press the soil around the cuttings to secure them in place.
4. Water and Cover
- Watering:
- Initial Watering: Water the soil lightly after planting the cuttings to settle the soil around them. Ensure the soil is moist but not soggy.
- Ongoing Watering: Keep the soil consistently moist throughout the rooting process. Avoid overwatering, which can lead to fungal issues.
- Covering for Humidity:
- Covering Options: Cover the pot with a plastic bag or a clear plastic dome to create a humid environment that encourages root development. Ensure the covering does not touch the cuttings.
- Ventilation: Occasionally remove the cover for a short period to provide ventilation and prevent mold growth.
5. Provide Optimal Light and Conditions
- Light Requirements:
- Bright, Indirect Light: Place the pot in a location with bright, indirect light. Avoid direct sunlight, which can overheat the cuttings and hinder rooting.
- Artificial Light: If natural light is insufficient, consider using fluorescent or grow lights to provide the necessary light for the cuttings.
- Temperature and Humidity:
- Temperature Range: Maintain a temperature range of 65-75°F (18-24°C) for optimal rooting. Avoid extreme temperature fluctuations.
- Humidity Levels: Bougainvillea cuttings thrive in a humid environment. The covering will help maintain the necessary humidity levels.
Monitoring and Care
- Root Development:
- Checking Roots: After 4-6 weeks, gently tug on the cuttings to check for resistance, which indicates root development. You can also carefully remove a cutting to inspect the roots.
- Transplanting: Once the cuttings have established a healthy root system, they can be transplanted into larger pots or directly into the garden.
- Ongoing Care:
- Fertilizing: Begin fertilizing the young bougainvillea plants with a balanced, water-soluble fertilizer diluted to half strength once they show signs of new growth.
- Pruning: Prune the young plants as needed to encourage bushier growth and remove any damaged or weak stems.
Troubleshooting Common Issues
- Poor Rooting:
- Causes: Poor rooting may result from inadequate humidity, incorrect soil moisture, or the use of old or contaminated cuttings.
- Solutions: Ensure proper humidity levels, check soil moisture, and use fresh, healthy cuttings. Adjust environmental conditions as needed.
- Pest Problems:
- Common Pests: Aphids, mealybugs, and spider mites can affect young bougainvillea plants. Regularly inspect for pests and treat infestations promptly with appropriate methods.
- Disease Management:
- Fungal Diseases: Mold or mildew can develop in overly humid conditions. Maintain good ventilation and avoid excessive moisture to prevent fungal issues.
Conclusion
Propagating bougainvillea cuttings is a straightforward and rewarding process that allows you to expand your garden or balcony with beautiful new plants. By following the infallible method of selecting healthy cuttings, applying rooting hormone, planting in a well-draining medium, and providing optimal care, you can successfully grow vibrant bougainvillea plants. Embrace this propagation technique and watch as your outdoor spaces come alive with the stunning colors and blooms of bougainvillea. With a little patience and attention, you’ll be able to enjoy a flourishing collection of these delightful plants in no time.

