
Growing a nectarine tree from seed is not just a fun gardening project; it can also lead to the rewarding experience of harvesting your very own delicious fruit. While it requires patience and care, propagating a nectarine tree from seed can be a fulfilling endeavor for both novice and experienced gardeners. In this article, we’ll explore the step-by-step process of propagating a nectarine from seed, along with tips for successful growth.
Understanding Nectarine Trees
Nectarines (Prunus persica var. nucipersica) are closely related to peaches and share many similar characteristics. They are known for their smooth skin and sweet, juicy flesh. Nectarine trees thrive in warm climates and need full sunlight to produce healthy fruit. By growing a tree from seed, you not only contribute to your garden’s beauty but also engage in a unique and educational experience.
Benefits of Growing Your Own Nectarine Tree
- Fresh Fruit: Homegrown nectarines are often sweeter and tastier than store-bought varieties.
- Cost-Effective: Growing your own tree saves money in the long run.
- Satisfaction: There’s immense satisfaction in nurturing a plant from seed to fruit-bearing tree.
- Environmental Impact: Planting trees contributes positively to the environment, providing habitats for wildlife and improving air quality.
Step-by-Step Guide to Propagating Nectarines from Seed
Step 1: Select a Ripe Nectarine
Start with a ripe, organic nectarine. This ensures that the seeds are viable and free from chemicals. When choosing a nectarine, look for one that is slightly soft to the touch, indicating it’s fully ripe.
Step 2: Extract the Seed
Once you’ve enjoyed the fruit, remove the pit. Be careful not to damage the seed inside. Rinse the pit under running water to eliminate any remaining fruit residue.
Step 3: Dry the Pit
Place the rinsed pit in a warm, dry location for a few days to allow it to dry completely. This step is crucial as it helps prevent mold when you plant the seed.
Step 4: Stratify the Seed
Nectarine seeds require a cold stratification period to break dormancy. Place the dried pit in a ziplock bag with a damp paper towel and store it in the refrigerator for about 30-60 days. This mimics the natural winter conditions the seed would experience in the wild.
Step 5: Prepare for Planting
After the stratification period, remove the pit from the refrigerator. Carefully crack the pit open using a nutcracker or a similar tool to extract the seed inside. Be gentle to avoid damaging the seed.
Step 6: Plant the Seed
Choose a small pot with drainage holes and fill it with a well-draining potting mix. Plant the seed about 1-2 inches deep in the soil. Water the soil gently to ensure it’s evenly moist but not soggy.
Step 7: Provide Warmth and Light
Place the pot in a warm area where it can receive plenty of sunlight. Ideal temperatures for germination range from 70°F to 85°F (21°C to 29°C). A sunny windowsill or greenhouse works well.
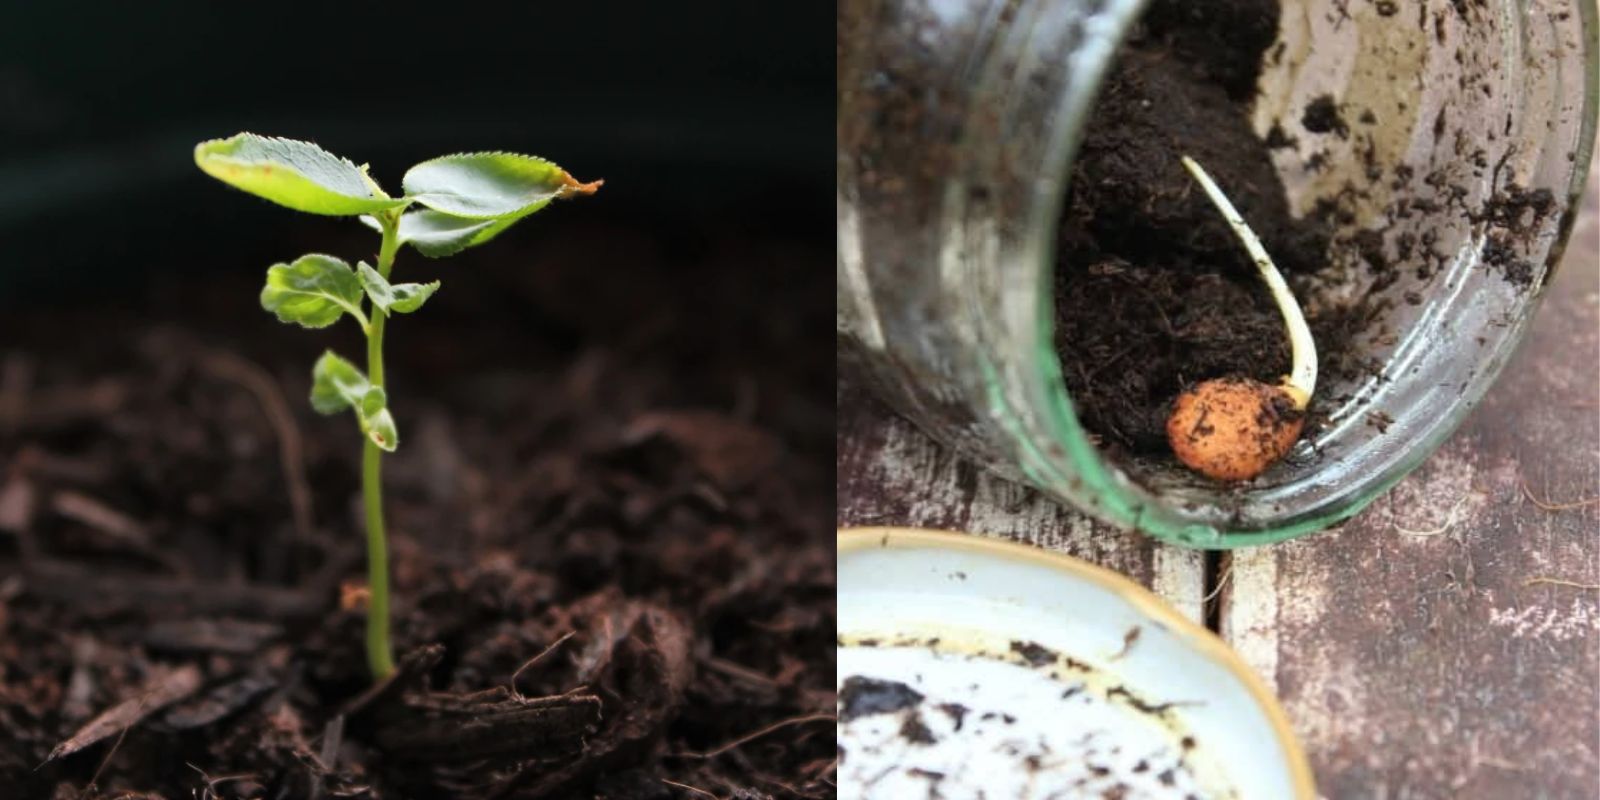
Step 8: Monitor Growth
Keep the soil consistently moist, but avoid overwatering. In a few weeks, you should see the seedling emerge. Once it reaches a few inches in height and has developed several leaves, it’s ready for transplanting.
Step 9: Transplanting Your Seedling
When the seedling has grown strong enough, carefully transplant it into your garden or a larger pot. Choose a location that receives full sun and has well-draining soil.
Step 10: Caring for Your Nectarine Tree
After transplanting, continue to care for your nectarine tree:
- Watering: Keep the soil consistently moist but not waterlogged. Water deeply, allowing the soil to dry slightly between waterings.
- Fertilizing: Use a balanced fertilizer during the growing season to promote healthy growth.
- Pruning: As the tree matures, regular pruning helps maintain its shape and encourages fruit production.
- Pest and Disease Management: Monitor your tree for any signs of pests or diseases, and take appropriate action if necessary.
Tips for Successful Nectarine Propagation
- Choose the Right Variety: Some nectarines are better suited for your climate than others. Research varieties that thrive in your region.
- Be Patient: Growing from seed can take time, and it may be several years before your tree produces fruit.
- Consider Grafting: If you want to ensure specific fruit characteristics, consider grafting your seedling onto a rootstock.
- Sunlight is Key: Ensure your nectarine tree gets full sun exposure for optimal growth and fruit production.
Common Challenges and Solutions
1. Low Germination Rates
If your seeds aren’t germinating, check the following:
- Ensure the seed has gone through proper cold stratification.
- Maintain consistent moisture in the soil without overwatering.
2. Pests and Diseases
Keep an eye out for common pests such as aphids and spider mites. Use organic pest control methods to manage infestations.
3. Inadequate Sunlight
If your tree isn’t receiving enough sunlight, consider relocating it to a sunnier spot. Nectarine trees thrive in full sun.
Conclusion
Growing a nectarine tree from seed can be a rewarding experience that connects you with nature and provides delicious fruit for years to come. By following the steps outlined in this guide, you can successfully propagate your very own nectarine tree. Whether you’re a seasoned gardener or just starting, this journey can be both fun and educational. So grab a ripe nectarine, roll up your sleeves, and start your gardening adventure today!
Engage and Share
If you found this guide helpful, share your nectarine-growing journey with friends and fellow gardening enthusiasts! 🌳🍑 #NectarineTree #GrowYourOwn #GardeningJoy #FromSeedToFruit #GardenLife