
Raspberries are one of the most rewarding fruits to grow in your garden. With their sweet, tangy flavor and versatility in recipes, they’re a favorite among home gardeners. But did you know that the actions you take now, before winter sets in, can have a huge impact on the success of next summer’s harvest? Proper care and preparation during the fall season are critical to ensuring your raspberry plants are healthy, strong, and productive.
In this guide, we’ll cover the essential steps to prepare your raspberry plants for winter and set them up for a bountiful harvest next year. Whether you’re a seasoned gardener or new to growing berries, these tips will help you maximize your yield.
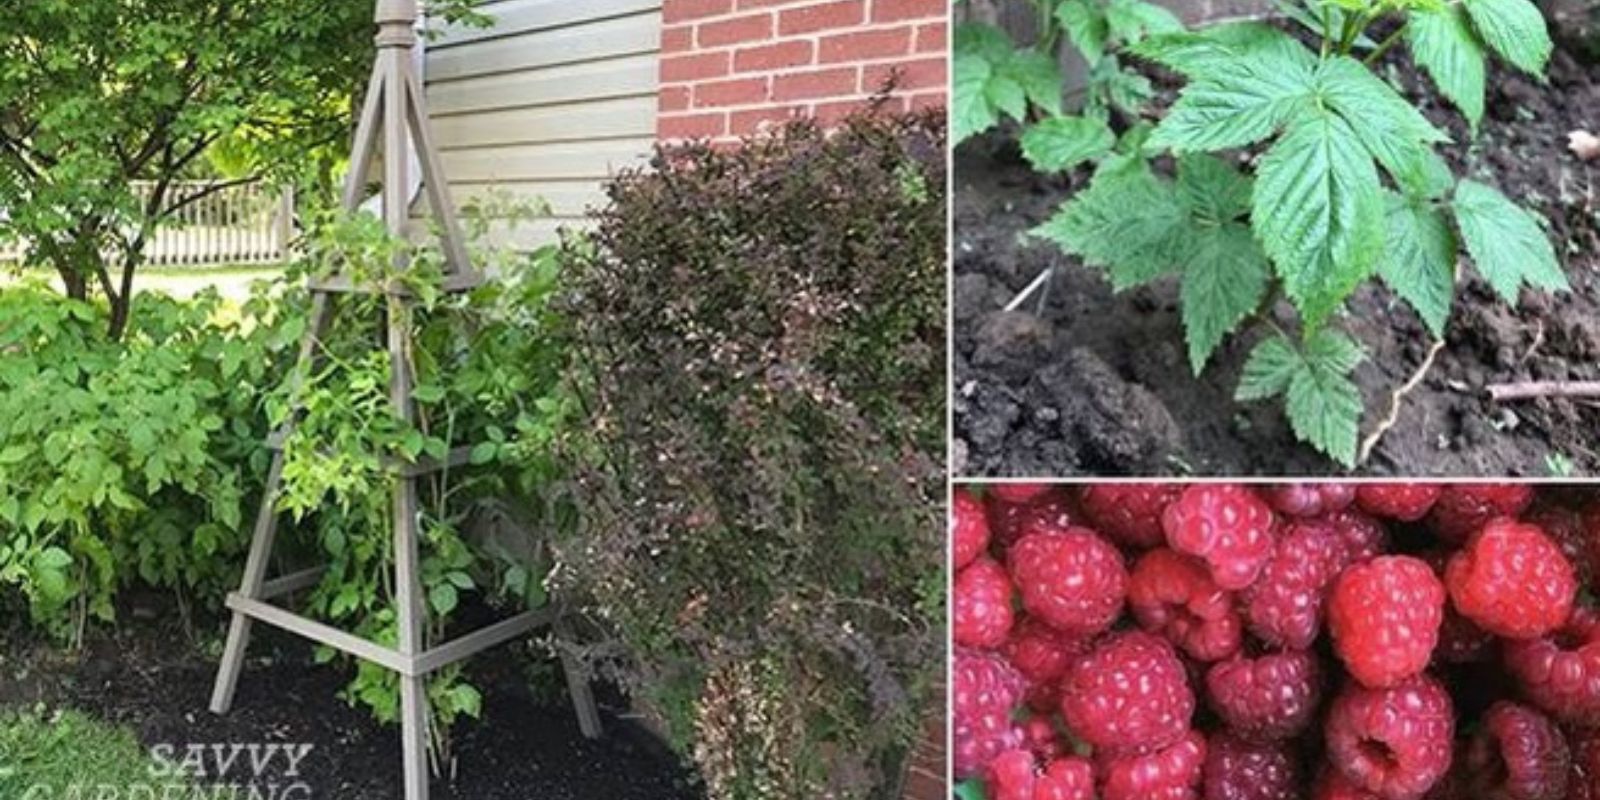
Why Fall Care Is Crucial for Raspberries
Raspberries are perennial plants that grow in cycles. The canes (stems) grow in their first year, fruit in their second year, and then die off. Without proper pruning and care, dead canes can crowd the plant, reduce airflow, and lead to disease or pest issues. Fall is the ideal time to clean up, prune, and feed your plants to ensure vigorous growth in the next growing season.
Let’s dive into the steps you need to follow.
Step 1: Prune Dead Canes
Start by identifying the canes that fruited this year. These canes are called floricanes, and they die after producing fruit. They should be removed to make space for new growth (primocanes).
- Use sharp pruning shears to cut these dead canes at ground level.
- Make sure to discard them away from the garden to prevent the spread of pests or diseases.
Removing old canes not only clears space for new growth but also improves airflow, reducing the risk of fungal infections.
Step 2: Trim New Canes
The canes that grew this year (primocanes) will fruit next summer. To encourage stronger growth and easier management, cut them back to about 4-5 feet tall.
- This trimming helps the plant focus its energy on producing fruit instead of growing excessively tall.
- It also prevents canes from breaking under the weight of fruit or during winter winds.
If you’re growing everbearing raspberries, you may choose to cut back all canes to the ground for a single large fall harvest instead of a summer and fall harvest.
Step 3: Clear Debris Around the Base
Fall is the perfect time to tidy up the area around your raspberry plants.
- Remove any fallen leaves, weeds, and other debris around the base of the plants.
- This helps eliminate hiding spots for pests and reduces the risk of diseases that could overwinter in the debris.
A clean base ensures healthier plants and fewer issues in the spring.
Step 4: Add Mulch for Winter Protection
Mulching is a simple but highly effective step to protect your raspberry plants during the winter months.
- Spread a 2-3 inch layer of organic mulch, such as straw, wood chips, or shredded leaves, around the base of the plants.
- Mulch helps retain moisture, insulates the roots, and prevents soil erosion.
Make sure to keep the mulch slightly away from the canes to avoid rot.
Step 5: Fertilize Smartly
Fall is a great time to give your raspberry plants a boost of nutrients.
- Apply a balanced fertilizer or organic compost to the soil around the plants.
- Avoid high-nitrogen fertilizers, as these can encourage new growth too late in the season.
The goal is to strengthen the roots and canes, preparing them for a strong start in spring.
Step 6: Support with Stakes or Trellises
Raspberry canes are prone to bending or breaking, especially under the weight of snow or fruit. Providing proper support now will make your plants easier to manage and more productive.
- Use stakes or a trellis system to tie up the canes.
- Ensure there’s enough space between the canes to allow sunlight and air to reach all parts of the plant.
A well-supported plant is healthier and produces higher-quality fruit.
Step 7: Water Deeply Before Winter
Before the ground freezes, give your raspberry plants a deep watering.
- This helps hydrate the roots and prevents them from drying out during the winter.
- Be careful not to overwater, as soggy soil can lead to root rot.
A well-hydrated plant is better equipped to handle the stress of winter.
Step 8: Inspect for Pests and Diseases
Take the opportunity to inspect your plants for any signs of pests or diseases.
- Look for discoloration, unusual spots, or damage on the canes and leaves.
- If you notice any issues, treat them with appropriate organic or chemical solutions before winter sets in.
Early intervention can save your plants and prevent problems from spreading next year.
Step 9: Plan for the Future
Now that your plants are prepared for winter, take some time to plan for the next growing season.
- Consider expanding your raspberry patch if you have the space.
- Research companion plants that can benefit your raspberries, such as garlic or marigolds, which repel pests.
By planning ahead, you can make the most of your garden space and resources.
Conclusion: Reap the Rewards Next Summer
By following these simple yet effective steps, you’ll ensure that your raspberry plants are healthy, well-nourished, and ready to produce a huge harvest next summer. Proper pruning, mulching, fertilizing, and supporting are all key to maximizing your yield.
Growing raspberries is not only a delightful gardening experience but also a rewarding one. There’s nothing quite like enjoying fresh, homegrown berries straight from your garden. Start preparing your raspberry plants now, and you’ll be amazed at the results next year!
💬 What are your favorite tips for growing raspberries? Share them below!