
Introduction
Aloe vera, often referred to as the “miracle plant,” is celebrated for its healing properties and its role in various skincare products. This hardy succulent is not only low-maintenance but also easy to propagate. One of the simplest and most effective ways to grow new Aloe vera plants is from leaf cuttings. This article provides a comprehensive guide to planting Aloe vera from leaf cuttings, ensuring you can successfully propagate this versatile plant and expand your indoor or outdoor garden.
Understanding Aloe Vera
Before diving into the propagation process, it’s essential to understand the basics of Aloe vera care. Native to arid regions, Aloe vera is a succulent that thrives in well-draining soil and requires minimal water. Its thick, fleshy leaves store water, making it adaptable to dry conditions. Aloe vera is not just a decorative plant; it has numerous benefits, including soothing sunburns and promoting skin health.
Materials You Will Need
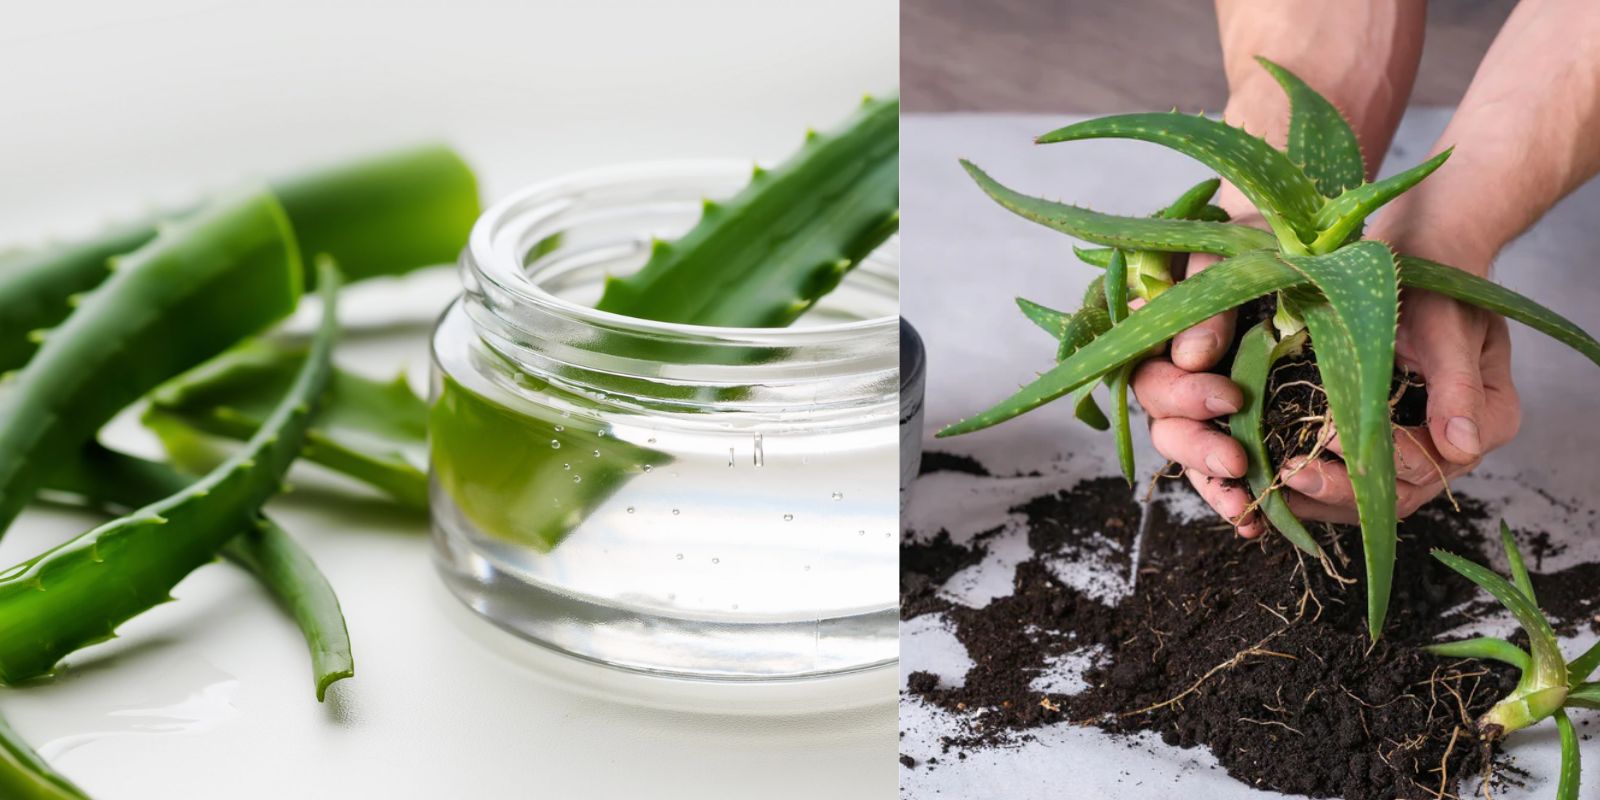
- A mature Aloe vera plant
- A sharp, clean knife or pruning shears
- A small pot with drainage holes
- Cactus or succulent potting mix
- A bright, indirect light location
Step-by-Step Guide to Planting Aloe Vera from Leaf Cuttings
1. Select a Healthy Leaf
Choose the Right Leaf
Start by selecting a mature, healthy leaf from an established Aloe vera plant. Look for a leaf that is firm, plump, and free of any blemishes or damage. Older leaves are preferable because they are more likely to root successfully.
Clean Cut
Using a clean, sharp knife or pruning shears, make a clean cut at the base of the leaf where it meets the stem. Avoid using dull tools, as they can crush the leaf and increase the risk of rot.
2. Cut and Dry
Prepare the Cutting
Once you’ve cut the leaf, place it in a dry, well-ventilated area for 1-2 days. This drying period allows the cut end of the leaf to form a callus, which helps prevent fungal infections and rot when planted.
Ensure Proper Drying
Ensure that the leaf is placed on a clean, dry surface, and avoid exposing it to direct sunlight. The callusing process is crucial for successful rooting, so be patient and allow the leaf to dry thoroughly.
3. Prepare the Pot
Choose the Right Pot
Select a small pot with drainage holes to prevent water from accumulating at the bottom. Excess water can lead to root rot, so proper drainage is essential for healthy growth.
Prepare the Soil
Fill the pot with a well-draining cactus or succulent soil mix. You can also create your own mix by combining regular potting soil with perlite or sand to enhance drainage.
4. Plant the Cutting
Insert the Cutting
Once the leaf has dried and developed a callus, it’s time to plant it. Gently insert the callused end of the leaf into the soil, burying it about 1-2 inches deep. Ensure that the cutting is stable and upright.
Pack the Soil
Lightly pack the soil around the base of the cutting to provide support and ensure good contact with the soil. Avoid over-packing, as this can hinder root development.
5. Water and Care
Initial Watering
Water the cutting lightly after planting. The soil should be moist but not soggy. Allow the soil to dry out completely between waterings to prevent overwatering, which can lead to root rot.
Optimal Light Conditions
Place the pot in a bright, indirect light location. Aloe vera prefers plenty of light but should be protected from direct sunlight, which can cause the cutting to dry out too quickly.
Monitor and Maintain
Keep an eye on the cutting for signs of growth. New roots should begin to develop within a few weeks. As the cutting establishes itself, you can gradually increase the watering frequency, ensuring that the soil remains slightly moist but not waterlogged.
Common Challenges and Solutions
Rotting
If the cutting shows signs of rot, such as a mushy or discolored base, it’s likely due to excessive moisture. Ensure the soil has good drainage and reduce watering. Remove any affected parts to prevent the rot from spreading.
No Rooting
If the cutting doesn’t show signs of rooting after several weeks, it may be due to insufficient drying time or improper planting depth. Ensure the leaf was adequately callused before planting and consider replanting it in fresh soil if necessary.
Transplanting and Care
Once the cutting has developed a strong root system and shows signs of new growth, you can transplant it into a larger pot. Continue to provide it with bright, indirect light and follow regular Aloe vera care practices, including occasional feeding and proper watering.
Additional Tips for Success
- Use Sterilized Tools: To prevent disease transmission, always use clean and sterilized tools when handling the Aloe vera plant and cuttings.
- Temperature and Humidity: Aloe vera thrives in warm temperatures. Avoid placing it in areas with cold drafts or excessive humidity, which can affect its growth.
- Regular Feeding: Once established, feed your Aloe vera with a balanced, diluted fertilizer every 6-8 weeks during the growing season to promote healthy growth.
- Repotting: Aloe vera plants benefit from being repotted every 1-2 years to refresh the soil and provide ample space for root growth.
Conclusion
Planting Aloe vera from leaf cuttings is a straightforward and rewarding process that allows you to propagate this useful plant with ease. By following the steps outlined in this guide, you can successfully grow new Aloe vera plants and enjoy their many benefits. Embrace this simple propagation method and watch your Aloe vera thrive, adding a touch of green and a splash of wellness to your home or garden.
Encouragement for Gardeners
Start your Aloe vera propagation journey today and see the magic unfold! Share your successes and inspire others with your gardening skills. 🌱✨ #AloeVeraPropagation #GardeningTips #GreenThumb #PlantCare #HomeGardening #SucculentLove #PlantPropagation #GardeningHacks #HealthyPlants #GrowYourOwn