
Raised bed vegetable gardening has become increasingly popular among gardeners, and for good reason. Whether you’re a seasoned gardener or a beginner, raised beds offer numerous benefits that make planting and maintaining a vegetable garden easier, more efficient, and more productive. One of the most effective ways to improve your raised bed garden is by adding height. Raised beds with height are not only easier on your back, but they also provide better drainage, improved pest control, and enhanced soil quality, all of which contribute to a more successful garden. In this guide, we’ll walk you through the process of planting a raised bed vegetable garden with height, step by step, and explain how to maximize the benefits of this gardening method.
Why Choose a Raised Bed Vegetable Garden with Height?
Before diving into the “how-to” steps, it’s important to understand why raised bed vegetable gardens with height are so beneficial. Here are a few reasons why you should consider adding height to your garden:
- Reduced Strain on Your Back: One of the main advantages of raised bed gardening is the ability to garden without bending over, reducing back strain. By building raised beds with a higher height (12-24 inches), you can eliminate the need to crouch down, making gardening more comfortable and enjoyable, especially for those with physical limitations.
- Better Drainage: Raised beds naturally offer better drainage than traditional in-ground gardening. Adding height allows for deeper soil, which encourages healthy root growth and ensures water drains efficiently. This is particularly beneficial for plants like tomatoes, carrots, and leafy greens, which thrive in well-drained soil.
- Improved Soil Quality: The soil in raised beds is generally more fertile, as you’re in control of what goes into the bed. Higher beds allow for a deeper soil layer, which is ideal for plants with deep root systems. This means you can provide your vegetables with optimal growing conditions, leading to healthier plants and higher yields.
- Pest Control: Raised beds with height can help keep certain pests at bay. The height of the bed may prevent some ground-dwelling pests, such as slugs or snails, from reaching your plants. Additionally, adding height makes it easier to install physical barriers like row covers or mesh to further protect your crops.
- Maximized Space Efficiency: Raised beds with height are great for compact spaces. If you’re working with limited garden space, such as a small backyard or patio, a raised bed can maximize your growing area. The added height allows you to grow more crops in a smaller footprint, which is perfect for urban or apartment gardeners.
Step-by-Step Guide to Planting a Raised Bed Vegetable Garden with Height
Now that you understand the benefits of raised bed gardening with height, let’s go through the process of setting up your own raised bed vegetable garden. Follow these simple steps, and you’ll have a thriving garden in no time.
Step 1: Choose the Right Location
The first step to creating a raised bed vegetable garden is selecting the right location. A good location is essential for your plants to thrive. Here are a few key factors to consider:
- Sunlight: Most vegetables need at least 6-8 hours of direct sunlight each day to grow well. Choose a location that receives full sunlight, especially for sun-loving crops like tomatoes, peppers, and cucumbers.
- Accessibility: Make sure the raised bed is easily accessible for planting, watering, and harvesting. Consider proximity to your water source, as you’ll need to water your plants regularly.
- Flat Ground: Ensure that the area where you plan to build your raised bed is level. Uneven ground may cause drainage issues and make it more difficult to plant and maintain your garden.
Step 2: Build the Raised Bed Frame
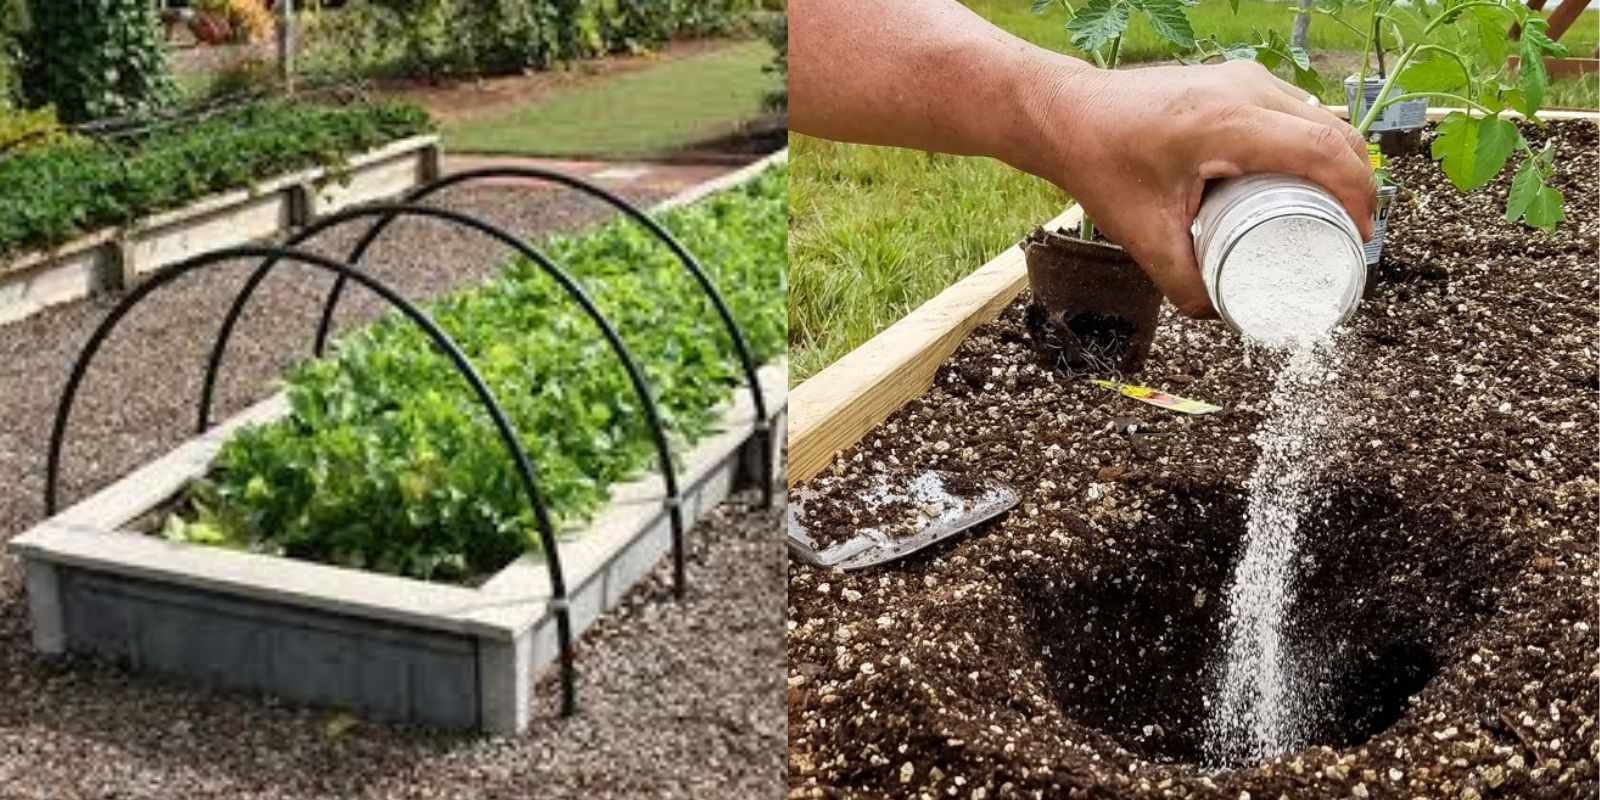
Once you’ve chosen the location, it’s time to build the raised bed. The frame of your raised bed can be constructed using a variety of materials, such as wood, bricks, concrete blocks, or even metal. The height of your raised bed should be between 12-24 inches, depending on the crops you plan to grow and your personal preferences. Here’s how to build the frame:
- Measure and Cut the Material: If you’re using wood, measure and cut the boards to the desired length. A standard raised bed is typically 4 feet wide (for easy access) and can be as long as you like, but 8 feet is a common length.
- Assemble the Frame: Lay the boards or materials on the ground in your chosen area, and use screws, nails, or brackets to secure the corners. If you’re using bricks or concrete blocks, stack them to form the edges of the bed.
- Ensure Stability: Make sure the frame is level and secure. You may want to anchor the frame into the ground by driving stakes into the soil at each corner to prevent shifting over time.
Step 3: Add Soil to the Raised Bed
After building the frame, it’s time to fill your raised bed with soil. The quality of the soil you use will greatly impact the health of your plants. For raised beds, it’s important to use a nutrient-rich, well-draining soil mix. Here’s what you need to do:
- Create a Soil Mix: You can buy pre-made raised bed soil, or you can create your own mix by combining equal parts of compost, topsoil, and peat moss or coconut coir. This mixture will ensure your plants have the nutrients they need while allowing for proper drainage.
- Fill the Bed: Start filling the raised bed with the soil mix, making sure to leave about 1-2 inches of space from the top of the frame. This space will help with watering and prevent soil from spilling out.
- Level the Soil: Use a rake to level the soil and ensure an even distribution. You may need to add more soil over time as it settles.
Step 4: Choose the Right Vegetables to Plant
Now comes the fun part—choosing which vegetables to grow! Raised beds are ideal for many types of vegetables, but it’s important to select crops that will thrive in the space you’ve created. Some great options for raised bed vegetable gardening include:
- Leafy Greens: Lettuce, spinach, and kale grow well in raised beds and don’t require a lot of space.
- Root Vegetables: Carrots, beets, and radishes thrive in deeper soil, making raised beds with height perfect for them.
- Tomatoes and Peppers: These warm-weather crops require plenty of sunlight and well-drained soil, both of which raised beds provide.
- Cucumbers: If you have a taller raised bed, consider growing cucumbers vertically by using a trellis or other support system.
Step 5: Plant Your Vegetables
Once you’ve chosen your vegetables, it’s time to plant them. Follow these guidelines for successful planting:
- Space Your Plants Properly: Be sure to space your plants according to the recommended distance on their seed packets. Crowding your plants will lead to poor air circulation and reduced yields.
- Plant Seeds or Seedlings: You can either plant seeds directly into the soil or transplant seedlings that you’ve started indoors. If you’re planting seeds, make shallow rows or holes according to the seed packet’s instructions.
- Mulch the Soil: After planting, apply a layer of mulch around your plants to help retain moisture, suppress weeds, and keep the soil temperature stable.
Step 6: Water and Maintain Your Garden
Proper care and maintenance are essential for a successful raised bed vegetable garden. Here’s how to keep your plants healthy:
- Water Regularly: Raised beds tend to dry out faster than in-ground gardens, so it’s important to water your plants regularly. Aim for about 1 inch of water per week, adjusting based on weather conditions.
- Check for Weeds: Raised beds are generally easier to maintain than traditional gardens because they have fewer weeds. However, it’s still important to check for weeds regularly and remove them by hand.
- Fertilize as Needed: If your soil mix starts to lose its fertility over time, you can add compost or organic fertilizer to replenish nutrients. Always follow the recommended amounts to avoid over-fertilizing.
Step 7: Harvest and Enjoy Your Produce
The final step is to harvest your vegetables! Raised bed gardens are often more productive than traditional gardens, so be prepared for a bountiful harvest. Be sure to pick vegetables at their peak ripeness for the best flavor and texture.
Conclusion
Creating a raised bed vegetable garden with height is an incredibly rewarding gardening method that provides numerous benefits, including better soil, easier maintenance, and more productive plants. By following the steps outlined in this guide, you’ll be on your way to growing a successful raised bed garden that produces healthy, homegrown vegetables. Whether you’re a beginner or an experienced gardener, raised beds with height offer a practical and enjoyable way to cultivate your favorite vegetables with minimal effort.
Happy gardening! 🌱